
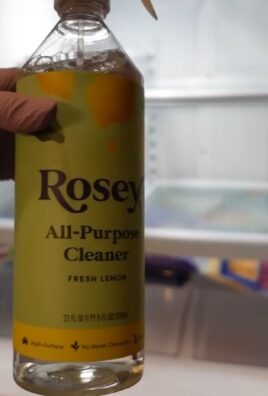
DIY Cleaning Products Recipes: Unlock the Secret to a Sparkling Home, Naturally!
Have you ever stopped to think about what’s *really* in those brightly colored cleaning bottles lining your supermarket shelves? I know I have, and honestly, the list of chemicals can be a little scary! For generations, our grandmothers relied on simple, natural ingredients to keep their homes clean and fresh. Think about it – vinegar, baking soda, lemon juice – these weren’t just kitchen staples; they were the original eco-friendly cleaning powerhouses. This tradition, rooted in resourcefulness and a deep connection to nature, is something we can easily revive today.
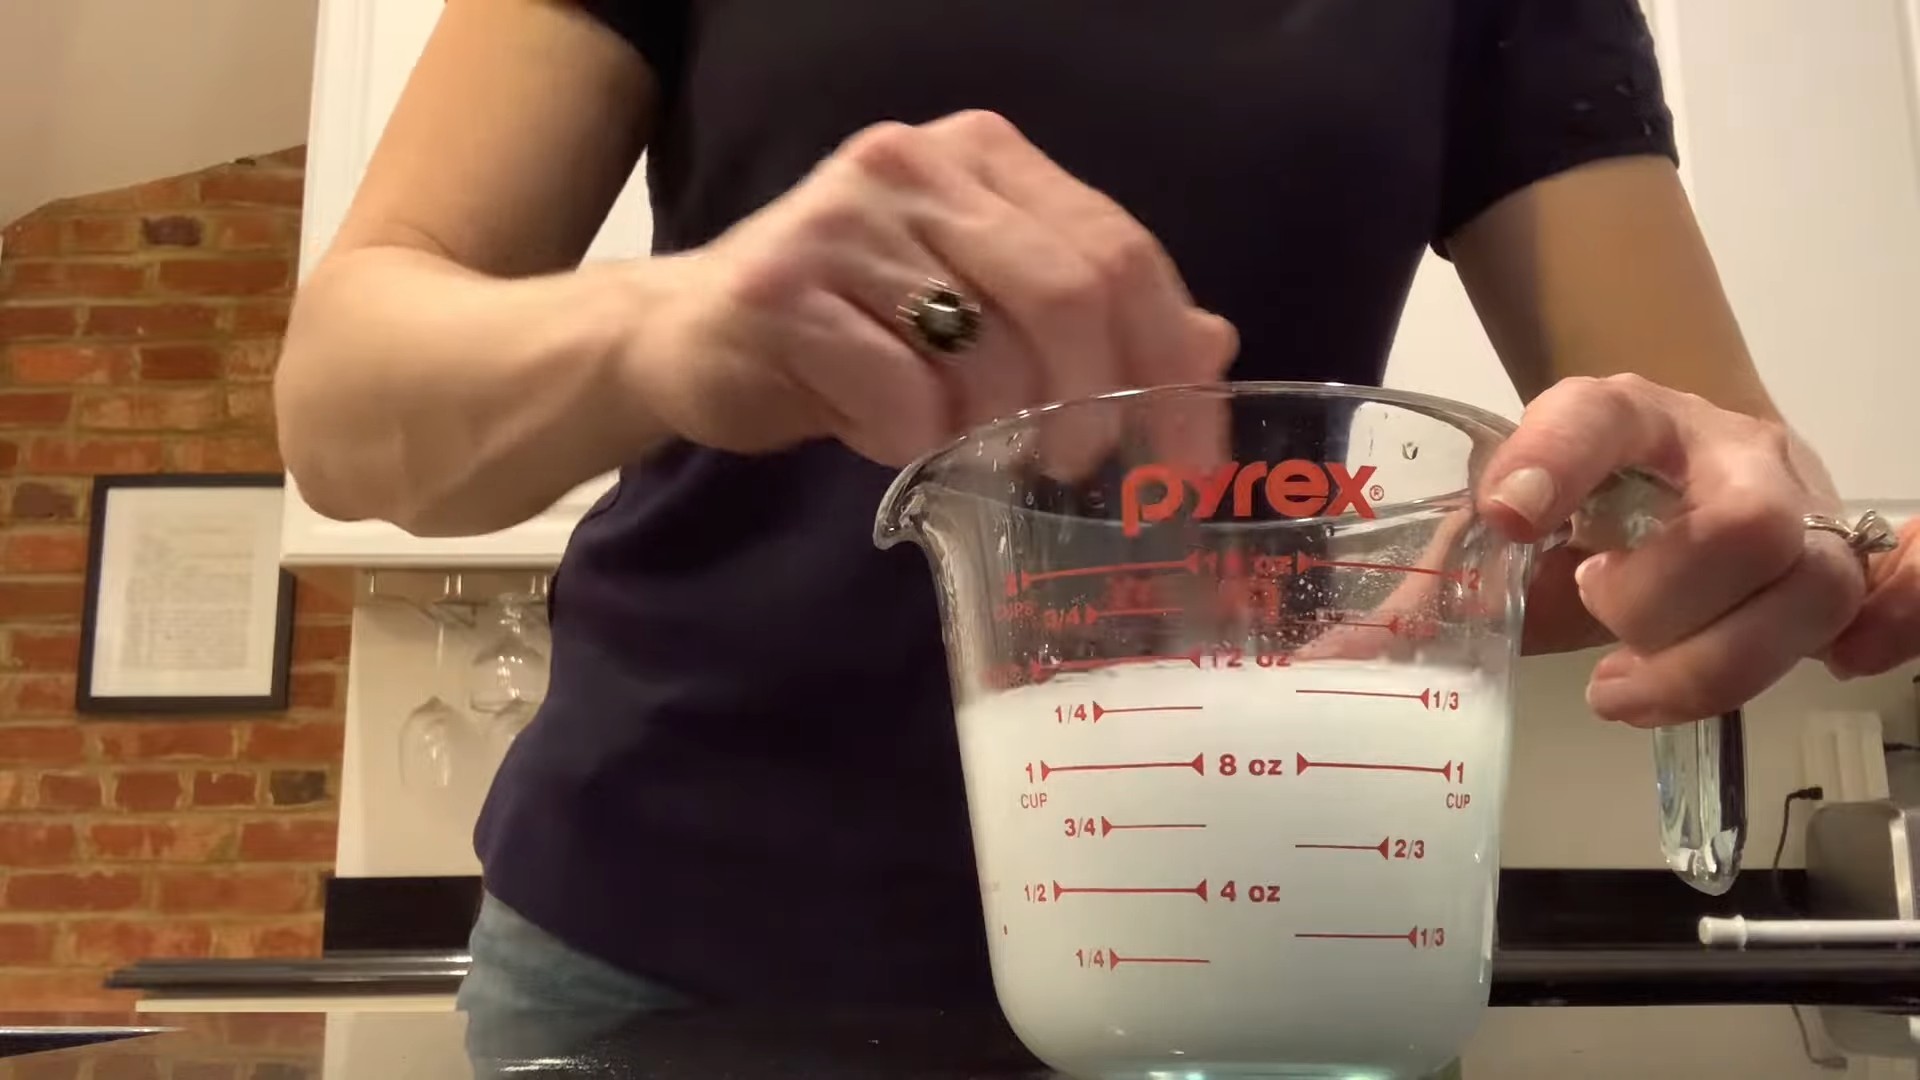
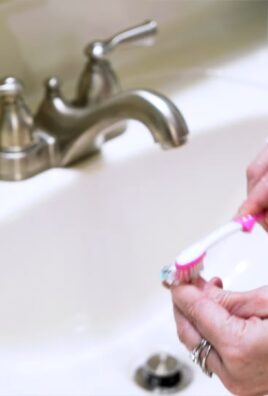
In today’s world, we’re all becoming more conscious of the impact our choices have on the environment and our health. That’s why I’m so excited to share these amazing DIY Cleaning Products Recipes with you. Not only are they incredibly effective at tackling grime and dirt, but they’re also safer for your family, your pets, and the planet. Plus, they can save you a ton of money! Who doesn’t love a win-win situation?
This article is your ultimate guide to creating your own non-toxic cleaning solutions. We’ll explore easy-to-follow recipes using common household ingredients, so you can ditch the harsh chemicals and embrace a cleaner, healthier, and more sustainable way of living. Get ready to transform your cleaning routine and discover the joy of a sparkling home, made possible by the power of nature and a little bit of DIY magic!
Growing Cilantro Indoors: A Beginner’s Guide
Hey there, fellow plant enthusiasts! Ever crave fresh cilantro in the middle of winter, or just want a constant supply for your tacos and guacamole? Well, you’re in luck! Growing cilantro indoors is totally doable, and I’m here to walk you through the whole process. It’s easier than you might think, and the reward of having fresh herbs at your fingertips is totally worth it.
What You’ll Need
Before we dive in, let’s gather our supplies. Here’s a checklist of everything you’ll need to successfully grow cilantro indoors:
* **Cilantro Seeds:** Opt for “slow bolt” varieties, as they’re less likely to go to seed quickly indoors.
* **Potting Mix:** Use a well-draining potting mix specifically formulated for containers. Avoid using garden soil, as it can compact and hinder drainage.
* **Container:** Choose a pot that’s at least 6-8 inches deep and wide. Cilantro has a taproot, so depth is important. Make sure it has drainage holes!
* **Grow Lights (Optional, but Recommended):** Cilantro needs a lot of light, and indoor light might not be enough. A grow light will significantly improve your success rate.
* **Watering Can or Spray Bottle:** For gentle watering.
* **Small Shovel or Trowel:** For planting the seeds.
* **Seed Starting Tray (Optional):** If you prefer to start your seeds indoors before transplanting.
* **Fertilizer (Optional):** A balanced liquid fertilizer can help boost growth.
Choosing the Right Cilantro Variety
Not all cilantro is created equal, especially when growing indoors. Some varieties are more prone to bolting (going to seed) than others. Bolting makes the leaves bitter and less desirable. Here are a few “slow bolt” varieties I recommend:
* **Slow Bolt:** This is a classic choice and widely available.
* **Santo:** Another reliable slow-bolting variety.
* **Long Standing:** As the name suggests, this variety is known for its resistance to bolting.
Planting Your Cilantro Seeds
Okay, let’s get our hands dirty! This is where the magic happens.
1. **Prepare Your Pot:** Fill your chosen container with potting mix, leaving about an inch of space at the top. Gently pat down the soil to remove any large air pockets.
2. **Sow the Seeds:** Cilantro seeds are relatively large, making them easy to handle. You can either broadcast the seeds evenly over the surface of the soil or plant them in rows. If broadcasting, sprinkle the seeds generously. If planting in rows, create shallow furrows about 1/4 inch deep and space them about an inch apart. Place the seeds about 1/2 inch apart within the rows.
3. **Cover the Seeds:** Gently cover the seeds with a thin layer of potting mix.
4. **Water Thoroughly:** Use a watering can or spray bottle to gently water the soil until it’s evenly moist. Avoid overwatering, which can lead to seed rot.
5. **Provide Light and Warmth:** Place your pot in a warm location with plenty of light. If you’re using a grow light, position it a few inches above the soil surface. Cilantro prefers temperatures between 60-70°F (15-21°C).
Germination and Early Growth
Now comes the waiting game! Germination typically takes about 7-10 days, but it can vary depending on the temperature and humidity.
1. **Keep the Soil Moist:** Check the soil moisture daily and water as needed to keep it consistently moist but not soggy.
2. **Thin Seedlings (If Necessary):** Once the seedlings emerge, you might need to thin them out if they’re too crowded. Aim for about 2-3 inches between plants. This will give them enough space to grow and prevent overcrowding.
3. **Provide Adequate Light:** This is crucial! If you’re not using a grow light, place your cilantro in the sunniest window you have. Rotate the pot regularly to ensure even growth. With a grow light, aim for 14-16 hours of light per day.
Caring for Your Cilantro Plants
Once your cilantro plants are established, it’s time to focus on providing them with the care they need to thrive.
1. **Watering:** Water your cilantro regularly, allowing the top inch of soil to dry out between waterings. Overwatering can lead to root rot, so be careful not to saturate the soil.
2. **Fertilizing (Optional):** If you notice your cilantro plants are growing slowly or the leaves are pale, you can fertilize them with a balanced liquid fertilizer diluted to half strength. Apply the fertilizer every 2-4 weeks.
3. **Pest Control:** Cilantro is generally pest-resistant, but occasionally you might encounter aphids or spider mites. If you spot any pests, you can try washing them off with a strong stream of water or using an insecticidal soap.
4. **Pruning:** Regular pruning is essential for keeping your cilantro plants healthy and productive. Pinch off the top leaves regularly to encourage bushier growth.
Harvesting Your Cilantro
The best part! You can start harvesting cilantro leaves once the plants are about 6-8 inches tall.
1. **Harvesting Technique:** Use scissors or your fingers to snip off the outer leaves, leaving the inner leaves to continue growing. Avoid cutting more than one-third of the plant at a time.
2. **Harvest Regularly:** Frequent harvesting will encourage the plant to produce more leaves and delay bolting.
3. **Bolting Prevention:** Keep a close eye on your cilantro plants for signs of bolting. If you see flower stalks starting to form, pinch them off immediately.
Troubleshooting Common Problems
Even with the best care, you might encounter a few challenges along the way. Here are some common problems and how to address them:
* **Yellowing Leaves:** This could be a sign of overwatering, underwatering, or nutrient deficiency. Adjust your watering schedule and consider fertilizing your plants.
* **Leggy Growth:** This is usually caused by insufficient light. Provide more light, either by moving your plants to a sunnier location or using a grow light.
* **Bolting:** As mentioned earlier, bolting is when the plant starts to produce flower stalks. Pinch off the flower stalks as soon as you see them. Using slow-bolt varieties and keeping the plants cool can also help prevent bolting.
* **Root Rot:** This is caused by overwatering and poor drainage. Make sure your pot has drainage holes and allow the soil to dry out slightly between waterings.
Extending Your Cilantro Harvest
Cilantro is an annual herb, meaning it completes its life cycle in one growing season. However, you can extend your harvest by succession planting.
* **Succession Planting:** Sow new seeds every 2-3 weeks to ensure a continuous supply of fresh cilantro.
Enjoying Your Homegrown Cilantro
Now that you’ve successfully grown your own cilantro indoors, it’s time to enjoy the fruits (or rather, leaves) of your labor! Use your fresh cilantro in all your favorite recipes, from tacos and guacamole to salads and soups. You can also dry or freeze cilantro for later use.
Growing cilantro indoors is a rewarding experience that allows you to have fresh herbs at your fingertips year-round. With a little bit of care and attention, you can enjoy a bountiful harvest of delicious cilantro. Happy gardening!
Conclusion
So, there you have it! Stepping away from harsh chemicals and embracing the power of homemade cleaning solutions is not just a trend; it’s a conscious choice for a healthier home, a happier planet, and a lighter wallet. These DIY cleaning products recipes are more than just formulas; they are a gateway to a more sustainable and mindful lifestyle.
Why is this a must-try? Because you’re taking control. You know exactly what’s going into your cleaning products, eliminating the mystery ingredients and potential irritants that often lurk in store-bought options. You’re reducing your plastic consumption by reusing spray bottles and containers. And, let’s be honest, there’s a certain satisfaction in creating something effective and eco-friendly with your own two hands.
But the beauty of these recipes lies in their adaptability. Feel free to experiment with different essential oils to create your signature scent. Lavender for calming, lemon for invigorating, tea tree for its antibacterial properties – the possibilities are endless! You can also adjust the ratios to suit your specific needs and preferences. If you find a particular recipe too strong, simply dilute it with more water. If you need extra scrubbing power, add a bit more baking soda.
Consider these variations:
* Citrus Infusion: Infuse your vinegar with citrus peels (lemon, orange, grapefruit) for a week or two before using it in your all-purpose cleaner. This adds a delightful fragrance and boosts its cleaning power.
* Herb Power: Add fresh herbs like rosemary or thyme to your vinegar infusion for a unique and aromatic cleaner.
* Essential Oil Blends: Create your own custom essential oil blends for specific cleaning tasks. For example, a blend of eucalyptus, peppermint, and tea tree oil is great for disinfecting bathrooms.
* DIY Disinfectant Wipes: Soak reusable cloths in your all-purpose cleaner and store them in an airtight container for convenient and eco-friendly cleaning wipes.
We wholeheartedly encourage you to try these DIY cleaning products recipes. Start with one or two that appeal to you and see the difference they can make in your home. You might be surprised at how effective and enjoyable homemade cleaning can be.
Don’t be afraid to get creative and personalize these recipes to your liking. The most important thing is to find what works best for you and your family.
And most importantly, we want to hear about your experience! Share your successes, your failures, and your unique variations in the comments below. Let’s build a community of eco-conscious cleaners and inspire each other to create a healthier and more sustainable world, one homemade cleaning product at a time. Your insights could be invaluable to others just starting their DIY journey. Let us know which DIY cleaning products recipes you tried and how they worked for you!
Frequently Asked Questions (FAQ)
Q: Are these DIY cleaning products as effective as store-bought cleaners?
A: In many cases, yes! Ingredients like vinegar, baking soda, and essential oils possess powerful cleaning and disinfecting properties. Vinegar is a natural disinfectant and degreaser, baking soda is a mild abrasive and deodorizer, and certain essential oils have antibacterial and antiviral properties. While they might not be as potent as some harsh chemical cleaners, they are effective for everyday cleaning tasks and offer a safer, more eco-friendly alternative. For heavily soiled areas, you might need to let the cleaner sit for a longer period or use a bit more elbow grease.
Q: What surfaces can I safely use these DIY cleaners on?
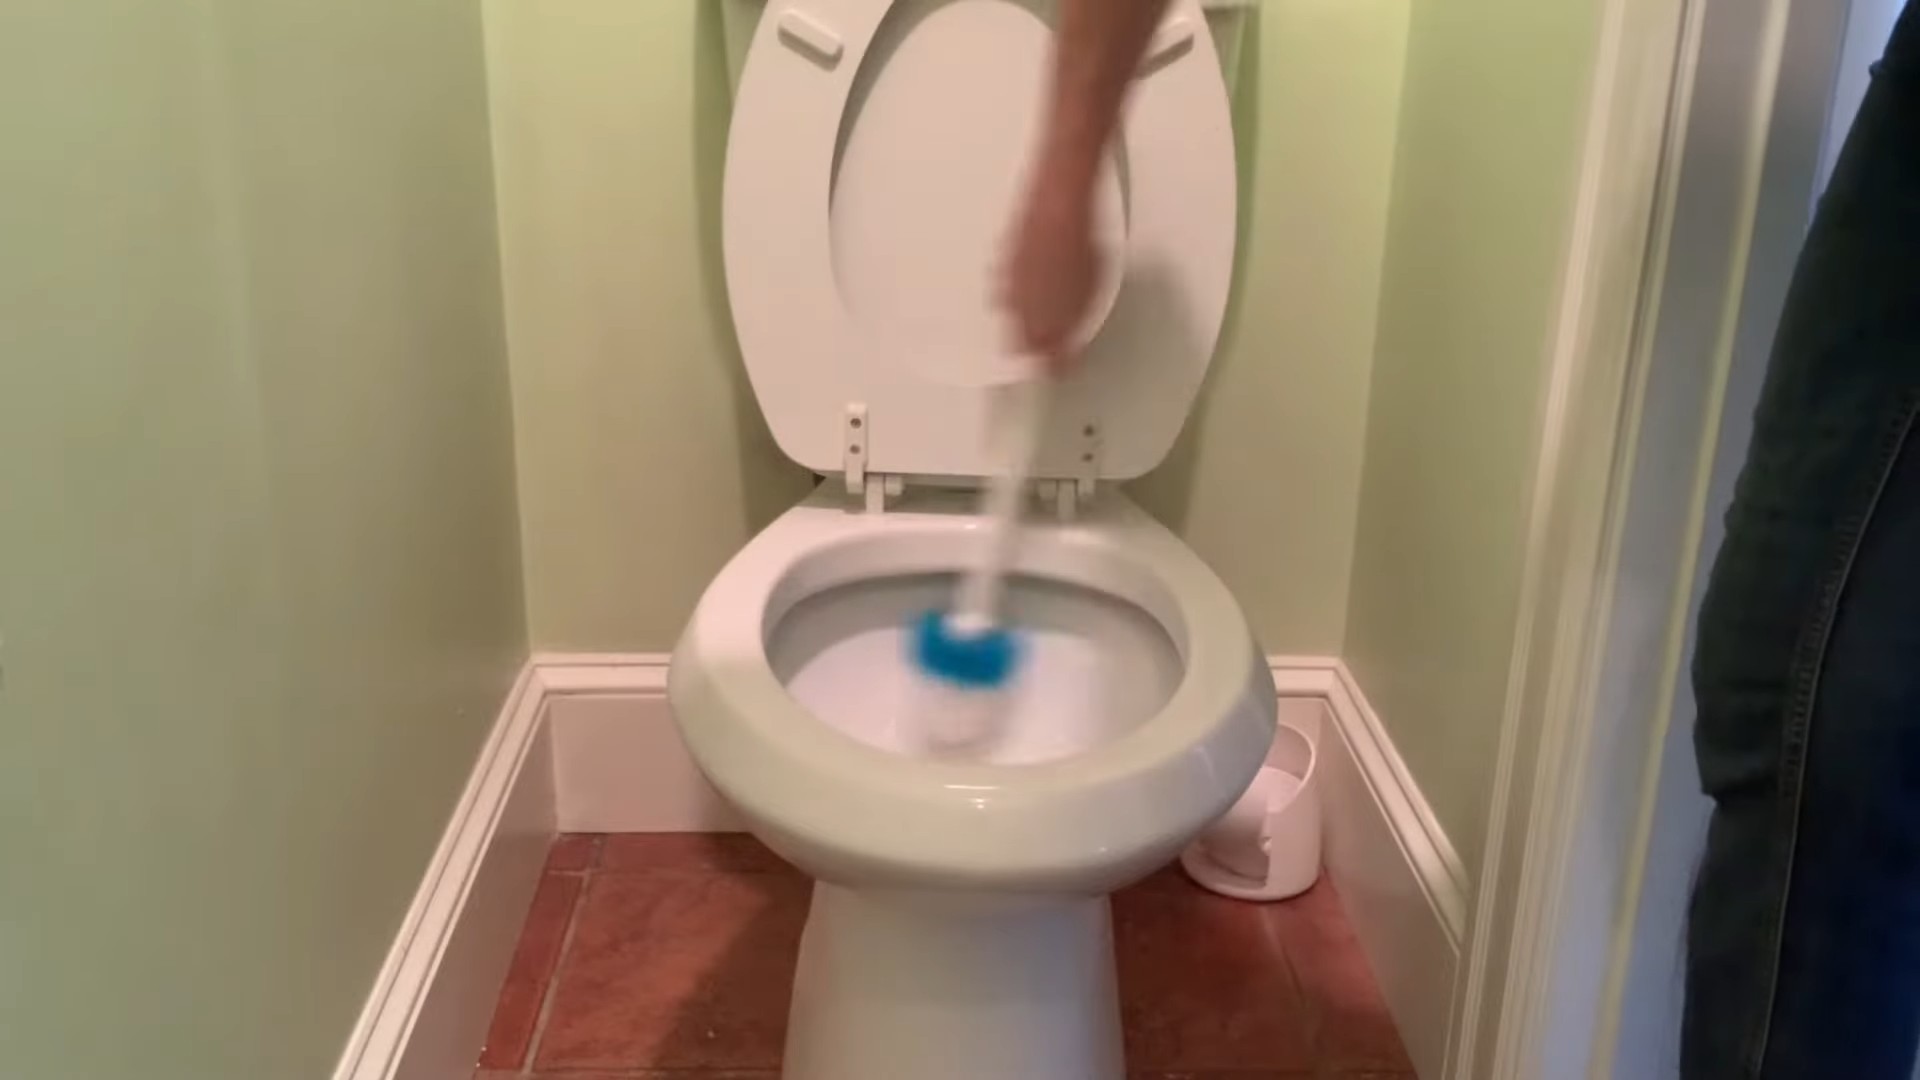
A: Most of these DIY cleaning products are safe for use on a variety of surfaces, including countertops, sinks, toilets, floors, and appliances. However, it’s always a good idea to test a small, inconspicuous area first, especially when using vinegar on delicate surfaces like marble or granite. Avoid using vinegar on natural stone surfaces, as it can etch and damage them. Baking soda can be abrasive, so use it with caution on delicate surfaces as well. For wood surfaces, use a diluted solution and avoid leaving it on for extended periods. Always rinse thoroughly after cleaning.
Q: Can I use any essential oil in these recipes?
A: While many essential oils have cleaning properties, some are more effective and safer than others. Popular choices for cleaning include lemon, tea tree, lavender, eucalyptus, peppermint, and orange essential oils. Always use pure, high-quality essential oils and follow recommended dilution guidelines. Some essential oils are not safe for use around pets or children, so do your research before using them. If you are pregnant or have any health concerns, consult with a healthcare professional before using essential oils.
Q: How long do these DIY cleaning products last?
A: The shelf life of these DIY cleaning products depends on the ingredients used. Cleaners made with water should be used within a few weeks to prevent bacterial growth. Cleaners made with vinegar or alcohol will last longer, typically several months. Store your DIY cleaners in airtight containers in a cool, dark place to prolong their shelf life. If you notice any changes in color, odor, or consistency, discard the cleaner. It’s always best to make smaller batches of DIY cleaners to ensure freshness.
Q: Are these DIY cleaning products safe for pets and children?
A: While these DIY cleaning products are generally safer than store-bought cleaners, it’s still important to take precautions when using them around pets and children. Keep cleaning solutions out of reach of children and pets. Avoid using essential oils that are known to be toxic to pets. When cleaning, ventilate the area well and allow surfaces to dry completely before allowing pets or children to come into contact with them. If you are concerned about potential sensitivities or allergies, test a small area first.
Q: Can I mix different DIY cleaning ingredients together?
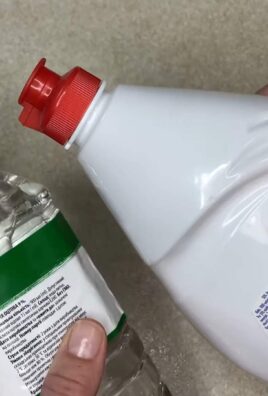
A: It’s important to be cautious when mixing different cleaning ingredients, as some combinations can create harmful fumes. Never mix bleach with vinegar or ammonia, as this can produce toxic chlorine gas. Avoid mixing hydrogen peroxide with vinegar, as this can create peracetic acid, which can be irritating to the skin, eyes, and respiratory system. When in doubt, it’s best to use cleaning ingredients separately.
Q: Where can I find the ingredients for these DIY cleaning products?
A: Most of the ingredients for these DIY cleaning products can be found at your local grocery store or online. Vinegar, baking soda, and essential oils are widely available. You can also purchase empty spray bottles and containers at most stores. Look for eco-friendly and sustainable options whenever possible.
Q: What if I don’t have essential oils? Can I still make these cleaners?
A: Yes, you can still make effective DIY cleaners without essential oils. While essential oils add fragrance and some additional cleaning properties, they are not always necessary. You can simply omit them from the recipes or substitute them with other natural ingredients, such as citrus peels or herbs. The base ingredients like vinegar, baking soda, and water will still provide effective cleaning power.
Q: How do I dispose of leftover DIY cleaning products?
A: Most DIY cleaning products can be safely disposed of down the drain with plenty of water. However, it’s always a good idea to check with your local waste management guidelines for specific instructions. Avoid pouring large quantities of undiluted vinegar or baking soda down the drain, as this can disrupt the pH balance of your septic system. If you have any concerns, contact your local waste management facility for guidance.
Leave a Comment