
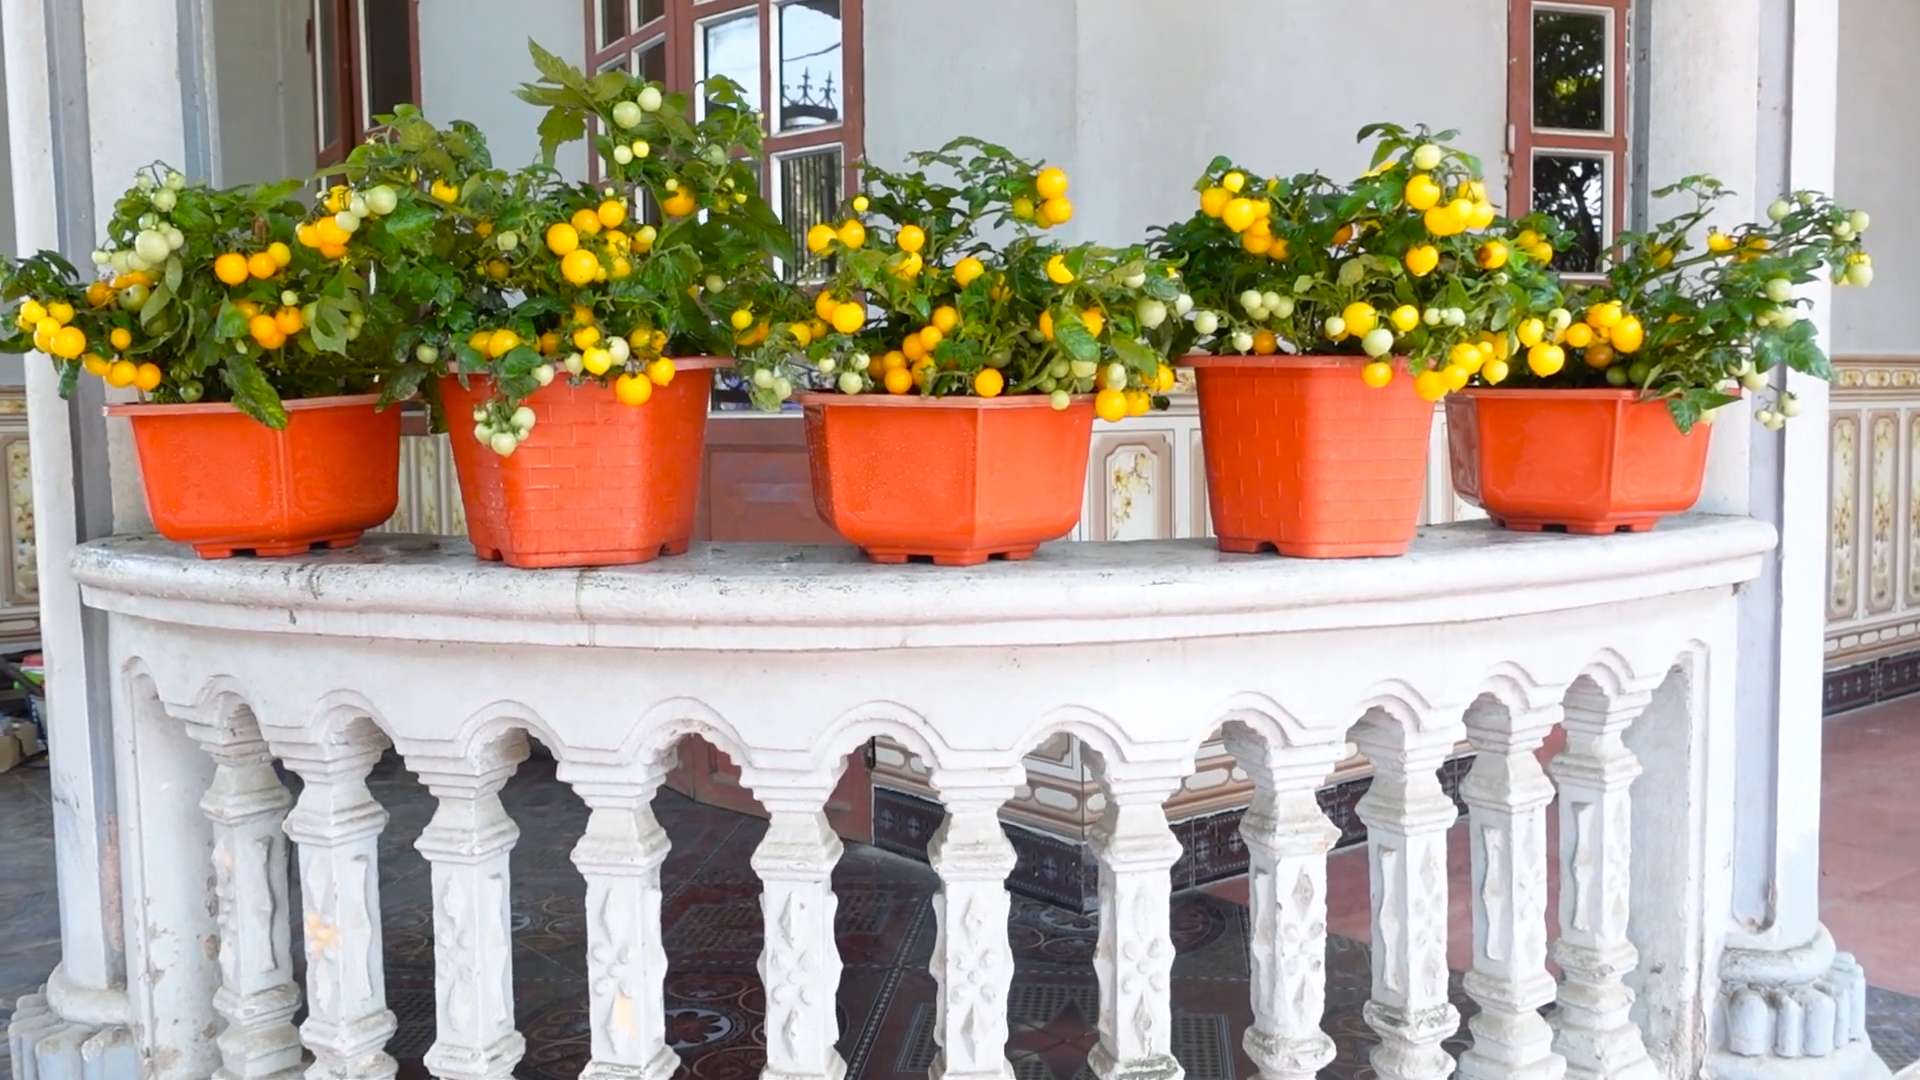
Balcony Tomato Growing Tips: Dreaming of vine-ripened, juicy tomatoes bursting with flavor, but only have a balcony to work with? You’re not alone! For centuries, urban dwellers have found creative ways to cultivate their own food, and growing tomatoes on a balcony is a fantastic way to connect with nature and enjoy fresh produce, even in the heart of the city. Imagine stepping outside your door and plucking a sun-warmed tomato for your salad – it’s easier than you think!
But let’s be honest, balcony gardening can come with its own set of challenges. Limited space, unpredictable weather, and finding the right techniques can feel overwhelming. That’s where these DIY tricks and hacks come in. I’m here to share my tried-and-true secrets for successful balcony tomato growing tips, transforming your small outdoor space into a thriving edible oasis.
Why do you need these tips? Because store-bought tomatoes simply can’t compare to the taste of homegrown! Plus, gardening is incredibly therapeutic, reducing stress and connecting you with the natural world. So, let’s ditch the grocery store tomatoes and embark on a journey to grow your own delicious, balcony-grown bounty. Get ready to learn simple, effective strategies that will have you harvesting baskets of tomatoes in no time!
Balcony Tomato Bonanza: Your Guide to Growing Delicious Tomatoes in Small Spaces
Hey there, fellow balcony gardeners! Dreaming of vine-ripened tomatoes bursting with flavor, but short on space? Don’t worry, you can absolutely cultivate a thriving tomato garden right on your balcony. I’ve been growing tomatoes on my balcony for years, and I’m here to share all my secrets to help you achieve a bountiful harvest. It’s easier than you think, and the taste of homegrown tomatoes is simply unbeatable!
Choosing the Right Tomato Variety
The first step to balcony tomato success is selecting the right varieties. Not all tomatoes are created equal, especially when it comes to container gardening. You’ll want to focus on determinate or dwarf varieties, which are bred to stay compact and produce a manageable yield for smaller spaces.
Here’s a breakdown:
* **Determinate Tomatoes:** These tomatoes grow to a certain size and then stop, producing all their fruit at once. They’re bushier and more compact, making them ideal for containers. Think Roma, Celebrity, and Patio tomatoes.
* **Indeterminate Tomatoes:** These tomatoes keep growing and producing fruit throughout the season. They require significant staking or caging and can become quite large, which might be challenging on a balcony. While you *can* grow them, you’ll need a much larger container and be prepared for some serious pruning.
* **Dwarf Tomatoes:** These are the smallest of the bunch, often reaching only 1-2 feet tall. They’re perfect for even the tiniest balconies and come in a variety of colors and flavors. Look for varieties like Tiny Tim, Venus, or Red Robin.
My personal favorites for balcony growing are Roma, Patio, and Tiny Tim. They’re reliable, productive, and don’t take up too much space.
Gathering Your Supplies
Before you start planting, you’ll need to gather all your supplies. Having everything on hand will make the process much smoother and more enjoyable.
Here’s what you’ll need:
* **Containers:** Choose containers that are at least 12 inches in diameter and depth for determinate varieties, and even larger (18-24 inches) for indeterminate ones if you decide to go that route. Fabric pots are a great option because they allow for better drainage and aeration.
* **Potting Mix:** Don’t use garden soil! It’s too heavy and compacts easily in containers. Instead, opt for a high-quality potting mix specifically designed for containers. Look for a mix that contains peat moss, perlite, and vermiculite for good drainage and aeration.
* **Tomato Seedlings or Seeds:** You can start your tomatoes from seed indoors 6-8 weeks before the last expected frost, or you can purchase seedlings from a local nursery. Seedlings are a great option if you’re short on time or don’t have a good setup for starting seeds indoors.
* **Tomato Cage or Stakes:** Even determinate tomatoes can benefit from some support, especially when they’re loaded with fruit. Choose a sturdy tomato cage or stakes that are tall enough to support the mature plant.
* **Fertilizer:** Tomatoes are heavy feeders, so you’ll need to fertilize them regularly. Use a balanced fertilizer specifically formulated for tomatoes, following the instructions on the package.
* **Watering Can or Hose:** You’ll need a way to water your tomatoes regularly. A watering can is fine for smaller balconies, but a hose with a gentle spray nozzle is more convenient for larger spaces.
* **Hand Trowel:** For planting and transplanting.
* **Gardening Gloves:** To protect your hands.
* **Pruning Shears or Scissors:** For pruning suckers (more on that later).
Planting Your Tomato Seedlings
Now for the fun part – planting! Whether you’re starting from seed or transplanting seedlings, the process is relatively straightforward.
Starting from Seed (Optional)
1. **Sow Seeds Indoors:** Fill seed starting trays or small pots with seed starting mix. Sow seeds about ¼ inch deep and water gently.
2. **Provide Warmth and Light:** Keep the soil consistently moist and provide warmth (around 70-75°F). Use a heat mat if needed. Place the trays under grow lights or in a sunny window.
3. **Harden Off Seedlings:** Once the seedlings have developed a few sets of true leaves, gradually acclimate them to outdoor conditions over a week or two before transplanting.
Transplanting Seedlings
1. **Prepare the Container:** Fill your chosen container with potting mix, leaving a few inches of space at the top.
2. **Dig a Hole:** Dig a hole in the center of the container that’s large enough to accommodate the root ball of the seedling.
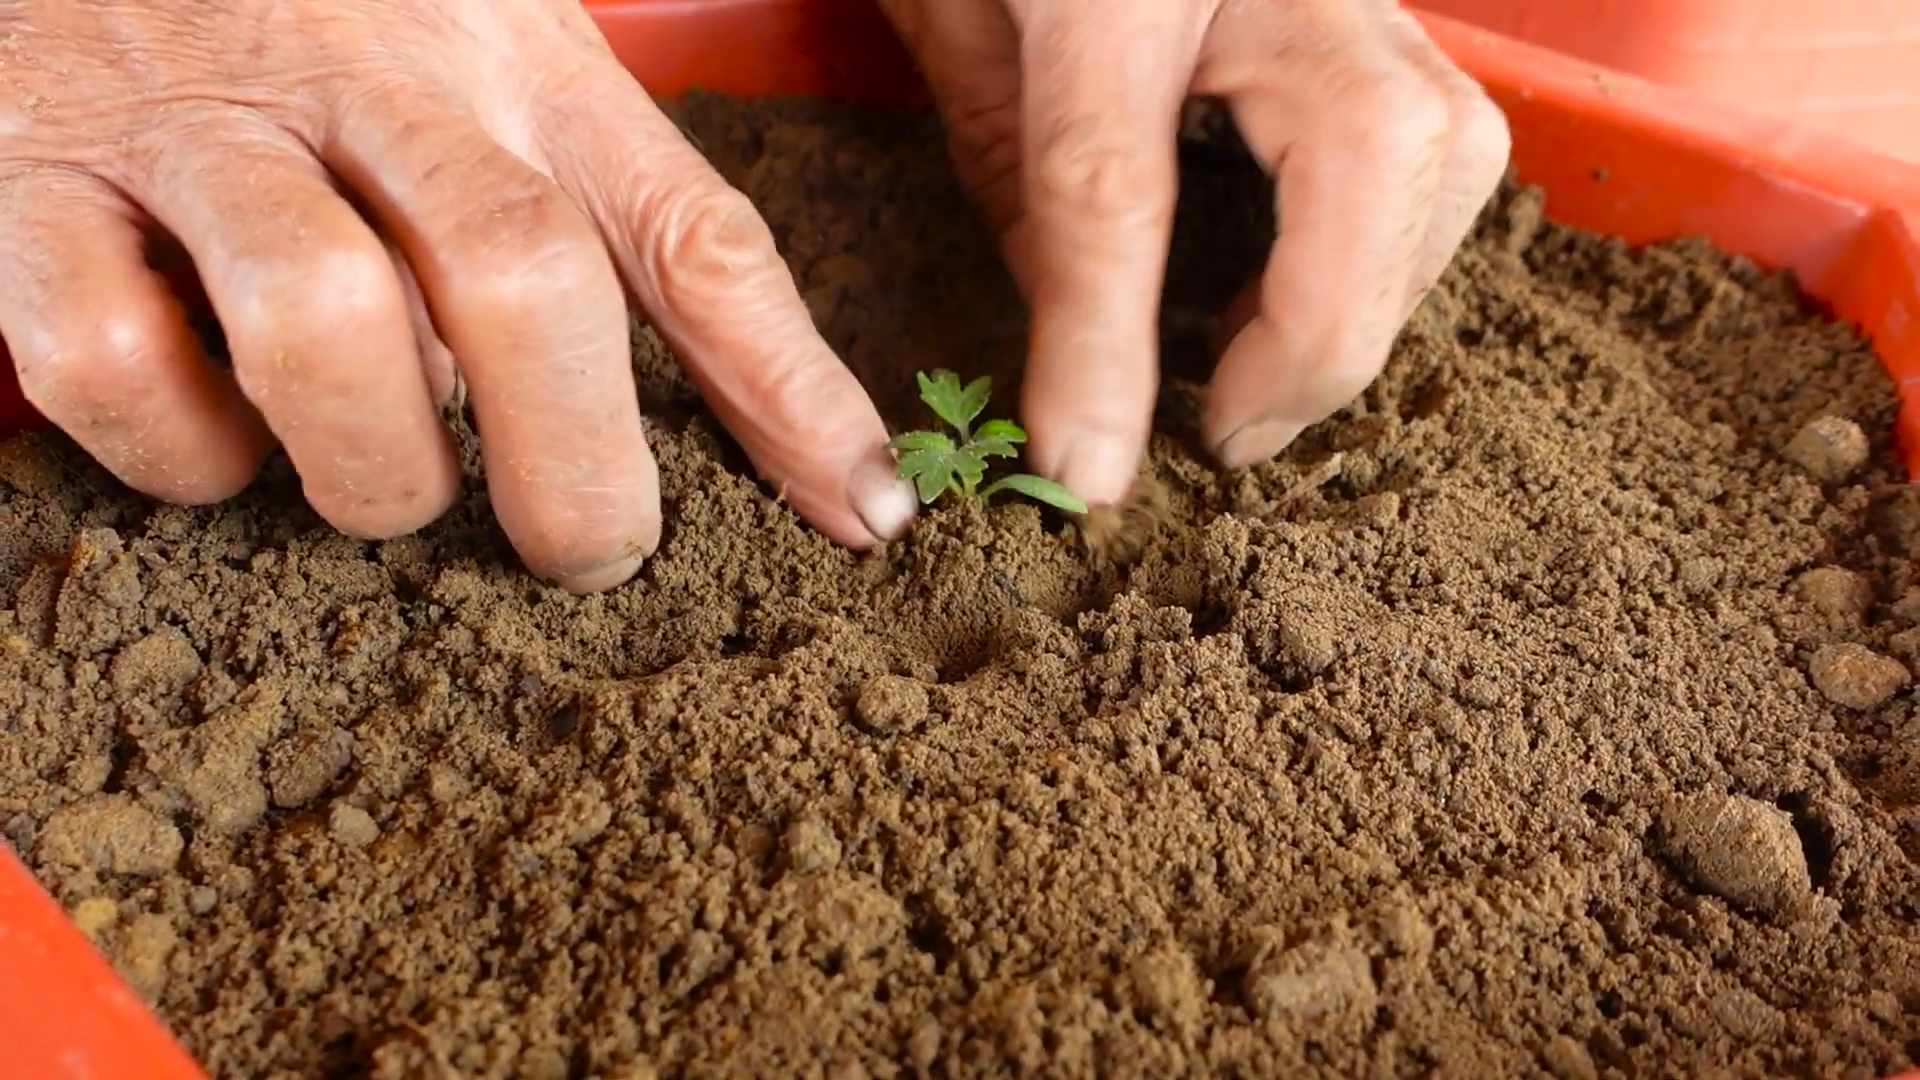
3. **Remove the Seedling:** Gently remove the seedling from its container, being careful not to damage the roots. If the roots are tightly bound, gently loosen them with your fingers.
4. **Plant the Seedling:** Place the seedling in the hole and backfill with potting mix. Bury the stem up to the first set of leaves. This will encourage the plant to develop more roots along the buried stem, resulting in a stronger, healthier plant.
5. **Water Thoroughly:** Water the seedling thoroughly after planting to help settle the soil and establish the roots.
6. **Add Support:** Install the tomato cage or stakes around the seedling to provide support as it grows.
Caring for Your Balcony Tomatoes
Once your tomatoes are planted, it’s important to provide them with the care they need to thrive. This includes watering, fertilizing, pruning, and protecting them from pests and diseases.
Watering
* **Water Deeply and Regularly:** Tomatoes need consistent moisture, especially when they’re fruiting. Water deeply whenever the top inch of soil feels dry to the touch.
* **Water at the Base of the Plant:** Avoid wetting the foliage, as this can encourage fungal diseases.
* **Water Early in the Morning:** This allows the foliage to dry out during the day, reducing the risk of disease.
Fertilizing
* **Start Fertilizing After Planting:** Begin fertilizing your tomatoes about two weeks after planting.
* **Use a Balanced Tomato Fertilizer:** Choose a fertilizer specifically formulated for tomatoes, following the instructions on the package.
* **Fertilize Regularly:** Fertilize every 2-3 weeks throughout the growing season.
Pruning
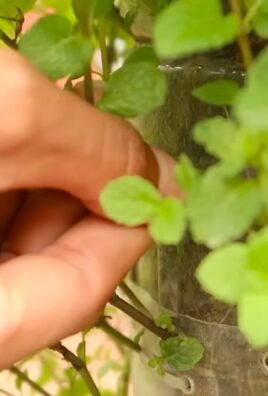
* **Prune Suckers:** Suckers are small shoots that grow in the “V” between the main stem and the branches. These suckers can steal energy from the plant and reduce fruit production. Prune them off regularly, especially on indeterminate varieties. Determinate varieties need less pruning, but removing some of the lower leaves can improve air circulation and prevent disease.
* **Remove Yellowing Leaves:** Remove any yellowing or diseased leaves to prevent the spread of disease.
Sunlight
* **Ensure Adequate Sunlight:** Tomatoes need at least 6-8 hours of sunlight per day to thrive. Choose a location on your balcony that receives plenty of sun. If your balcony doesn’t get enough sun, you may need to supplement with grow lights.
Pest and Disease Control
* **Monitor for Pests:** Keep an eye out for common tomato pests like aphids, whiteflies, and tomato hornworms.
* **Use Organic Pest Control Methods:** If you find pests, try using organic pest control methods like insecticidal soap or neem oil.
* **Prevent Disease:** To prevent disease, ensure good air circulation, avoid wetting the foliage, and remove any diseased leaves promptly.
Harvesting Your Tomatoes
The best part of growing your own tomatoes is, of course, harvesting them!
* **Harvest When Ripe:** Tomatoes are ripe when they’re fully colored and slightly soft to the touch.
* **Gently Twist or Cut:** Gently twist the tomato off the vine or use pruning shears to cut it off.
* **Enjoy Immediately:** Homegrown tomatoes taste best when eaten fresh!
Troubleshooting Common Problems
Even with the best care, you may encounter some problems when growing tomatoes on your balcony. Here are a few common issues and how to address them:
* **Blossom End Rot:** This is caused by a calcium deficiency and results in a dark, leathery spot on the bottom of the tomato. To prevent blossom end rot, ensure consistent watering and add calcium to the soil.
* **Fungal Diseases:** Fungal diseases like early blight and septoria leaf spot can be a problem in humid conditions. To prevent fungal diseases, ensure good air circulation, avoid wetting the foliage, and use a fungicide if necessary.
* **Pests:** As mentioned earlier, aphids, whiteflies, and tomato hornworms can be a nuisance. Use organic pest control methods to keep them at bay.
Tips for Success
Here are a few extra tips to help you succeed with your balcony tomato garden:
* **Choose the Right Location:** Select a location on your balcony that receives plenty of sunlight and is sheltered from strong winds.
* **Use High-Quality Potting Mix:** Don’t skimp on the potting mix! A good quality mix will provide the nutrients and drainage your tomatoes
Conclusion
So, there you have it! Transforming your balcony into a thriving tomato garden is not only achievable but incredibly rewarding. We’ve explored the key elements, from selecting the right varieties and containers to mastering watering and fertilization techniques. But the real magic lies in our DIY trick: the self-watering container hack.
Why is this a must-try? Because it simplifies the entire process, especially for busy individuals or those new to gardening. Imagine spending less time worrying about daily watering and more time enjoying the fruits (or rather, vegetables!) of your labor. This method promotes consistent moisture levels, preventing both overwatering and underwatering, which are common pitfalls for balcony tomato growers. It also encourages deeper root growth, leading to healthier, more productive plants.
Beyond the basic setup, there’s plenty of room for customization. Consider adding a layer of mulch on top of the soil to further retain moisture and suppress weeds. Experiment with different types of organic fertilizers to find what works best for your specific tomato variety. You could even incorporate companion planting, adding herbs like basil or marigolds to deter pests and attract beneficial insects. For example, basil is known to improve the flavor of tomatoes and repel whiteflies. Marigolds, on the other hand, deter nematodes and other soil pests.
Don’t be afraid to get creative with your container choices, too. While we recommended specific sizes, you can adapt the self-watering system to larger or smaller containers depending on your balcony space and the size of your tomato plants. Just remember to adjust the size of the water reservoir accordingly. You can also use recycled materials like old buckets or plastic bins to create your self-watering containers, making this a sustainable and budget-friendly gardening solution.
The beauty of this DIY approach is its adaptability. You can tailor it to your specific needs and preferences. Whether you’re growing cherry tomatoes, Roma tomatoes, or heirloom varieties, this self-watering container hack can help you achieve a bountiful harvest.
We are confident that this **balcony tomato growing** trick will revolutionize your gardening experience. It’s a game-changer for anyone looking to grow delicious, homegrown tomatoes in a limited space. It simplifies the watering process, promotes healthy plant growth, and ultimately leads to a more rewarding harvest.
Now, it’s your turn! We encourage you to try this DIY self-watering container method and witness the difference it makes. Share your experiences with us! We’d love to see photos of your thriving balcony tomato gardens and hear about any variations or adaptations you’ve made. Let’s build a community of balcony tomato enthusiasts and learn from each other’s successes. Happy gardening!
Frequently Asked Questions (FAQ)
What type of container is best for balcony tomato growing?
The ideal container size depends on the tomato variety you’re growing. For determinate (bush) varieties, a 5-gallon container is usually sufficient. Indeterminate (vining) varieties, which grow much larger, require at least a 10-gallon container, and preferably larger. Ensure the container has drainage holes, or if you’re using the self-watering method, that you can create a proper reservoir. Consider the weight of the container when filled with soil and water, especially if you have weight restrictions on your balcony. Terracotta pots are attractive but heavy, while plastic containers are lightweight and durable. Fabric pots are also a good option as they allow for good drainage and aeration.
How often should I water my balcony tomatoes, especially with the self-watering container?
The beauty of the self-watering container is that it significantly reduces the frequency of watering. Initially, you’ll need to water the soil from the top to help the roots establish. Once the roots reach the water reservoir, you’ll primarily need to refill the reservoir as needed. The frequency of refilling depends on the weather, the size of the plant, and the size of the reservoir. Check the reservoir level every few days, especially during hot weather. You’ll likely need to refill it more frequently during peak growing season. Avoid letting the reservoir completely dry out.
What kind of soil should I use for balcony tomato growing?
Use a high-quality potting mix specifically formulated for containers. Avoid using garden soil, as it can become compacted in containers and doesn’t drain well. A good potting mix will be lightweight, well-draining, and contain essential nutrients. You can also amend the potting mix with compost or other organic matter to improve its fertility and water retention. Look for potting mixes that contain ingredients like peat moss, perlite, vermiculite, and composted bark.
How much sunlight do balcony tomatoes need?
Tomatoes need at least 6-8 hours of direct sunlight per day to thrive. Choose a location on your balcony that receives ample sunlight. If your balcony doesn’t get enough direct sunlight, you may need to supplement with grow lights. Rotate the containers regularly to ensure that all sides of the plant receive adequate sunlight.
What are some common pests and diseases that affect balcony tomatoes, and how can I prevent them?
Common pests include aphids, whiteflies, spider mites, and tomato hornworms. Diseases include early blight, late blight, and blossom end rot. To prevent pests, inspect your plants regularly and remove any pests you find. You can also use insecticidal soap or neem oil to control pests. To prevent diseases, ensure good air circulation around your plants, avoid overhead watering, and remove any diseased leaves. Blossom end rot is caused by calcium deficiency, so ensure your soil has adequate calcium or supplement with calcium nitrate. Companion planting with basil or marigolds can also help deter pests.
How do I fertilize my balcony tomatoes?
Tomatoes are heavy feeders and require regular fertilization. Use a balanced fertilizer specifically formulated for tomatoes. Follow the instructions on the fertilizer label. You can also use organic fertilizers like compost tea or fish emulsion. Fertilize your plants every 2-3 weeks during the growing season. Avoid over-fertilizing, as this can lead to excessive foliage growth and reduced fruit production.
How do I prune my balcony tomatoes?
Pruning is important for indeterminate tomato varieties to encourage fruit production and improve air circulation. Remove suckers (the small shoots that grow between the main stem and the branches) to direct the plant’s energy towards fruit production. You can also remove any yellowing or diseased leaves. Determinate tomato varieties generally don’t require as much pruning.
What tomato varieties are best suited for balcony growing?
Several tomato varieties are well-suited for balcony growing, including:
* **Cherry Tomatoes:** These are compact and produce abundant small fruits.
* **Roma Tomatoes:** These are determinate and produce medium-sized fruits ideal for sauces.
* **Patio Tomatoes:** These are specifically bred for container growing and are very compact.
* **Bush Early Girl:** This is a determinate variety that produces medium-sized fruits early in the season.
* **Tumbling Tom:** This is a trailing variety that is perfect for hanging baskets.
Can I grow tomatoes on a balcony that faces north?
Growing tomatoes on a north-facing balcony can be challenging due to the limited sunlight. However, it’s not impossible. Choose tomato varieties that are more tolerant of shade, such as cherry tomatoes or early-maturing varieties. Supplement with grow lights to provide additional light. Ensure the plants receive as much indirect sunlight as possible.
How do I deal with blossom end rot on my balcony tomatoes?
Blossom end rot is a common problem in tomatoes, characterized by a dark, leathery spot on the bottom of the fruit. It’s caused by calcium deficiency, which can be due to inconsistent watering, poor soil drainage, or a lack of calcium in the soil. To prevent blossom end rot, ensure consistent watering, improve soil drainage, and add calcium to the soil. You can use a calcium supplement like calcium nitrate or bone meal. Also, avoid over-fertilizing with nitrogen, as this can interfere with calcium uptake.
Leave a Comment