
Grow Mint Indoors and unlock a world of fresh, fragrant possibilities right at your fingertips! Imagine stepping into your kitchen and snipping off a few vibrant mint leaves to brighten your morning tea, add a refreshing twist to your summer cocktails, or elevate your culinary creations. No more last-minute grocery store runs or settling for wilted, lackluster herbs. This isn’t just about gardening; it’s about bringing a touch of nature’s magic into your everyday life.
Mint, with its invigorating aroma and versatile uses, has been cherished for centuries. From ancient Roman banquets where it was used to freshen breath and adorn guests, to traditional medicinal practices across various cultures, mint has always held a special place. But let’s face it, sometimes our outdoor gardens aren’t ideal for cultivating this vigorous herb. That’s where the beauty of indoor gardening comes in!
I know what you’re thinking: “I don’t have a green thumb!” But trust me, growing mint indoors is surprisingly easy, even for beginners. This DIY guide will equip you with simple yet effective tricks and hacks to successfully grow mint indoors, regardless of your experience level. We’ll cover everything from choosing the right container and soil to providing adequate light and water. Say goodbye to expensive store-bought mint and hello to a thriving, aromatic herb garden right in your home!
Growing Mint Indoors: A DIY Guide for Fresh Flavor All Year Round
I love the fresh, invigorating taste of mint! Whether in my morning smoothie, as a refreshing tea, or as an ingredient in savory dishes – mint is simply versatile. But instead of constantly buying mint at the supermarket, I decided to just grow it myself. And the best part? It’s super easy to grow mint indoors! Here is my detailed guide on how you can do it too:
What You’ll Need:
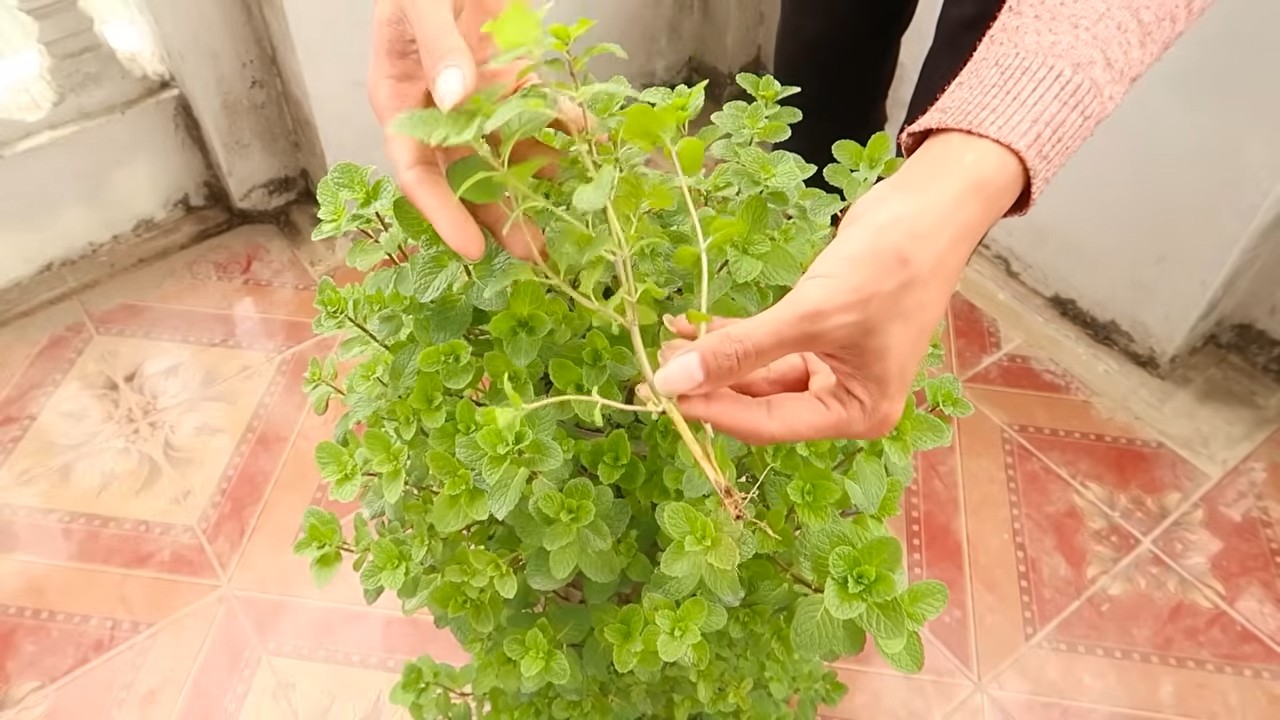
- Mint seedlings or cuttings: You can buy mint seedlings at almost any garden center. Alternatively, you can get cuttings from a friend who already grows mint. Make sure the cuttings are at least 10 cm (4 inches) long and have several leaves.
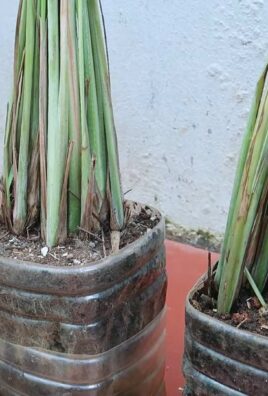
- A pot: Choose a pot with a diameter of at least 15 cm (6 inches). Mint likes to spread out, so the bigger the pot, the better. Make sure the pot has drainage holes so excess water can run off.
- Potting soil: Use a high-quality, well-draining potting soil. A mix of potting soil, compost, and perlite is ideal.
- Water: Clear, clean water for watering.
- A sunny window: Mint needs at least 4-6 hours of sunlight per day. A south- or west-facing window is ideal.
- Optional: Liquid fertilizer: Once a month, you can fertilize your mint with a diluted liquid fertilizer to promote growth.
- Optional: Spray bottle: To increase humidity, you can regularly spray the mint with water.
Propagating Mint from Cuttings:
If you’ve opted for cuttings, you first need to root them. Don’t worry, it’s easier than it sounds!
- Prepare the cuttings: Remove the lower leaves from the cuttings, leaving about 5 cm (2 inches) of the stem bare. This prevents the leaves from rotting in the water.
- Place the cuttings in water: Put the cuttings in a glass of water. Make sure the leafless stems are underwater, but the leaves are not.
- Let roots form: Place the glass in a bright spot, but not in direct sunlight. Change the water every few days. After about 1-2 weeks, roots should begin to form.
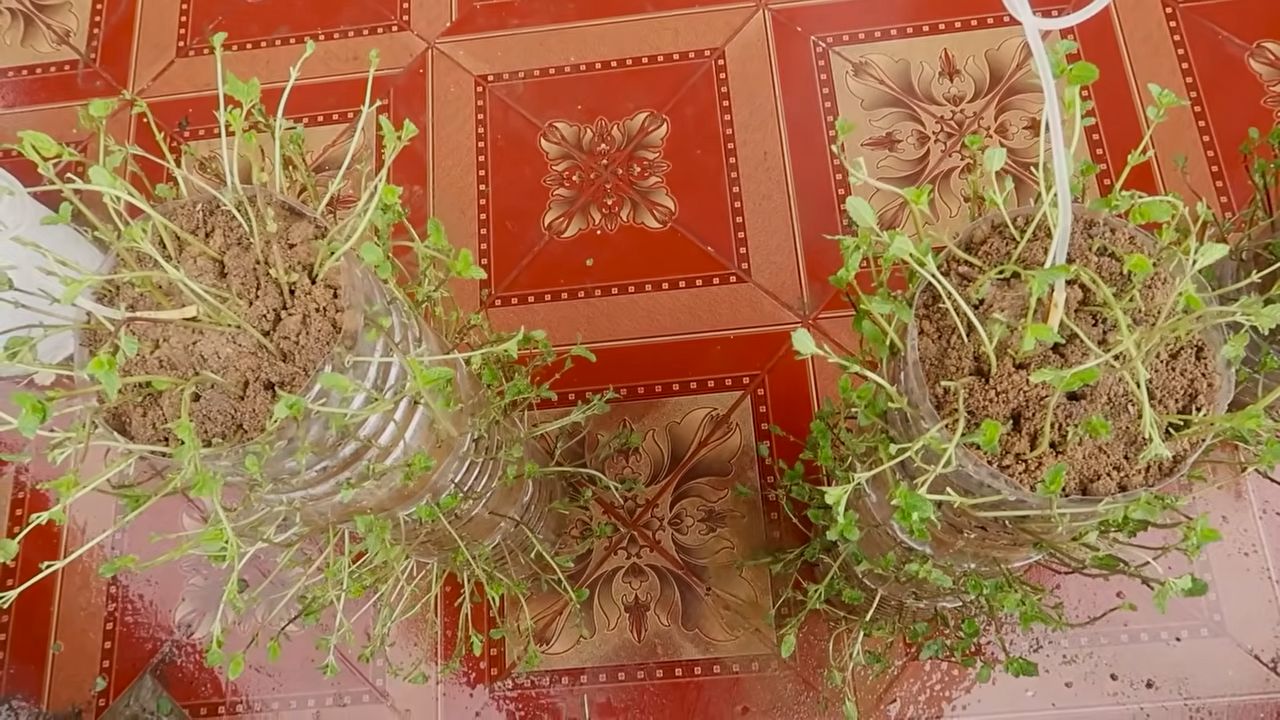
- Planting: Once the roots are about 2-3 cm (1 inch) long, you can plant the cuttings in the pot with potting soil.
Planting Mint:
Whether you are using seedlings or rooted cuttings, the planting process is essentially the same.
- Prepare the pot: Fill the pot with potting soil, but leave about 2-3 cm (1 inch) of space at the top.
- Plant: Dig a small hole in the soil large enough to accommodate the roots of the seedling or cutting. Carefully place the plant in the hole and fill it with soil. Lightly press the soil down.
- Water: Water the mint thoroughly until water runs out of the drainage holes.
Caring for Your Mint:
Now that your mint is planted, it’s important to care for it properly so that it grows healthy and strong.
- Watering: Water the mint regularly, but avoid waterlogging. The soil should always be slightly moist, but not wet. Check the soil by sticking your finger about 2 cm (1 inch) deep into the soil. If it feels dry, it’s time to water.
- Sunlight: Place the mint in a sunny window where it gets at least 4-6 hours of sunlight per day. If you don’t have enough sunlight, you can also use a grow lamp.
- Humidity: Mint likes high humidity. You can increase humidity by regularly spraying the mint with water or placing the pot on a tray with water and pebbles.
- Fertilizing: Fertilize the mint once a month with a diluted liquid fertilizer. Follow the instructions on the fertilizer package.
- Pruning: Prune the mint regularly to encourage growth and prevent it from becoming too long and leggy. Cut the stems just above a leaf node. You can use the cut leaves for cooking, tea, or drying.
- Removing flowers: If your mint starts to flower, you should remove the blossoms. Flowering diverts the plant’s energy and can slow down leaf growth.
Problems and Solutions:
Even though mint is relatively easy to grow, problems can sometimes arise. Here are some common problems and how to solve them:
- Yellow leaves: Yellow leaves can be a sign of overwatering, underwatering, or a nutrient deficiency. Check the soil and adjust your watering accordingly. Fertilize the mint if necessary.
- Brown leaves: Brown leaves can be a sign of sunburn or air that is too dry. Move the mint to a shadier spot and increase the humidity.
- Pests: Mint can be infested by aphids, spider mites, or whiteflies. You can combat these pests with an insecticidal soap or neem oil.
Harvesting and Using:
The best part about growing mint indoors is that you have fresh mint on hand at all times!
- Harvest: Harvest the mint by cutting the stems just above a leaf node.
- Use: You can use the fresh mint immediately or save it for later.
- Store: To store fresh mint, you can wrap it in a damp paper towel and keep it in a plastic bag in the refrigerator. It will last for about a week. You can also dry or freeze the mint.
Additional Tips:
- Mint is invasive: Mint loves to spread, both in a pot and in the garden. If you plant it in the garden, you should plant it in a container to prevent it from spreading uncontrollably.
- Different mint varieties: There are many different types of mint, such as peppermint, spearmint, chocolate mint, and lemon mint. Try different varieties to find your favorite.
- Propagating mint: You can easily propagate mint from cuttings. Simply cut off a stem, place it in water, and wait for roots to form. Then you can plant the cutting in a new pot.
- Mint as a natural insecticide: Mint has a strong scent that can repel insects. You can plant mint near windows and doors to keep insects away.
With these tips and tricks, you can easily grow fresh mint indoors and enjoy its fresh taste all year round! Happy gardening
Conclusion
So, there you have it! Growing mint indoors isn’t just a whimsical dream for those with green thumbs; it’s an achievable reality for anyone, regardless of their gardening experience. We’ve walked you through the simple steps, from selecting the right container and soil to providing the optimal light and watering conditions. But why is this DIY trick a must-try?
First and foremost, imagine the sheer convenience of having fresh, fragrant mint readily available at your fingertips. No more last-minute dashes to the grocery store or settling for wilted, lackluster leaves. Whether you’re whipping up a refreshing mojito, adding a vibrant garnish to your summer salads, or brewing a soothing cup of mint tea, your homegrown mint will always be at its peak flavor and freshness.
Beyond the culinary benefits, growing mint indoors offers a therapeutic and rewarding experience. Nurturing a plant from a small cutting or seedling to a thriving herb is incredibly satisfying. The vibrant green foliage adds a touch of natural beauty to your indoor space, creating a calming and inviting atmosphere. Plus, the invigorating aroma of mint can help to uplift your mood and reduce stress.
But the beauty of this DIY project lies in its versatility. Feel free to experiment with different varieties of mint, such as peppermint, spearmint, chocolate mint, or even apple mint. Each variety offers a unique flavor profile and aroma, allowing you to customize your indoor herb garden to your personal preferences. You can also explore different container options, from classic terracotta pots to repurposed mason jars or even hanging baskets. Get creative and let your personality shine through!
Consider companion planting your mint with other herbs like basil or parsley, but be mindful of mint’s aggressive growth habit. Keeping it contained in its own pot is generally recommended to prevent it from taking over your entire herb garden. You can also propagate your mint by taking cuttings and starting new plants, allowing you to expand your indoor herb collection or share your bounty with friends and family.
We’ve armed you with the knowledge and inspiration to embark on your own indoor mint-growing adventure. Now, it’s time to roll up your sleeves, get your hands dirty, and experience the joy of cultivating your own fresh mint. Don’t be afraid to experiment, learn from your mistakes, and most importantly, have fun!
We are confident that you will find **growing mint indoors** a rewarding and enjoyable experience. We encourage you to try this DIY trick and share your experiences with us. Let us know what varieties of mint you’re growing, what challenges you’ve encountered, and what tips you’ve discovered along the way. Your feedback will not only help us improve this guide but also inspire other aspiring indoor gardeners to give it a try. Share your photos and stories on social media using #IndoorMintMagic and let’s create a community of thriving indoor mint growers! We can’t wait to see your lush, fragrant mint gardens!
Frequently Asked Questions (FAQ)
1. What is the best type of mint to grow indoors?
The best type of mint to grow indoors depends on your personal preferences. Spearmint and peppermint are two of the most popular and readily available varieties. Spearmint has a milder, sweeter flavor, while peppermint has a more intense, cooling taste. Other options include chocolate mint, apple mint, and orange mint, each offering a unique flavor profile. Consider what you plan to use the mint for when making your selection. If you’re primarily using it for mojitos, spearmint is the classic choice. For teas, peppermint might be preferred. Experiment with different varieties to discover your favorites!
2. What kind of pot and soil should I use for growing mint indoors?
Choose a pot that is at least 6 inches in diameter and has drainage holes to prevent waterlogging. Terracotta pots are a good option as they allow for good air circulation, but plastic pots are also suitable. As for soil, use a well-draining potting mix that is rich in organic matter. You can also amend the potting mix with compost or perlite to improve drainage and aeration. Avoid using garden soil, as it can be too heavy and compact for container gardening.
3. How much sunlight does indoor mint need?
Mint thrives in bright, indirect sunlight. Aim for at least 4-6 hours of sunlight per day. If you don’t have a sunny windowsill, you can supplement with artificial grow lights. Place the grow lights about 6-12 inches above the plants and keep them on for 12-14 hours per day. Rotate the pot regularly to ensure that all sides of the plant receive adequate light.
4. How often should I water my indoor mint plant?
Water your mint plant when the top inch of soil feels dry to the touch. Water thoroughly until excess water drains out of the drainage holes. Avoid overwatering, as this can lead to root rot. During the growing season (spring and summer), you may need to water more frequently than during the dormant season (fall and winter). Check the soil moisture regularly and adjust your watering schedule accordingly.
5. How do I fertilize my indoor mint plant?
Feed your mint plant with a balanced liquid fertilizer every 2-4 weeks during the growing season. Dilute the fertilizer according to the package instructions. Avoid over-fertilizing, as this can burn the roots. You can also use organic fertilizers, such as compost tea or fish emulsion.
6. How do I prune my indoor mint plant?
Pruning is essential for keeping your mint plant healthy and productive. Regularly pinch off the top leaves to encourage bushier growth. You can also prune back the stems to about half their length to promote new growth. Remove any yellowing or dead leaves. Pruning also helps to prevent the plant from becoming leggy and sprawling.
7. How do I deal with pests and diseases on my indoor mint plant?
Mint is generally pest-resistant, but it can be susceptible to aphids, spider mites, and whiteflies. Inspect your plant regularly for signs of infestation. If you find any pests, you can try washing them off with a strong stream of water or using insecticidal soap. For fungal diseases, such as powdery mildew, ensure good air circulation and avoid overwatering. You can also use a fungicide if necessary.
8. Can I propagate mint from cuttings?
Yes, mint is very easy to propagate from cuttings. Simply take a 4-6 inch cutting from a healthy stem, remove the lower leaves, and place the cutting in a glass of water. Change the water every few days. Within a week or two, roots will begin to form. Once the roots are about an inch long, you can transplant the cutting into a pot filled with potting mix.
9. Why is my indoor mint plant turning yellow?
Yellowing leaves can be caused by several factors, including overwatering, underwatering, nutrient deficiencies, or pest infestations. Check the soil moisture and adjust your watering schedule accordingly. Make sure your plant is getting enough sunlight and fertilize it regularly. Inspect the plant for pests and treat them if necessary.
10. How do I harvest mint leaves?
Harvest mint leaves by pinching or cutting them off the stem. The best time to harvest is in the morning, after the dew has dried. You can use the leaves fresh or dry them for later use. To dry mint leaves, spread them out on a screen or tray in a cool, dry place. Once they are completely dry, store them in an airtight container.
Leave a Comment