
Growing Peppers at Home can seem daunting, especially if you’re new to gardening. But trust me, with a few clever tricks and a little DIY ingenuity, you can be harvesting a vibrant bounty of peppers right from your own backyard (or balcony!) in no time. Forget those bland, overpriced peppers at the grocery store – imagine the satisfaction of biting into a juicy, homegrown bell pepper or adding a fiery kick to your meals with your own chili peppers!
The history of pepper cultivation is fascinating, stretching back thousands of years to South America, where they were prized not only for their flavor but also for their medicinal properties. From ancient civilizations to modern-day cuisine, peppers have played a vital role in cultures around the world. Now, you can participate in this rich history by growing peppers at home.
Why do you need these DIY tricks? Because let’s face it, gardening can be tricky! Pests, diseases, and unpredictable weather can all throw a wrench in your pepper-growing plans. But with these simple hacks, I’ll show you how to overcome these challenges and create the perfect environment for your peppers to thrive. I’m excited to share my favorite tips and tricks that will help you achieve a pepper harvest that will make your neighbors jealous!
Growing Peppers at Home: From Seed to Salsa!
Hey there, fellow gardening enthusiasts! I’m so excited to share my tried-and-true method for growing peppers at home. Whether you’re dreaming of fiery habaneros or sweet bell peppers, this guide will walk you through every step, from starting seeds indoors to harvesting a bountiful crop. Let’s get our hands dirty!
Choosing Your Peppers
Before we dive in, let’s talk peppers! The world of peppers is vast and exciting. Consider these factors when choosing your varieties:
* Heat Level: This is measured using the Scoville scale. Bell peppers have a Scoville Heat Unit (SHU) of 0, while ghost peppers can reach over 1 million! Decide how much spice you can handle.
* Pepper Type: Bell peppers, jalapeños, cayenne, habaneros, and banana peppers are just a few examples. Each has a unique flavor and texture.
* Growing Conditions: Some peppers thrive in hotter climates, while others are more tolerant of cooler temperatures. Check the seed packet or plant description for specific requirements.
* Space: Consider the size of your garden or containers. Some pepper plants can grow quite large!
I personally love growing a mix of sweet and spicy peppers. This year, I’m trying bell peppers, jalapeños, and a few cayenne peppers for a little kick.
Starting Seeds Indoors (Recommended for Most Climates)
Starting seeds indoors gives your peppers a head start, especially if you live in a region with a shorter growing season. I usually start my seeds about 6-8 weeks before the last expected frost.
Materials You’ll Need:
* Pepper seeds
* Seed starting trays or small pots
* Seed starting mix (a light, sterile soil mix)
* Spray bottle
* Heat mat (optional, but helpful)
* Grow light (essential for strong seedlings)
* Humidity dome (optional, but helps maintain moisture)
Step-by-Step Instructions:
1. Prepare Your Seed Starting Trays: Fill your seed starting trays or pots with seed starting mix. Gently tap the trays to settle the soil.
2. Sow the Seeds: Make a small indentation (about ¼ inch deep) in the soil of each cell. Place 2-3 pepper seeds in each indentation. This increases the chances of at least one seed germinating.
3. Cover the Seeds: Gently cover the seeds with a thin layer of seed starting mix.
4. Water the Seeds: Use a spray bottle to thoroughly moisten the soil. Avoid overwatering, which can lead to damping off (a fungal disease that kills seedlings).
5. Provide Warmth: Place the seed starting trays on a heat mat, if using. Peppers germinate best at temperatures between 75-85°F (24-29°C).
6. Maintain Humidity: Cover the trays with a humidity dome to help retain moisture. If you don’t have a humidity dome, you can cover the trays with plastic wrap.
7. Provide Light: Place the trays under a grow light. Keep the light on for 14-16 hours per day. Adjust the height of the light so that it’s a few inches above the seedlings.
8. Monitor and Water: Check the soil moisture daily. Keep the soil consistently moist, but not soggy. Water as needed using a spray bottle.
9. Remove Humidity Dome: Once the seedlings emerge (usually within 7-14 days), remove the humidity dome to prevent fungal diseases.
10. Thin Seedlings: Once the seedlings have their first set of true leaves (the leaves that look like miniature pepper leaves), thin them to one seedling per cell. Choose the strongest seedling and snip off the others at the soil line. Don’t pull them out, as this can disturb the roots of the remaining seedling.
Transplanting Seedlings
Once your seedlings have developed several sets of true leaves and the weather has warmed up (soil temperature consistently above 60°F/15°C), it’s time to transplant them outdoors.
Hardening Off:
Before transplanting, you need to “harden off” your seedlings. This process gradually acclimates them to outdoor conditions, preventing transplant shock.
1. Start Slowly: Begin by placing the seedlings outdoors in a sheltered location (e.g., a porch or patio) for 1-2 hours per day.
2. Increase Exposure: Gradually increase the amount of time the seedlings spend outdoors each day, over the course of a week or two.
3. Protect from Harsh Conditions: Protect the seedlings from direct sunlight, strong winds, and frost.
4. Monitor for Stress: Watch for signs of stress, such as wilting or leaf burn. If you see these signs, bring the seedlings back indoors and reduce the amount of time they spend outdoors.
Transplanting Instructions:
1. Choose a Sunny Location: Peppers need at least 6-8 hours of sunlight per day.
2. Prepare the Soil: Amend the soil with compost or other organic matter to improve drainage and fertility. Peppers prefer well-drained soil.
3. Dig Holes: Dig holes that are slightly larger than the root balls of the seedlings. Space the holes 18-24 inches apart, depending on the variety of pepper.
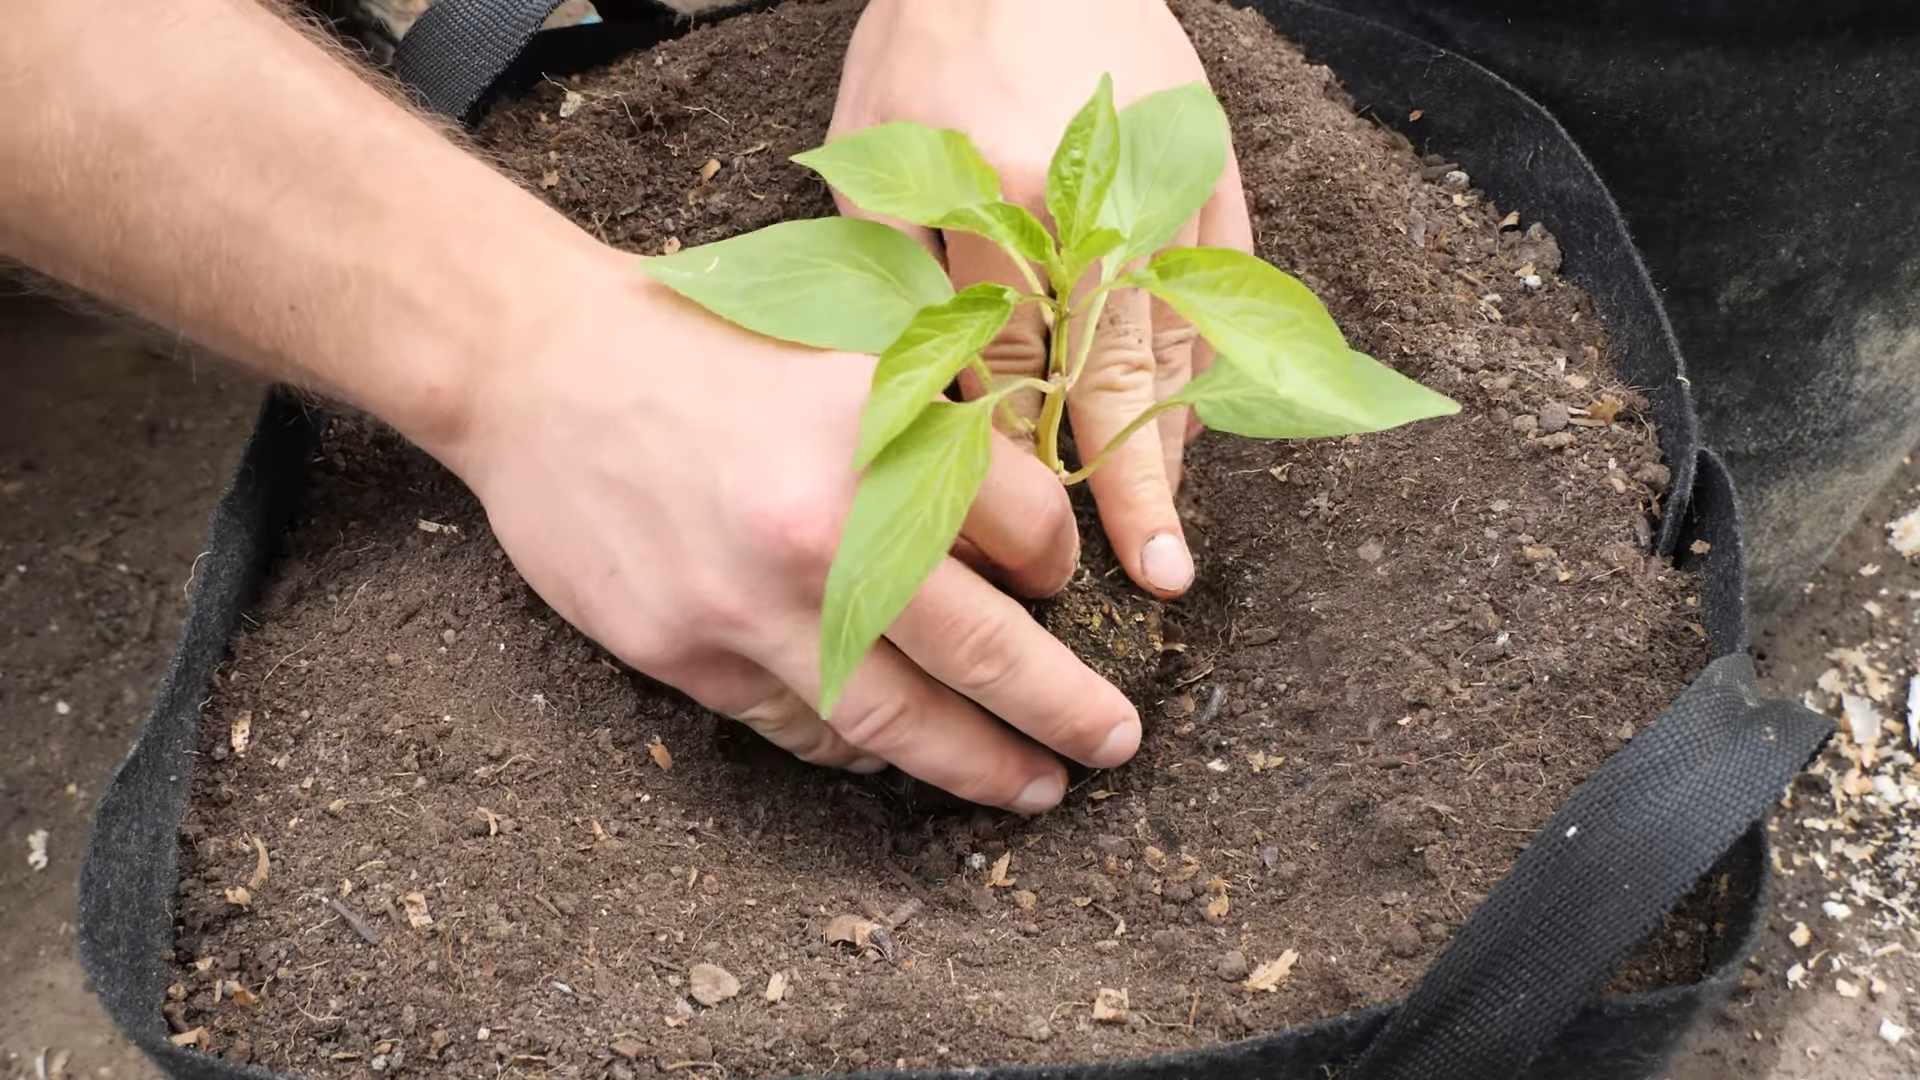
4. Remove Seedlings from Trays: Gently remove the seedlings from their trays or pots. Be careful not to damage the roots.
5. Plant the Seedlings: Place the seedlings in the holes and backfill with soil. Gently firm the soil around the base of the plants.
6. Water Thoroughly: Water the seedlings thoroughly after transplanting.
7. Mulch: Apply a layer of mulch around the plants to help retain moisture, suppress weeds, and regulate soil temperature. I like to use straw or wood chips.
8. Stake or Cage: For taller pepper varieties, provide support with stakes or cages to prevent them from falling over.
Caring for Your Pepper Plants
Once your pepper plants are in the ground, it’s important to provide them with proper care to ensure a healthy and productive harvest.
Watering:
* Water deeply and regularly, especially during hot, dry weather.
* Avoid overhead watering, which can promote fungal diseases.
* Water at the base of the plants, using a soaker hose or drip irrigation system.
* Check the soil moisture regularly and water when the top inch of soil feels dry.
Fertilizing:
* Fertilize your pepper plants every 2-3 weeks with a balanced fertilizer.
* Look for a fertilizer that is specifically formulated for vegetables.
* Follow the instructions on the fertilizer package.
* Avoid over-fertilizing, which can lead to excessive foliage growth and fewer peppers.
Pruning:
* Pruning is not essential for pepper plants, but it can help improve air circulation and sunlight penetration.
* Remove any yellowing or diseased leaves.
* Pinch off the growing tips of the plants to encourage bushier growth.
Pest and Disease Control:
* Monitor your pepper plants regularly for pests and diseases.
* Common pepper pests include aphids, spider mites, and whiteflies.
* Common pepper diseases include blossom end rot, fungal leaf spot, and viral diseases.
* Use organic pest control methods whenever possible, such as insecticidal soap or neem oil.
* Remove any diseased plants or plant parts to prevent the spread of disease.
Dealing with Blossom End Rot
Blossom end rot is a common problem in peppers (and tomatoes), characterized by a dark, sunken spot on the bottom of the fruit. It’s caused by a calcium deficiency, usually due to inconsistent watering.
How to Prevent Blossom End Rot:
* Water Consistently: Provide consistent and even watering to maintain adequate soil moisture.
* Amend the Soil: Add calcium to the soil by incorporating bone meal or crushed eggshells before planting.
* Foliar Spray: If you see signs of blossom end rot, you can apply a foliar spray of calcium chloride.
Harvesting Your Peppers
The time it takes for peppers to mature depends on the variety. Bell peppers typically take 60-90 days to mature, while hot peppers can take longer.
When to Harvest:
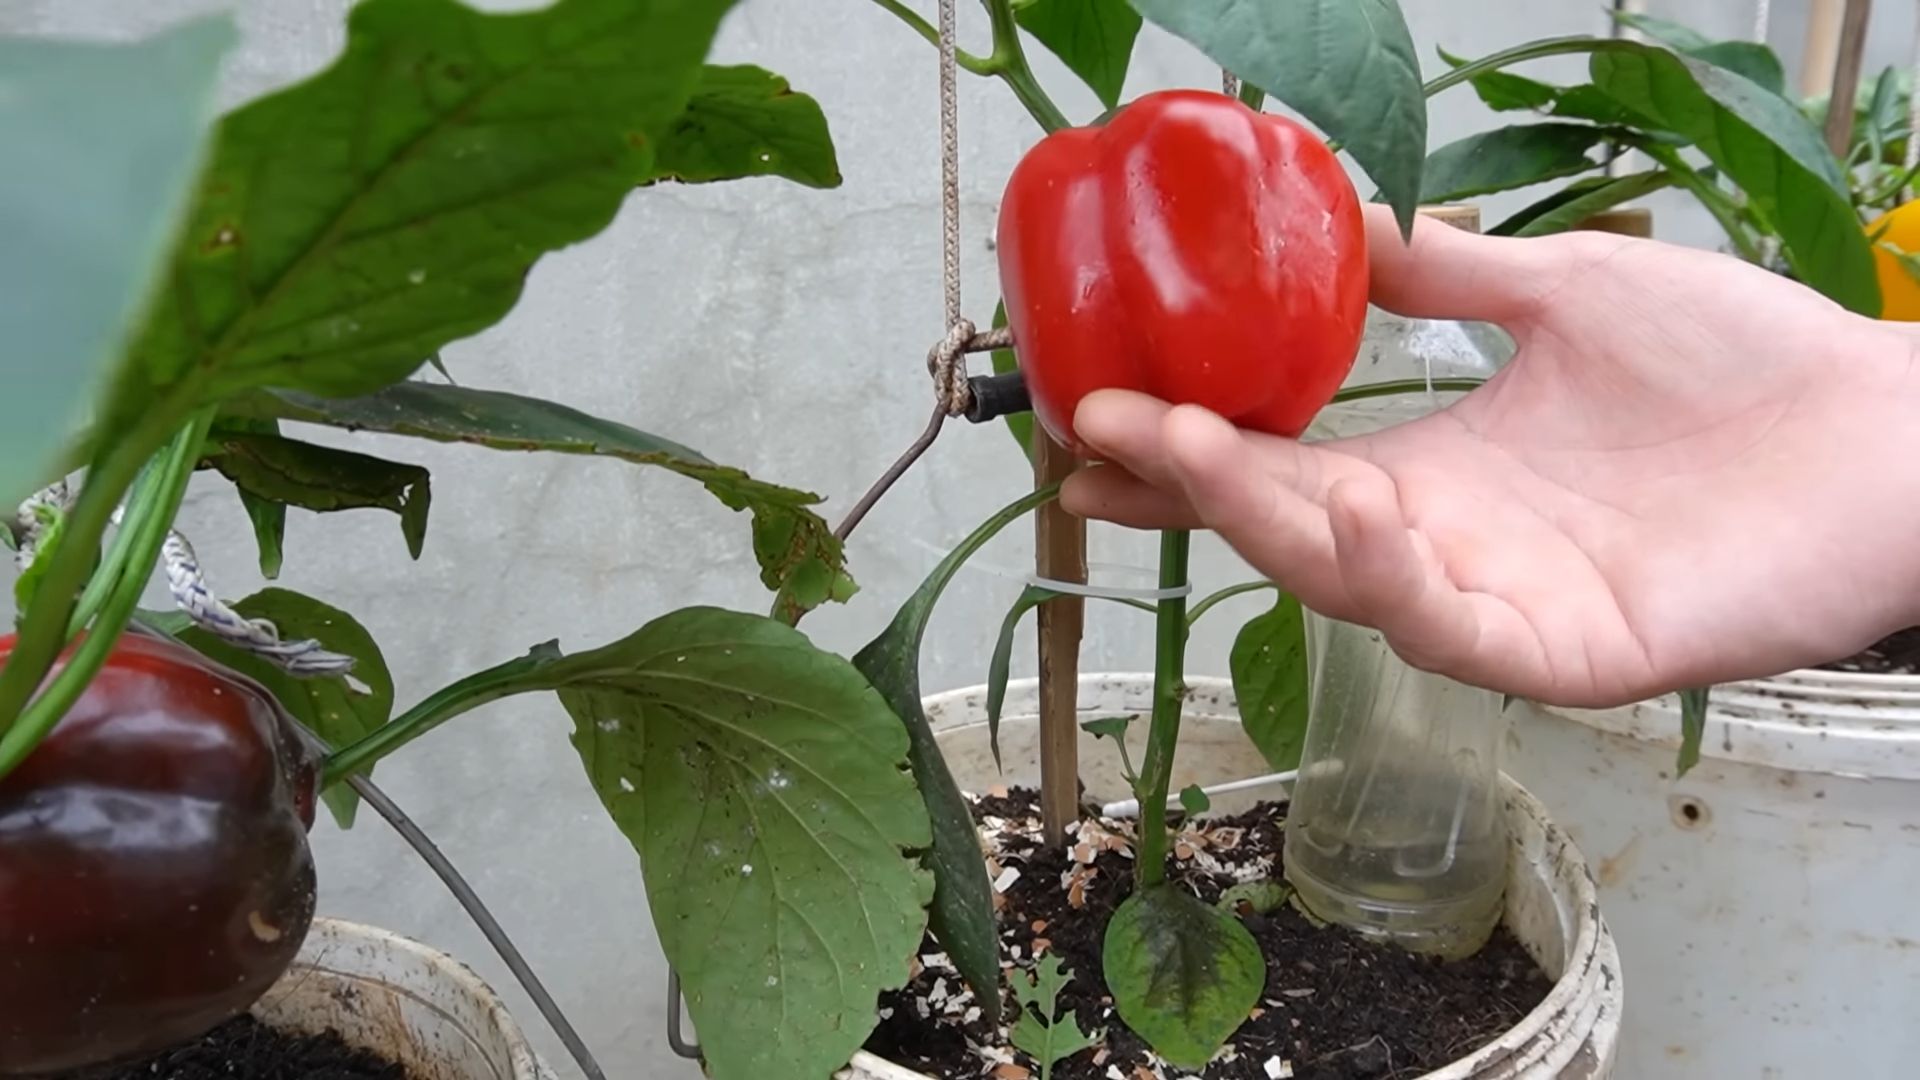
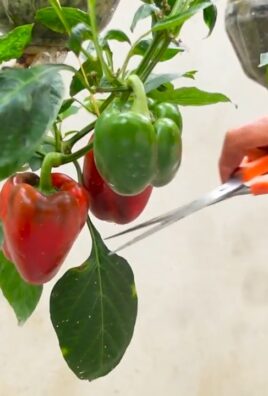
* Harvest bell peppers when they are fully colored and firm to the touch.
* Harvest hot peppers when they have reached their mature color and size.
* Use pruning shears or a sharp knife to cut the peppers from the plant.
* Leave a small piece of stem attached to the pepper.
Enjoying Your Harvest:
* Fresh peppers can be stored in the refrigerator for up to a week.
* Peppers can also be frozen, dried, or pickled.
* Use your homegrown peppers in your favorite recipes, such as salsa, chili, and stir-fries.
Conclusion
So, there you have it! Growing peppers at home, especially with these simple DIY tricks, is not just a rewarding experience; it’s a gateway to fresher, tastier, and more vibrant meals. We’ve walked through the essential steps, from seed selection to harvesting, and highlighted some game-changing DIY methods that can significantly boost your pepper-growing success.
Why is this a must-try? Because store-bought peppers, while convenient, often lack the intense flavor and satisfying crunch of homegrown varieties. Plus, you have complete control over the growing process, ensuring your peppers are free from unwanted chemicals and pesticides. Imagine the satisfaction of plucking a perfectly ripe bell pepper from your own plant, knowing you nurtured it from a tiny seed. That’s a feeling you can’t buy in a grocery store.
Beyond the basic techniques, consider exploring different pepper varieties. Experiment with jalapeños for a spicy kick, habaneros for intense heat, or sweet bell peppers in a rainbow of colors. You can also try different growing mediums, such as coco coir or hydroponics, to see what works best for your environment and preferences. Another fun variation is to create your own pepper-infused oils or vinegars using your homegrown bounty. The possibilities are truly endless!
Don’t be intimidated if you’re a beginner. Growing peppers at home is surprisingly accessible, even with limited space. A sunny balcony or patio can be transformed into a thriving pepper garden with just a few pots and some basic supplies. The DIY tricks we’ve shared, like using eggshells for calcium or coffee grounds for nitrogen, are simple, cost-effective ways to enhance your pepper plants’ health and productivity.
We wholeheartedly encourage you to give these DIY pepper growing techniques a try. Start small, be patient, and don’t be afraid to experiment. The journey of growing your own food is incredibly fulfilling, and the delicious rewards are well worth the effort.
And most importantly, we want to hear about your experiences! Share your successes, your challenges, and your own DIY tips in the comments below. Let’s create a community of pepper-growing enthusiasts, learning from each other and celebrating the joys of homegrown goodness. What varieties did you choose? What DIY methods worked best for you? What challenges did you face, and how did you overcome them? Your insights can help other aspiring pepper growers embark on their own successful journeys. So, get your hands dirty, embrace the process, and enjoy the incredible flavor of your own homegrown peppers! Let us know how your **growing peppers at home** journey goes!
Frequently Asked Questions (FAQ)
What are the best pepper varieties to start with for beginners?
For beginners, bell peppers (especially the sweet varieties) are a great starting point. They are relatively easy to grow and offer a good yield. Jalapeños are another good option, as they are also quite resilient and produce a reliable harvest. Avoid extremely hot peppers like habaneros or ghost peppers until you have some experience under your belt, as they can be more demanding in terms of care and environmental conditions. Look for varieties that are specifically labeled as “easy to grow” or “beginner-friendly” when purchasing seeds or seedlings.
How much sunlight do pepper plants need?
Pepper plants thrive in full sun, requiring at least 6-8 hours of direct sunlight per day. Insufficient sunlight can lead to leggy growth, reduced flowering, and smaller, less flavorful peppers. If you’re growing peppers indoors, supplement natural sunlight with grow lights to ensure they receive adequate illumination. Rotate your plants regularly to ensure all sides receive even exposure to light.
What is the best type of soil for growing peppers?
Peppers prefer well-draining soil that is rich in organic matter. A slightly acidic to neutral pH (around 6.0-7.0) is ideal. You can amend your garden soil with compost, aged manure, or peat moss to improve drainage and fertility. If growing in containers, use a high-quality potting mix specifically formulated for vegetables. Avoid heavy clay soils, as they can retain too much moisture and lead to root rot.
How often should I water my pepper plants?
Water your pepper plants deeply and regularly, especially during hot, dry weather. Allow the top inch of soil to dry out between waterings. Overwatering can lead to root rot, while underwatering can stress the plants and reduce fruit production. Use a watering can or soaker hose to water at the base of the plants, avoiding wetting the foliage, which can increase the risk of fungal diseases. Mulching around the base of the plants can help retain moisture and suppress weeds.
What are some common pests and diseases that affect pepper plants, and how can I prevent them?
Common pests that affect pepper plants include aphids, spider mites, and whiteflies. These pests can be controlled with insecticidal soap, neem oil, or by introducing beneficial insects like ladybugs. Diseases that can affect pepper plants include blossom end rot, fungal leaf spots, and viral diseases. Blossom end rot is caused by calcium deficiency and can be prevented by adding calcium to the soil (e.g., eggshells) and ensuring consistent watering. Fungal diseases can be prevented by providing good air circulation, avoiding overhead watering, and using a fungicide if necessary. Viral diseases are often spread by insects, so controlling pests is crucial.
How do I know when my peppers are ripe and ready to harvest?
The ripeness of peppers depends on the variety. Bell peppers are typically harvested when they are fully colored (red, yellow, orange, or purple) and firm to the touch. Jalapeños are usually harvested when they are green and about 3-4 inches long. Hot peppers like habaneros and ghost peppers are typically harvested when they are fully colored and have a slightly wrinkled appearance. Use a sharp knife or scissors to cut the peppers from the plant, leaving a small stem attached.
Can I grow peppers in containers?
Yes, peppers grow very well in containers. Choose a container that is at least 12 inches in diameter and has good drainage holes. Use a high-quality potting mix and provide adequate sunlight and water. Container-grown peppers may need to be fertilized more frequently than those grown in the ground, as nutrients can leach out of the soil more quickly.
What are some DIY fertilizers I can use for my pepper plants?
Several DIY fertilizers can benefit pepper plants. Coffee grounds are a good source of nitrogen and can be added to the soil or compost pile. Eggshells are rich in calcium and can be crushed and added to the soil to prevent blossom end rot. Banana peels are a good source of potassium and can be buried near the base of the plants. Compost tea is another excellent fertilizer that can be made by steeping compost in water.
How can I encourage more pepper production?
To encourage more pepper production, ensure your plants receive adequate sunlight, water, and nutrients. Prune your plants to remove suckers (small shoots that grow from the base of the plant) to encourage more energy to be directed towards fruit production. Pinch off the first few flowers that appear to encourage the plant to focus on vegetative growth before fruiting. Hand-pollinate the flowers if necessary, especially if you are growing peppers indoors or in an area with limited pollinator activity.
What should I do if my pepper plants are not producing any peppers?
If your pepper plants are not producing any peppers, consider the following factors:
* **Sunlight:** Ensure your plants are receiving at least 6-8 hours of direct sunlight per day.
* **Watering:** Water deeply and regularly, allowing the top inch of soil to dry out between waterings.
* **Fertilizer:** Fertilize your plants with a balanced fertilizer or a fertilizer specifically formulated for vegetables.
* **Pollination:** Ensure the flowers are being pollinated. Hand-pollinate if necessary.
* **Temperature:** Peppers prefer warm temperatures (70-85°F). If temperatures are too hot or too cold, it can affect fruit set.
* **Pests and Diseases:** Check for pests and diseases and take appropriate action.
* **Variety:** Some pepper varieties are slower to produce than others. Be patient and allow the plants time to mature.
Leave a Comment