
Refrigerator Cleaning Hacks: Let’s face it, cleaning the fridge is nobody’s favorite chore. It’s the culinary equivalent of venturing into the unknown – a place where forgotten leftovers lurk and mysterious odors emanate. But what if I told you that tackling this task could be surprisingly simple, even dare I say, enjoyable?
For generations, keeping food fresh and safe has been a cornerstone of home life. Before the advent of modern refrigeration, techniques like salting, pickling, and root cellars were essential for preserving food. Now, we rely on our refrigerators, but their effectiveness hinges on keeping them clean and well-maintained. A sparkling clean fridge isn’t just about aesthetics; it’s about preventing foodborne illnesses, extending the life of your groceries, and saving money in the long run.
Think about it: how many times have you tossed out wilted vegetables or moldy cheese because they were forgotten in the back of your fridge? Or worse, how often have you experienced that lingering, unpleasant smell every time you open the door? These are common problems, and that’s why I’m sharing my favorite refrigerator cleaning hacks. These DIY tricks are designed to make the process faster, easier, and more effective, so you can spend less time scrubbing and more time enjoying fresh, delicious food. Get ready to transform your fridge from a source of dread into a haven of organized freshness!
Growing Watermelons: A Comprehensive DIY Guide for Sweet Success
Hey there, fellow gardening enthusiasts! I’m so excited to share my tried-and-true method for growing juicy, delicious watermelons right in your own backyard. It might seem daunting, but trust me, with a little planning and effort, you can be enjoying homegrown watermelon all summer long. Let’s dive in!
Choosing the Right Watermelon Variety
Before we even think about planting, it’s crucial to pick the right watermelon variety for your climate and space. Some varieties are better suited for shorter growing seasons, while others need plenty of room to sprawl.
* Consider your climate: If you live in a region with a short growing season, opt for early-maturing varieties like ‘Sugar Baby’ or ‘Bush Sugar Baby’. For longer, warmer climates, you have more options, such as ‘Charleston Gray’ or ‘Crimson Sweet’.
* Think about space: Watermelons need a lot of room to spread. If you have limited space, consider bush varieties like ‘Bush Sugar Baby’ or ‘Golden Midget’. These varieties are more compact and can even be grown in large containers.
* Flavor preferences: Do you prefer a super sweet watermelon or one with a slightly tangy flavor? Research different varieties to find one that suits your taste. ‘Black Diamond’ is known for its intense sweetness, while ‘Moon and Stars’ has a unique flavor and beautiful rind.
* Disease resistance: Look for varieties that are resistant to common watermelon diseases like Fusarium wilt and Anthracnose. This will save you a lot of headaches down the road.
Preparing the Soil: The Foundation for Success
Watermelons are heavy feeders, meaning they need nutrient-rich soil to thrive. Proper soil preparation is essential for a bountiful harvest.
* Sunlight is key: Watermelons need at least 6-8 hours of direct sunlight per day. Choose a location in your garden that gets plenty of sun.
* Well-drained soil: Watermelons don’t like soggy feet. Make sure the soil is well-drained to prevent root rot. Amend heavy clay soil with compost, sand, and other organic matter to improve drainage.
* Soil pH: Watermelons prefer a slightly acidic soil pH between 6.0 and 6.8. You can test your soil pH with a soil testing kit and amend it accordingly.
* Enrich the soil: Watermelons are heavy feeders, so it’s important to enrich the soil with plenty of organic matter. Add compost, well-rotted manure, or other organic amendments to the soil before planting. I usually add a generous amount of compost and some aged chicken manure.
Starting Watermelon Seeds: Indoors or Outdoors?
You can start watermelon seeds indoors or directly sow them in the garden, depending on your climate and growing season.
* Starting seeds indoors: If you live in a region with a short growing season, starting seeds indoors is a good way to get a head start. Start seeds about 4-6 weeks before the last expected frost.
1. Fill seed trays or small pots with a seed-starting mix.
2. Sow seeds about 1 inch deep.
3. Keep the soil moist but not soggy.
4. Provide warmth and light. Use a heat mat and grow lights to ensure optimal germination.
5. Once the seedlings have developed a few true leaves, transplant them into larger pots.
* Direct sowing: If you live in a region with a long growing season, you can directly sow watermelon seeds in the garden.
1. Wait until the soil has warmed up to at least 70°F (21°C).
2. Sow seeds about 1 inch deep and 2-3 feet apart.
3. Keep the soil moist until the seeds germinate.
4. Thin the seedlings to one plant per hill once they have developed a few true leaves.
Transplanting Watermelon Seedlings: Handle with Care
Transplanting watermelon seedlings requires a gentle touch. Their roots are delicate, so be careful not to disturb them too much.
1. Harden off seedlings: Before transplanting, gradually acclimate the seedlings to outdoor conditions by hardening them off for a week or two. Place them outside for a few hours each day, gradually increasing the amount of time they spend outdoors.
2. Choose a cloudy day: Transplant on a cloudy day to minimize stress on the seedlings.
3. Dig a hole: Dig a hole that is slightly larger than the root ball of the seedling.
4. Gently remove the seedling: Carefully remove the seedling from its pot, being careful not to damage the roots.
5. Place the seedling in the hole: Place the seedling in the hole and backfill with soil.
6. Water thoroughly: Water the seedling thoroughly after transplanting.
7. Mulch around the plant: Mulch around the plant with straw or other organic mulch to help retain moisture and suppress weeds.
Watering and Fertilizing: Keeping Your Watermelons Happy
Watermelons need consistent watering and fertilization to produce large, juicy fruits.
* Watering: Watermelons need about 1-2 inches of water per week, especially during hot, dry weather. Water deeply and infrequently, rather than shallowly and frequently. Avoid getting the leaves wet, as this can promote fungal diseases. Drip irrigation is an excellent way to water watermelons.
* Fertilizing: Watermelons are heavy feeders and benefit from regular fertilization.
* Early growth: Use a fertilizer that is high in nitrogen to promote leafy growth.
* Flowering and fruiting: Switch to a fertilizer that is high in phosphorus and potassium to promote flowering and fruit development.
* Organic options: Fish emulsion, seaweed extract, and compost tea are excellent organic fertilizer options. I personally love using compost tea!
* Avoid over-fertilizing: Over-fertilizing can lead to excessive vine growth and reduced fruit production. Follow the instructions on the fertilizer label carefully.
Pollination: Ensuring Fruit Set
Watermelons are pollinated by bees and other insects. If you don’t have enough pollinators in your garden, you may need to hand-pollinate the flowers.
* Attract pollinators: Plant flowers that attract bees and other pollinators near your watermelon patch. Some good options include sunflowers, zinnias, and lavender.
* Hand-pollination: If you need to hand-pollinate, use a small paintbrush to transfer pollen from the male flowers to the female flowers. Male flowers have a long, thin stem, while female flowers have a small, immature watermelon at the base. The best time to hand-pollinate is in the morning.
Pruning Watermelon Vines: Encouraging Fruit Production
While not strictly necessary, pruning watermelon vines can help improve air circulation and encourage fruit production.
* Remove suckers: Remove any suckers (small shoots that grow from the base of the plant) to direct the plant’s energy towards fruit production.
* Trim excess vines: Trim excess vines to improve air circulation and prevent overcrowding.
* Pinch off blossoms: Pinch off any blossoms that appear late in the season, as they are unlikely to produce mature fruit before the first frost.
Pest and Disease Control: Protecting Your Crop
Watermelons are susceptible to a variety of pests and diseases. Regular monitoring and preventative measures can help protect your crop.
* Common pests: Aphids, squash bugs, and cucumber beetles are common watermelon pests.
* Control methods: Use insecticidal soap, neem oil, or hand-pick pests off the plants.
* Common diseases: Fusarium wilt, Anthracnose, and powdery mildew are common watermelon diseases.
* Control methods: Choose disease-resistant varieties, practice crop rotation, and avoid overhead watering. Use a fungicide if necessary.
* Prevention is key: Keep your garden clean and free of debris to prevent pests and diseases.
Harvesting Watermelons: Knowing When They’re Ripe
Knowing when to harvest watermelons can be tricky, but there are a few telltale signs to look for.
* Days to maturity: Check the seed packet or plant tag for the days to maturity. This will give you a general idea of when to expect your watermelons to be ripe.
* The tendril test: The tendril closest to the watermelon stem will turn brown and dry when the watermelon is ripe.
* The ground spot: The ground spot (the spot where the watermelon rests on the ground) will turn from white to yellow.
* The thump test: Thump the watermelon with your knuckles. A ripe watermelon will sound hollow.
* The rind: The rind will become dull and waxy when the watermelon is ripe.
Storing Watermelons: Keeping Them Fresh
Once you’ve harvested your watermelons, store them in a cool, dry place
Conclusion
So, there you have it! These refrigerator cleaning hacks aren’t just about tidying up; they’re about creating a healthier, more efficient, and frankly, more pleasant kitchen environment. We’ve explored simple yet powerful techniques, from the baking soda odor absorber to the vinegar-water wipe-down, all designed to make your life easier and your food last longer.
Why is this DIY approach a must-try? Because it’s cost-effective, eco-friendly, and gives you complete control over the cleaning process. You know exactly what’s going into your refrigerator, avoiding harsh chemicals and unnecessary expenses. Plus, a clean refrigerator is a happy refrigerator, and a happy refrigerator means less food waste and more delicious meals.
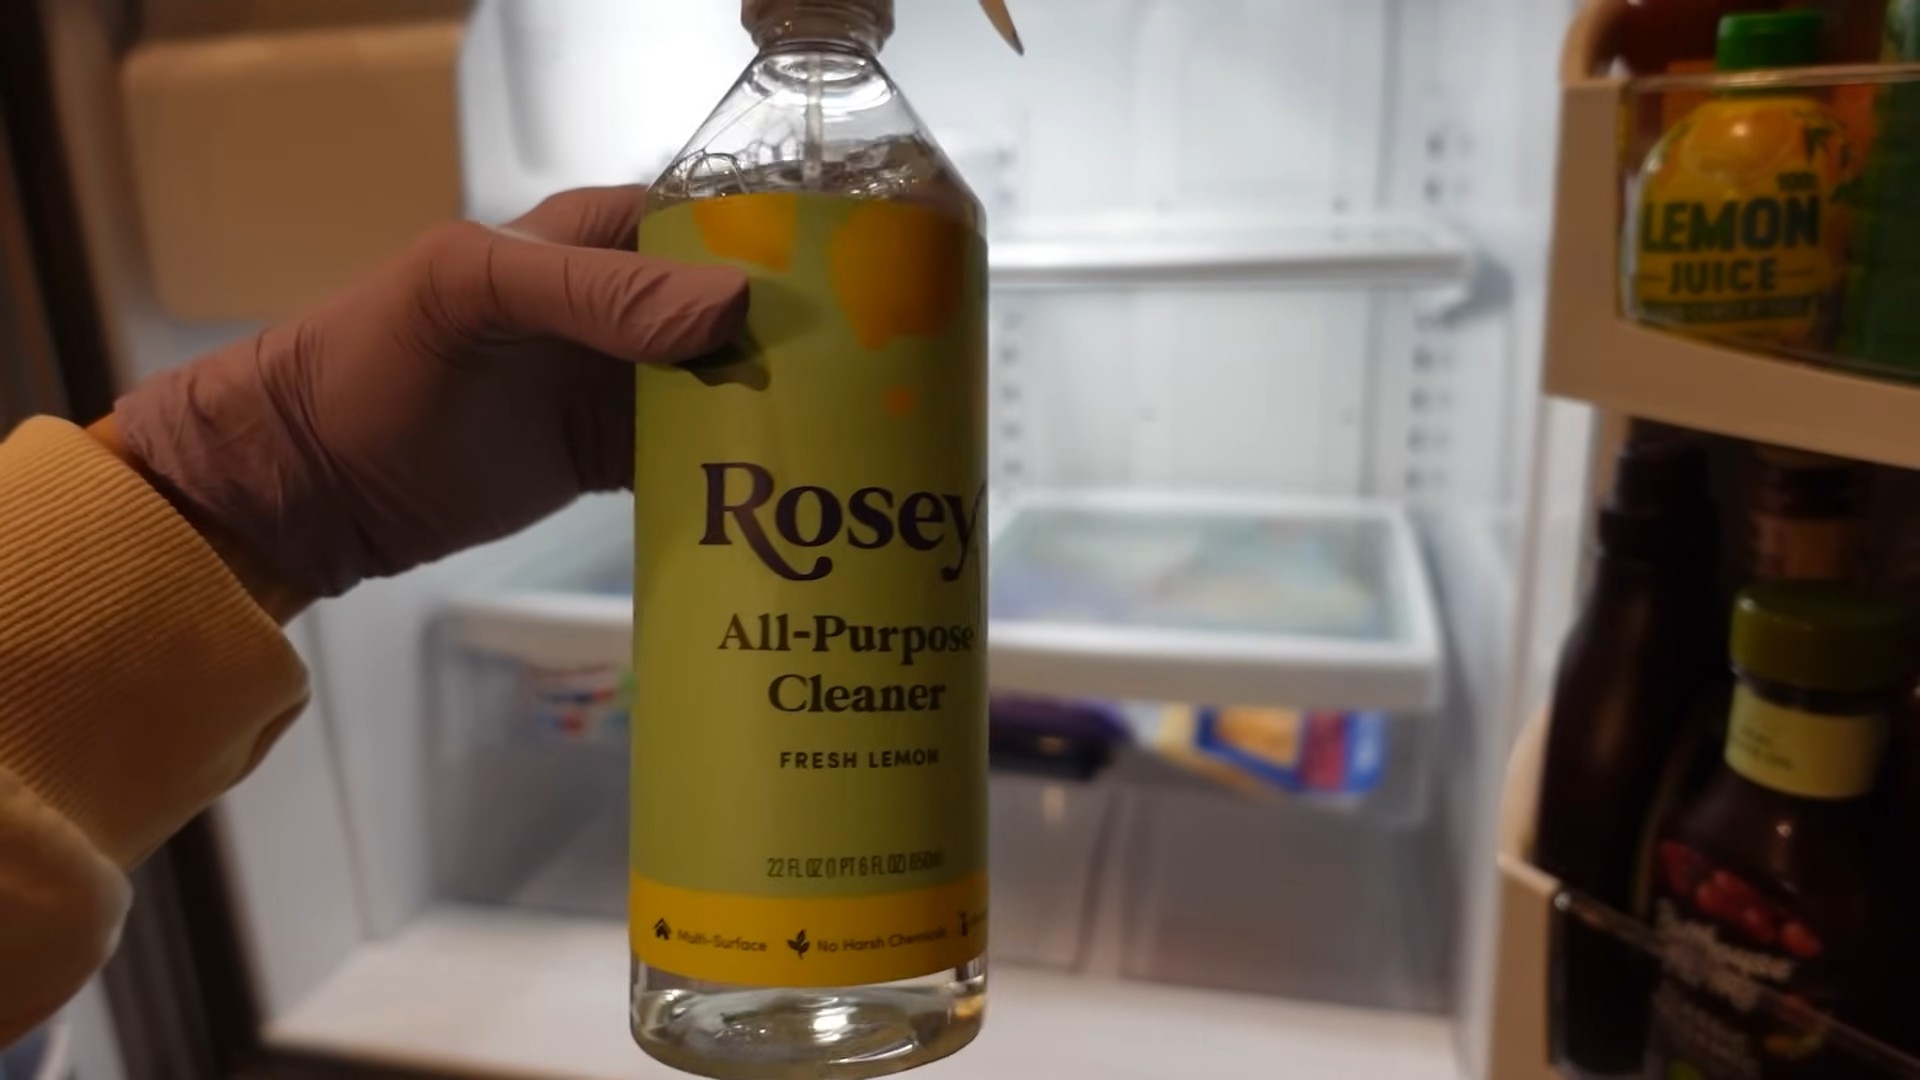
But don’t stop there! Feel free to experiment with variations. For instance, if you’re not a fan of vinegar’s scent, try using lemon juice instead. It’s a natural disinfectant and leaves a refreshing citrus aroma. You could also add a few drops of essential oils, like tea tree or lavender, to your cleaning solution for an extra boost of antibacterial power and a pleasant fragrance. For stubborn stains, a paste of baking soda and water can work wonders as a gentle abrasive. Remember to always test any new cleaning solution on a small, inconspicuous area first to ensure it doesn’t damage the refrigerator’s surfaces.
Another variation to consider is the frequency of cleaning. While a deep clean every month is ideal, a quick wipe-down of spills and messes as they occur will prevent them from hardening and becoming more difficult to remove later. This proactive approach will save you time and effort in the long run. You can also designate a specific day each week for a quick refrigerator refresh, making it a regular part of your cleaning routine.
Ultimately, the goal is to find a refrigerator cleaning routine that works best for you and your lifestyle. Don’t be afraid to adjust these hacks to suit your specific needs and preferences. The most important thing is to be consistent and to prioritize the cleanliness of your refrigerator.
We’re confident that these refrigerator cleaning hacks will transform your kitchen experience. But don’t just take our word for it – try them out for yourself! We encourage you to put these tips into action and see the difference they make. A clean, organized refrigerator is not only visually appealing but also contributes to a healthier and more efficient kitchen.
Once you’ve given these hacks a try, we’d love to hear about your experience. Share your before-and-after photos, your favorite variations, and any other tips or tricks you’ve discovered along the way. Let’s create a community of clean refrigerator enthusiasts! Share your stories on social media using #RefrigeratorCleaningHacks and tag us so we can see your amazing results. Your feedback will help others discover the joy of a sparkling clean refrigerator and inspire them to adopt these simple yet effective cleaning practices. So go ahead, give your refrigerator the love it deserves, and enjoy the benefits of a cleaner, healthier, and more organized kitchen.
Frequently Asked Questions (FAQs)
1. How often should I clean my refrigerator?
The ideal frequency depends on your lifestyle and how often you use your refrigerator. However, a deep clean at least once a month is recommended to prevent the buildup of bacteria, mold, and unpleasant odors. In addition to the monthly deep clean, it’s a good idea to wipe up spills and messes as they occur to prevent them from hardening and becoming more difficult to remove later. A quick weekly refresh, where you discard expired items and wipe down shelves, can also help maintain a clean and organized refrigerator.
2. What’s the best way to remove stubborn stains from my refrigerator shelves?
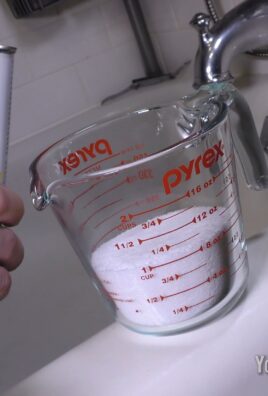
For stubborn stains, a paste of baking soda and water is your best friend. Mix baking soda with a small amount of water to create a thick paste. Apply the paste to the stain and let it sit for 15-20 minutes. Then, scrub gently with a soft cloth or sponge. Rinse thoroughly with clean water and dry with a clean towel. For particularly stubborn stains, you may need to repeat the process. You can also try using a solution of equal parts vinegar and water, but be sure to test it on a small, inconspicuous area first to ensure it doesn’t damage the surface.
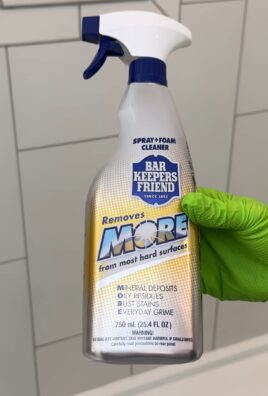
3. Is it safe to use bleach to clean my refrigerator?
While bleach is a powerful disinfectant, it’s generally not recommended for cleaning refrigerators due to its strong odor and potential for food contamination. If you choose to use bleach, dilute it significantly with water (no more than 1 tablespoon of bleach per gallon of water) and ensure thorough rinsing and ventilation. However, safer and more natural alternatives like vinegar, baking soda, and lemon juice are just as effective and pose less risk to your health and food safety.
4. How can I prevent my refrigerator from smelling bad?
The best way to prevent bad odors is to regularly clean your refrigerator and remove any expired or spoiled food. You can also place an open box of baking soda in the refrigerator to absorb odors. Replace the baking soda every month or two. Other natural odor absorbers include activated charcoal, coffee grounds, and lemon halves. Make sure to wrap strong-smelling foods tightly to prevent their odors from permeating the refrigerator.
5. What’s the best way to clean the refrigerator door seals?
The door seals are often overlooked but can accumulate dirt, mold, and mildew. To clean them, use a solution of warm water and dish soap. Dip a clean cloth or sponge into the solution and wipe down the seals thoroughly. Pay attention to any crevices or folds where dirt may accumulate. Rinse with clean water and dry with a clean towel. For stubborn mold or mildew, you can use a solution of equal parts vinegar and water.
6. Can I use these cleaning hacks on all types of refrigerators?
Yes, these cleaning hacks are generally safe for use on most types of refrigerators. However, it’s always a good idea to check your refrigerator’s user manual for specific cleaning recommendations or warnings. If you’re unsure about using a particular cleaning solution, test it on a small, inconspicuous area first to ensure it doesn’t damage the surface.
7. How do I clean the ice maker in my refrigerator?
Cleaning your ice maker is crucial for preventing mold and bacteria growth. Start by emptying the ice bin. Then, consult your refrigerator’s manual for specific cleaning instructions. Many ice makers have a self-cleaning cycle that you can activate. If not, you can manually clean the ice maker by wiping down the interior with a solution of warm water and vinegar. Rinse thoroughly and dry before refilling the ice bin.
8. What are some eco-friendly alternatives to chemical refrigerator cleaners?
Vinegar, baking soda, lemon juice, and essential oils are all excellent eco-friendly alternatives to chemical refrigerator cleaners. These natural ingredients are effective at cleaning, disinfecting, and deodorizing without the harsh chemicals found in commercial cleaners. They are also safer for your health and the environment.
9. How do I organize my refrigerator to keep it clean and prevent food waste?
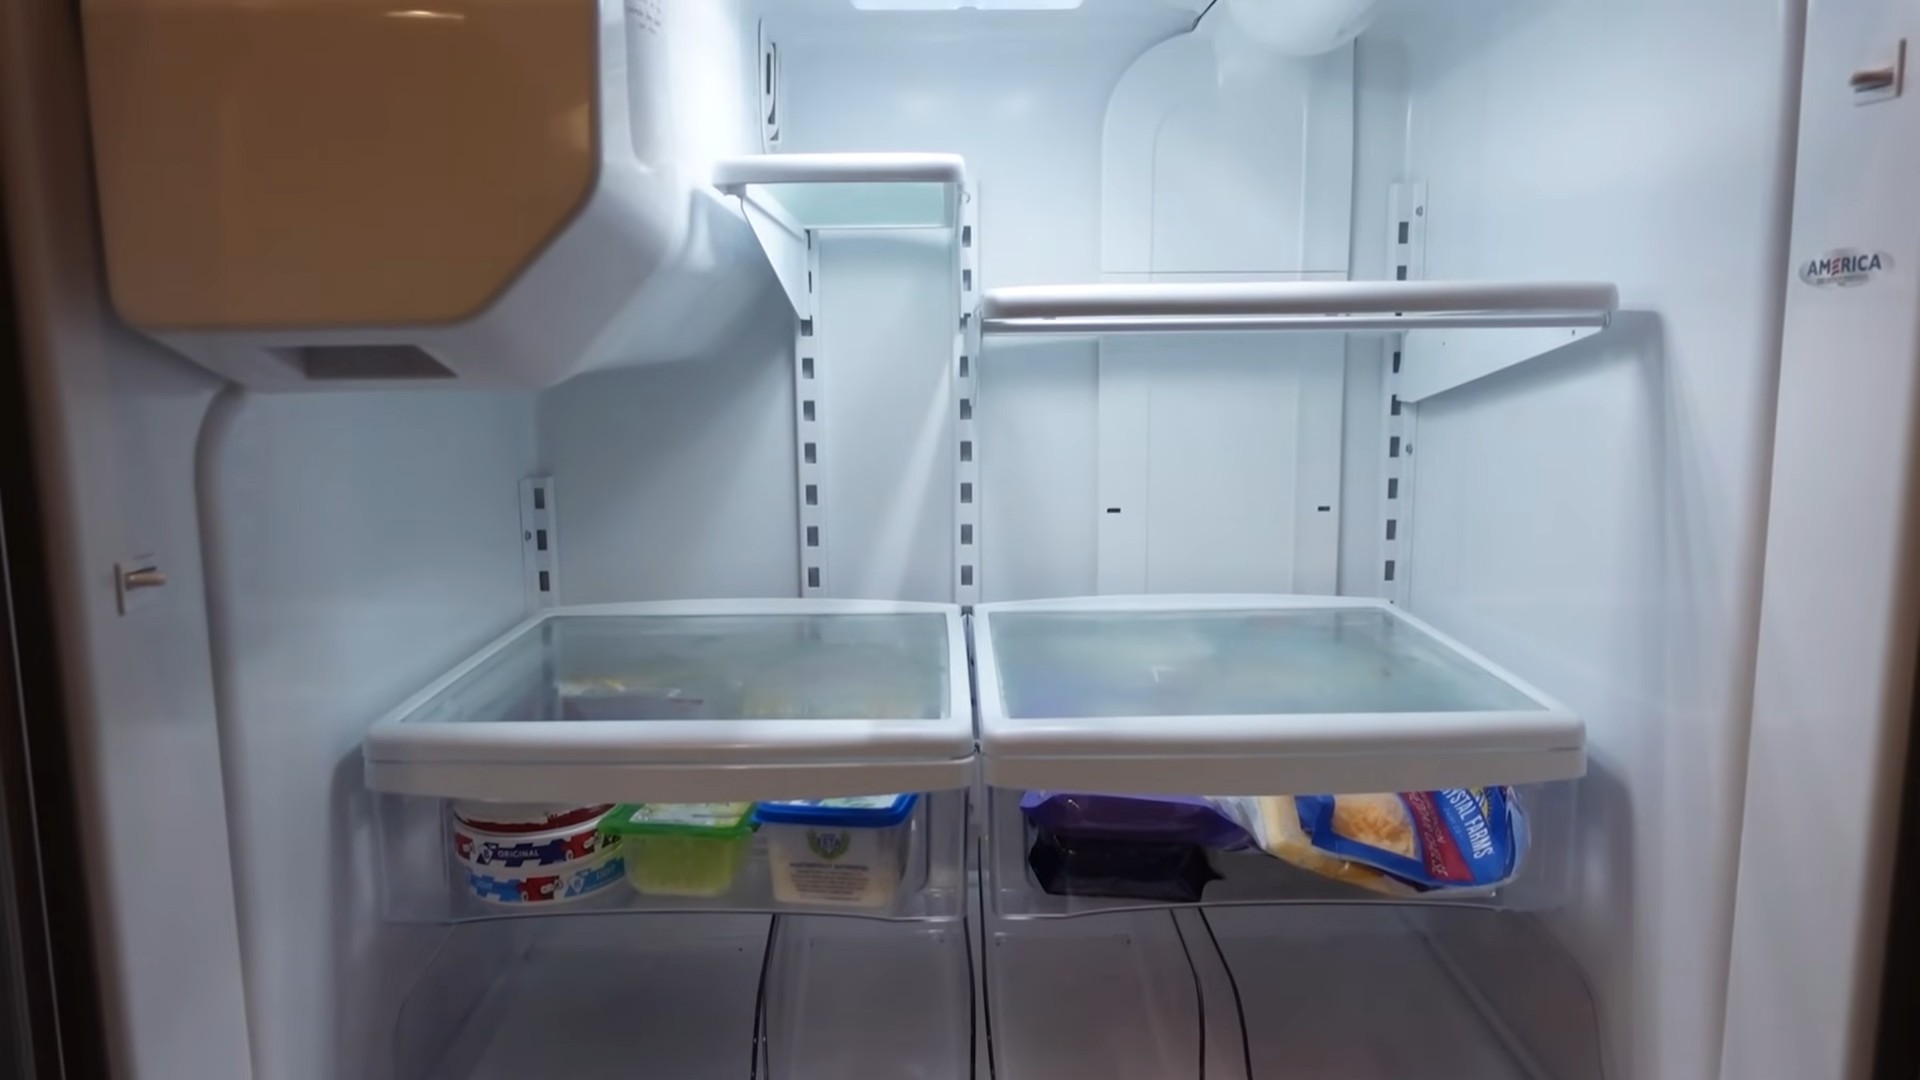
Organizing your refrigerator can help you keep it clean and prevent food waste. Store leftovers in clear containers so you can easily see what’s inside. Place frequently used items at eye level for easy access. Use crisper drawers to store fruits and vegetables, and adjust the humidity settings to keep them fresh longer. Rotate older items to the front so you use them before they expire. Label containers with the date you stored the food to help you keep track of freshness.
10. What should I do if my refrigerator has a persistent bad smell even after cleaning?
If your refrigerator has a persistent bad smell even after cleaning, there may be a hidden source of the odor. Check for spills or leaks in hard-to-reach areas, such as behind shelves or under drawers. You can also try placing a bowl of activated charcoal or coffee grounds in the refrigerator to absorb odors. If the smell persists, you may need to consult a professional appliance repair technician to inspect the refrigerator for any underlying issues.

Leave a Comment