
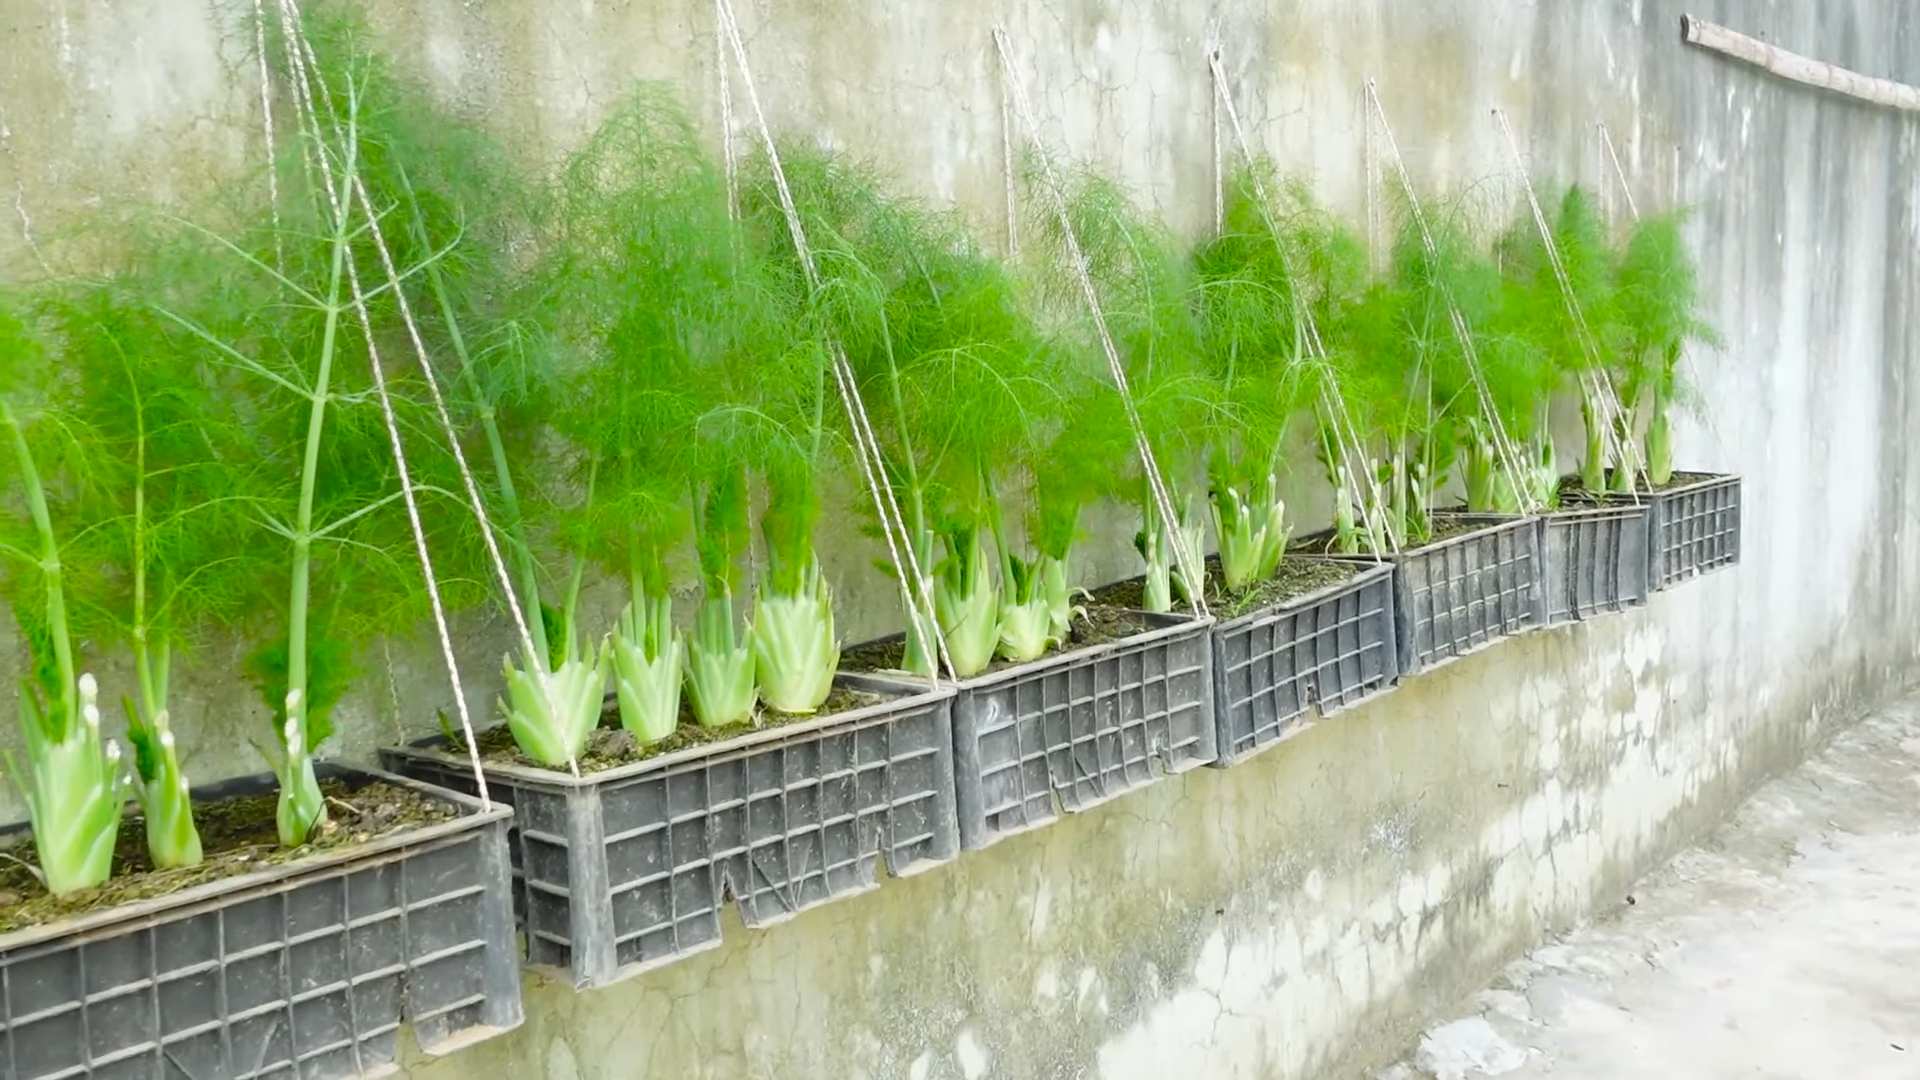
Grow Dill Indoors? Absolutely! Imagine having fresh, fragrant dill readily available, even when the snow is falling or your outdoor garden is taking a winter nap. For centuries, dill has been cherished not just for its culinary prowess, adding a zing to everything from pickles to creamy sauces, but also for its medicinal properties. Ancient Egyptians even used it to soothe digestive ailments!
But let’s face it, sometimes life gets in the way, and tending an outdoor garden isn’t always feasible. That’s where the magic of indoor gardening comes in. I’m here to tell you that you don’t need acres of land or a green thumb of mythical proportions to enjoy the fresh, vibrant flavor of dill.
This DIY guide is your passport to a thriving indoor dill garden. We’ll unlock simple, effective tricks and hacks that will have you harvesting your own dill in no time. Forget those sad, wilted bunches from the grocery store! With a little know-how, you can grow dill indoors and elevate your cooking to a whole new level. Plus, who doesn’t love the satisfaction of nurturing something beautiful and delicious right in their own home? Let’s get started!
Cooking with Swiss Chard: From Garden to Gourmet (Almost!)
Okay, so you’ve got a bunch of Swiss chard. Maybe you grew it yourself (go you!), maybe you found a beautiful bunch at the farmer’s market, or maybe you just impulsively bought it at the grocery store because it looked so darn healthy. Whatever the reason, you’re now staring at this leafy green and wondering, “What do I do with it?” Don’t worry, I’m here to help! Swiss chard is incredibly versatile and delicious, and I’m going to walk you through a few simple ways to cook it, so you can enjoy its earthy flavor and vibrant colors.
Preparing Your Swiss Chard: The Foundation for Flavor
Before we even think about cooking, we need to prep our chard. This is a crucial step, so don’t skip it!
* Washing is Key: Swiss chard tends to hold onto dirt, especially in the crevices where the leaves meet the stems. A good wash is essential.
* Stem Separation: The stems and leaves cook at different rates, so we’ll separate them.
* Chopping for Success: Chopping ensures even cooking and makes the chard easier to eat.
Step-by-Step Washing and Chopping Guide
1. Fill a Large Bowl or Sink: Get a big bowl or clean your sink and fill it with cold water.
2. Submerge the Chard: Plunge the Swiss chard into the water. Gently swish it around to loosen any dirt or grit.
3. Rinse Thoroughly: Lift the chard out of the water and discard the dirty water. Repeat this process until the water runs clear. This might take a few rinses, so be patient!
4. Dry the Chard: You can use a salad spinner to dry the leaves, or gently pat them dry with a clean kitchen towel. Excess water will steam the chard instead of sautéing it, so drying is important.
5. Separate Stems and Leaves: Lay a chard leaf flat on a cutting board. Using a sharp knife, cut out the stem, separating it from the leafy part. Repeat for all the leaves.
6. Chop the Stems: Stack the stems together and chop them into bite-sized pieces, about 1/2 inch to 1 inch thick. The size depends on your preference, but remember they take longer to cook than the leaves.
7. Chop the Leaves: Stack the leaves together and roughly chop them. I usually aim for pieces that are about 2-3 inches wide. Don’t worry about being too precise; they’ll wilt down quite a bit during cooking.
Sautéed Swiss Chard: A Quick and Easy Weeknight Side
Sautéing is my go-to method for cooking Swiss chard. It’s fast, easy, and brings out the natural flavors of the vegetable. Plus, you can customize it with different seasonings and ingredients to suit your taste.
* Garlic and Olive Oil: A classic combination that never fails.
* Lemon Juice: Adds a bright, tangy flavor that complements the earthy chard.
* Red Pepper Flakes: For a touch of heat.
* Parmesan Cheese: A sprinkle of Parmesan adds a salty, savory note.
Sautéing Swiss Chard: A Step-by-Step Guide
1. Heat the Oil: In a large skillet or sauté pan, heat about 2 tablespoons of olive oil over medium heat.
2. Sauté the Stems: Add the chopped Swiss chard stems to the pan and sauté for about 3-5 minutes, or until they start to soften. They should become slightly translucent.
3. Add the Garlic (and Red Pepper Flakes, if using): Add 2-3 cloves of minced garlic (and a pinch of red pepper flakes, if you like a little spice) to the pan and sauté for about 30 seconds, or until fragrant. Be careful not to burn the garlic!
4. Add the Leaves: Add the chopped Swiss chard leaves to the pan. They will seem like a lot at first, but they will wilt down considerably.
5. Cook Until Wilted: Cook the chard, stirring occasionally, until the leaves are wilted and tender. This usually takes about 5-7 minutes.
6. Season to Taste: Season with salt and pepper to taste.
7. Add Lemon Juice (Optional): Squeeze a little fresh lemon juice over the chard for a bright, tangy flavor.
8. Serve: Serve immediately. You can sprinkle with Parmesan cheese, if desired.
Swiss Chard and White Bean Stew: A Hearty and Healthy Meal
This stew is a fantastic way to use Swiss chard in a more substantial dish. It’s packed with flavor, fiber, and protein, making it a satisfying and nutritious meal.
* Cannellini Beans: These creamy white beans add a wonderful texture and protein to the stew.
* Vegetable Broth: Provides a flavorful base for the stew.
* Diced Tomatoes: Adds acidity and sweetness.
* Onion, Garlic, and Carrots: These aromatic vegetables create a flavorful foundation.
Making Swiss Chard and White Bean Stew: A Step-by-Step Guide
1. Sauté the Aromatics: In a large pot or Dutch oven, heat about 2 tablespoons of olive oil over medium heat. Add one chopped onion, 2 minced garlic cloves, and one diced carrot. Sauté for about 5-7 minutes, or until the vegetables are softened.
2. Add the Tomatoes and Broth: Add one can (14.5 ounces) of diced tomatoes (undrained) and 4 cups of vegetable broth to the pot. Bring to a simmer.
3. Add the Beans and Stems: Add one can (15 ounces) of cannellini beans, rinsed and drained, and the chopped Swiss chard stems to the pot. Stir to combine.
4. Simmer: Reduce the heat to low, cover the pot, and simmer for about 15-20 minutes, or until the stems are tender.
5. Add the Leaves: Add the chopped Swiss chard leaves to the pot. Stir to combine.
6. Cook Until Wilted: Cook until the leaves are wilted and tender, about 5-7 minutes.
7. Season to Taste: Season with salt, pepper, and any other herbs or spices you like. I often add a pinch of red pepper flakes for a little heat.
8. Serve: Serve hot. You can garnish with a drizzle of olive oil, a sprinkle of Parmesan cheese, or a dollop of plain yogurt.
Swiss Chard and Ricotta Stuffed Shells: Comfort Food with a Healthy Twist
This recipe takes a classic comfort food dish and adds a healthy dose of Swiss chard. The earthy flavor of the chard pairs beautifully with the creamy ricotta cheese.
* Jumbo Pasta Shells: The perfect vessel for stuffing.
* Ricotta Cheese: Provides a creamy and rich filling.
* Parmesan Cheese: Adds a salty and savory flavor to the filling.
* Egg: Helps bind the filling together.
* Marinara Sauce: A classic sauce for stuffed shells.
Making Swiss Chard and Ricotta Stuffed Shells: A Step-by-Step Guide
1. Cook the Pasta Shells: Cook the jumbo pasta shells according to the package directions. Be careful not to overcook them, as they will continue to cook in the oven. Drain the shells and set aside to cool slightly.
2. Prepare the Filling: In a large bowl, combine 15 ounces of ricotta cheese, 1/2 cup of grated Parmesan cheese, one egg, and 1/4 cup of chopped fresh parsley.
3. Add the Swiss Chard: Add about 1 cup of cooked and chopped Swiss chard to the filling. You can use the sautéed Swiss chard recipe from above, or simply steam or boil the chard until tender.
4. Season the Filling: Season the filling with salt, pepper, and a pinch of nutmeg.
5. Stuff the Shells: Spoon the filling into the cooked pasta shells.
6. Assemble the Dish: Spread a thin layer of marinara sauce in the bottom of a baking dish. Arrange the stuffed shells in the dish, seam-side down.
7. Top with Sauce: Pour the remaining marinara sauce over the stuffed shells.
8. Bake: Bake in a preheated oven at 375°F (190°C) for 20-25 minutes, or until the sauce is bubbly and the cheese is melted and lightly browned.
9. Serve: Let the shells cool slightly before serving. You can garnish
Conclusion
So, there you have it! Growing dill indoors is not only achievable, but it’s also a remarkably rewarding experience. Imagine having fresh, fragrant dill readily available, no matter the season, to elevate your culinary creations. Forget those sad, wilted bunches from the grocery store; with a little effort, you can cultivate vibrant, flavorful dill right in your own home.
This DIY trick is a must-try for several compelling reasons. First and foremost, it grants you unparalleled access to fresh herbs. Think of the possibilities! Sprinkle freshly chopped dill over your morning eggs, infuse your homemade pickles with its distinctive tang, or add a burst of herbaceousness to your favorite seafood dishes. The flavor difference between homegrown dill and store-bought dill is truly remarkable.
Secondly, growing dill indoors is surprisingly easy and cost-effective. You don’t need a sprawling garden or specialized equipment. A sunny windowsill, a suitable pot, and some quality potting mix are all you need to get started. Plus, once your dill plants are established, they require minimal maintenance, making them perfect for even the busiest individuals.
But the benefits extend beyond convenience and cost savings. Nurturing your own dill plants can be incredibly therapeutic. There’s something deeply satisfying about watching a tiny seed sprout and transform into a thriving herb. It’s a connection to nature that can bring a sense of calm and well-being to your daily life.
Looking for variations? Consider experimenting with different varieties of dill. ‘Bouquet’ dill is a popular choice for its compact size and abundant foliage, making it ideal for indoor growing. ‘Fernleaf’ dill is another excellent option, known for its feathery leaves and robust flavor. You can also try growing dill in different types of containers, such as self-watering pots or hydroponic systems, to further optimize your growing conditions.
Another fun variation is to companion plant your dill with other herbs or vegetables. Dill is known to attract beneficial insects, such as ladybugs and lacewings, which can help control pests in your indoor garden. Consider planting dill alongside tomatoes, cucumbers, or lettuce to create a thriving and mutually beneficial ecosystem.
Don’t be afraid to experiment with different lighting conditions as well. While dill thrives in bright sunlight, it can also tolerate partial shade. If you don’t have a sunny windowsill, you can supplement with grow lights to ensure your plants receive adequate illumination.
We wholeheartedly encourage you to try this DIY trick and experience the joy of growing dill indoors for yourself. It’s a simple yet transformative way to enhance your cooking, connect with nature, and add a touch of greenery to your home.
Once you’ve embarked on your indoor dill-growing journey, we’d love to hear about your experiences! Share your tips, tricks, and photos in the comments section below. Let’s create a community of indoor gardeners and inspire others to discover the magic of homegrown herbs. What are you waiting for? Get your hands dirty and start growing dill indoors today!
FAQ
What kind of soil is best for growing dill indoors?
Dill thrives in well-draining soil that is rich in organic matter. A good quality potting mix specifically formulated for herbs or vegetables is ideal. Avoid using garden soil, as it can be too heavy and may contain pests or diseases. You can also amend your potting mix with compost or perlite to improve drainage and aeration. The ideal pH for dill is between 6.0 and 7.5.
How much sunlight does indoor dill need?
Dill requires at least 6 hours of direct sunlight per day to thrive. A south-facing windowsill is typically the best location for indoor dill. If you don’t have access to a sunny windowsill, you can supplement with grow lights. Position the grow lights a few inches above the plants and keep them on for 12-14 hours per day. Rotate your dill plants regularly to ensure even light exposure on all sides.
How often should I water my indoor dill?
Water your dill plants when the top inch of soil feels dry to the touch. Avoid overwatering, as this can lead to root rot. Water thoroughly until the water drains out of the bottom of the pot. Allow the soil to dry out slightly between waterings. During the winter months, when growth slows down, you may need to water less frequently.
How do I harvest dill indoors?
You can start harvesting dill leaves once the plants are about 6-8 inches tall. Use scissors or pruning shears to snip off the leaves as needed. Avoid removing more than one-third of the plant at a time, as this can stunt its growth. You can also harvest the dill seeds once the flower heads have dried and turned brown. Simply cut off the flower heads and allow them to dry completely before separating the seeds.
What are some common problems when growing dill indoors?
Some common problems when growing dill indoors include aphids, spider mites, and powdery mildew. Aphids and spider mites can be controlled with insecticidal soap or neem oil. Powdery mildew is a fungal disease that can be prevented by ensuring good air circulation and avoiding overwatering. If you notice any signs of disease, remove the affected leaves immediately.
Can I grow dill from seed indoors?
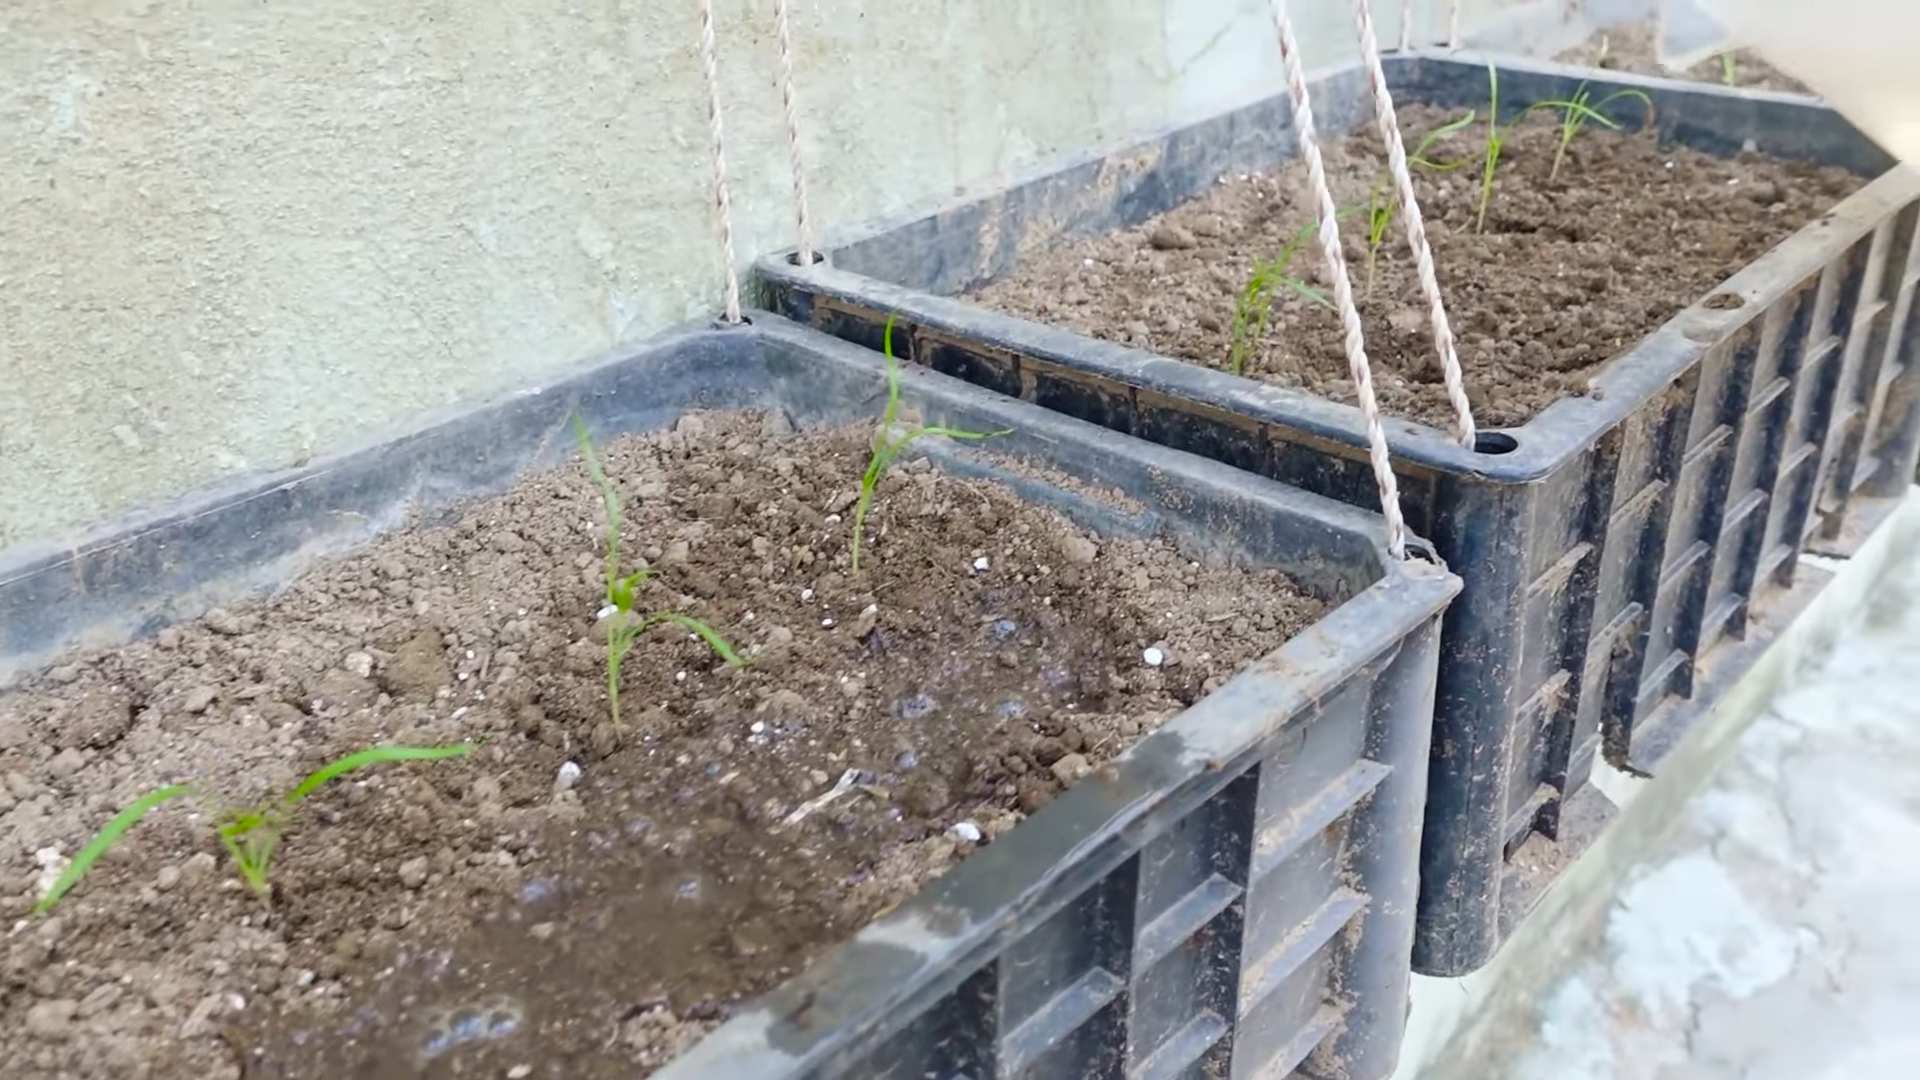
Yes, you can easily grow dill from seed indoors. Sow the seeds directly into your potting mix, about ¼ inch deep. Keep the soil moist but not soggy until the seeds germinate, which usually takes about 7-14 days. Once the seedlings emerge, thin them out so that there is only one plant per pot.
How do I encourage bushy growth in my indoor dill plants?
To encourage bushy growth, pinch back the growing tips of your dill plants regularly. This will encourage the plants to branch out and produce more leaves. You can also fertilize your dill plants every few weeks with a balanced liquid fertilizer to promote healthy growth.
Can I transplant my indoor dill plants outdoors?
Yes, you can transplant your indoor dill plants outdoors once the weather has warmed up and the risk of frost has passed. Choose a sunny location with well-draining soil. Harden off your plants by gradually exposing them to outdoor conditions for a week or two before transplanting them.
How long will my indoor dill plants last?
Dill is an annual herb, which means that it completes its life cycle in one growing season. However, with proper care, your indoor dill plants can last for several months. To extend their lifespan, provide them with plenty of sunlight, water them regularly, and fertilize them as needed. You can also collect the seeds from your dill plants and sow them again to start a new crop.
Is growing dill indoors worth the effort?
Absolutely! Growing dill indoors provides you with a constant supply of fresh, flavorful herbs, regardless of the season. It’s a simple and rewarding way to enhance your cooking, connect with nature, and add a touch of greenery to your home. The taste difference between homegrown dill and store-bought dill is significant, making the effort well worth it. Plus, it’s a sustainable and cost-effective way to enjoy fresh herbs.

Leave a Comment