
Everyday Uses for Salt – who knew this humble kitchen staple could be such a powerhouse? I’m constantly amazed by the sheer versatility of salt, and I’m excited to share some incredible DIY tricks and hacks that will make your life a little easier (and maybe even a little tastier!).
Salt has been valued for centuries, not just for its flavor-enhancing properties, but also for its preservative qualities. In ancient times, salt was so precious it was even used as currency! Think about that – a simple mineral that shaped trade routes and built empires. Now, we’re going to harness that power for some seriously clever DIY projects.
Let’s face it, life can get messy. From stubborn stains to pesky pests, there’s always something that needs fixing. That’s where these everyday uses for salt come in. I’m going to show you how to tackle common household problems with this readily available and affordable ingredient. You’ll be surprised at how effective and eco-friendly these solutions are. Get ready to ditch those harsh chemicals and embrace the natural cleaning and problem-solving power of salt!
Everyday Uses for Salt: A DIY Guide to Unleashing Salt’s Hidden Potential
Salt. It’s more than just a seasoning for your fries! I’m constantly amazed by the sheer versatility of this humble mineral. From cleaning to crafting, salt can be your secret weapon for a multitude of everyday tasks. Let’s dive into some awesome DIY hacks that will have you reaching for the salt shaker more often than you think.
Cleaning Powerhouse: Salt as a Natural Cleaner
Salt’s abrasive texture and chemical properties make it a fantastic natural cleaner. It’s a great alternative to harsh chemicals, especially if you’re trying to create a more eco-friendly home.
Cleaning a Scorched Pan
Burnt food stuck to the bottom of your pan? Don’t despair! Salt can help.
1. Pour a generous amount of salt into the scorched pan. I usually cover the entire burnt area with a thick layer.
2. Add just enough water to moisten the salt. You want a paste-like consistency.
3. Let it sit for a few hours, or even overnight for really stubborn messes. Patience is key here!
4. Scrub with a non-abrasive sponge or brush. The salt will act as a gentle abrasive, lifting the burnt food particles.
5. Rinse thoroughly with soap and water. Your pan should be sparkling clean!
Deodorizing Your Cutting Board
Cutting boards can absorb odors over time, especially after chopping onions or garlic. Salt to the rescue!
1. Sprinkle a generous amount of coarse salt over the cutting board. Sea salt or kosher salt works best for this.
2. Rub the salt into the board with half a lemon. The lemon juice will help to disinfect and deodorize, while the salt provides the scrubbing power.
3. Let it sit for 5-10 minutes. This allows the salt and lemon juice to work their magic.
4. Rinse thoroughly with warm water. Your cutting board will smell fresh and clean.
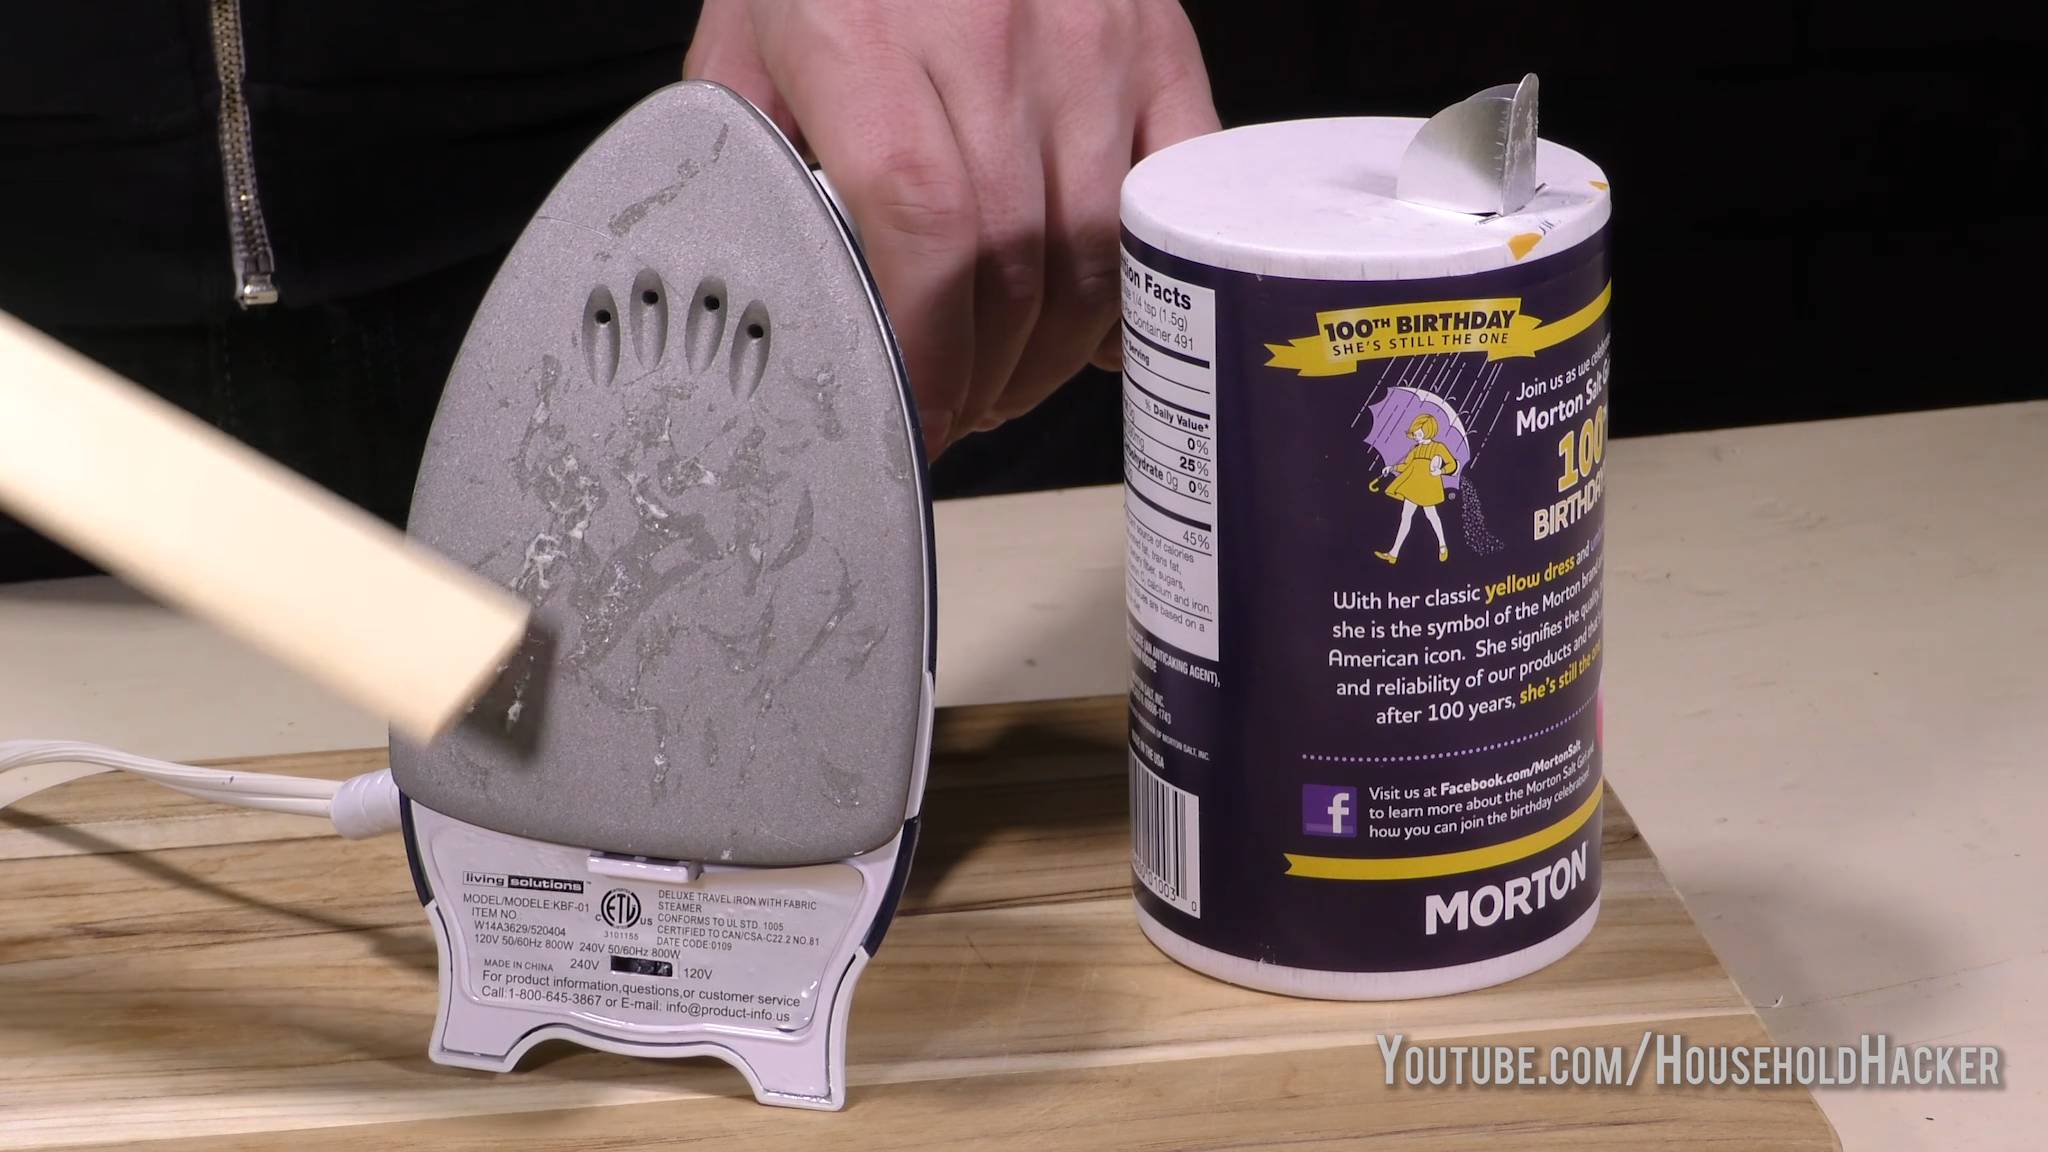
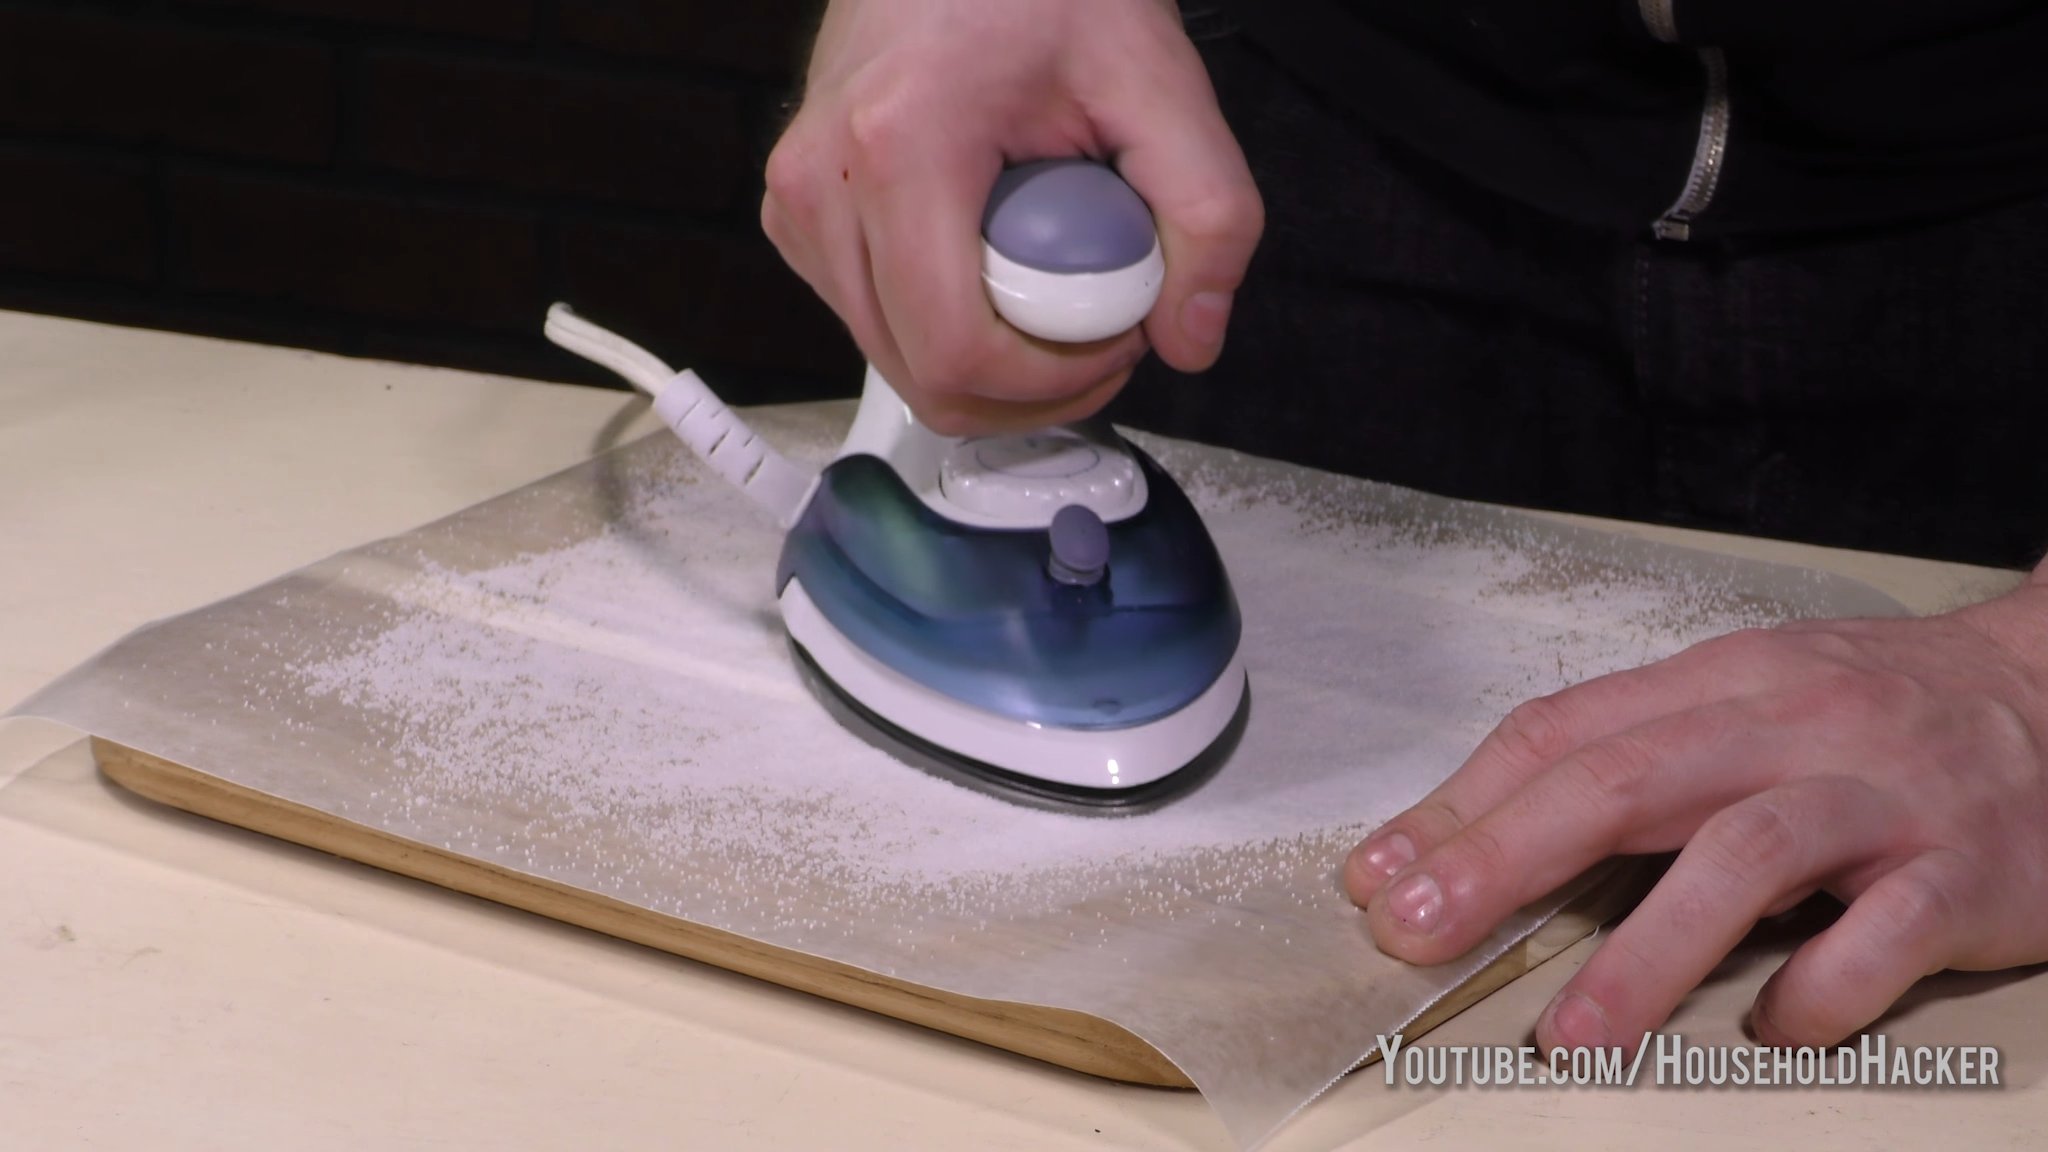
Cleaning Your Iron
Is your iron leaving scorch marks on your clothes? A salty solution can help clean the soleplate.
1. Cover an ironing board with a clean cotton cloth or paper towel. Make sure it’s something you don’t mind getting a little dirty.
2. Sprinkle a generous amount of salt onto the cloth or paper towel.
3. Turn your iron on to the highest setting (without steam).
4. Run the hot iron over the salt-covered surface. The salt will help to remove any residue or buildup on the soleplate.
5. Wipe the soleplate with a clean, dry cloth. Be careful, it will be hot!
Cleaning Your Sink Drain
A clogged or smelly sink drain is no fun. Salt can help clear it up.
1. Pour 1/2 cup of salt down the drain.
2. Follow with a pot of boiling water. The hot water will help to dissolve the salt and flush away any debris.
3. Let it sit for a few minutes.
4. Flush with cold water. This should help to clear any minor clogs and eliminate odors. For more stubborn clogs, you might need to repeat the process or use a plunger.
Household Helper: Salt for Everyday Tasks
Beyond cleaning, salt can be a surprisingly useful tool around the house.
Testing Egg Freshness
Unsure if your eggs are still good? A simple salt water test can tell you.
1. Fill a glass with water.
2. Add 2 tablespoons of salt.
3. Gently place the egg in the water.
4. Observe what happens. If the egg sinks and lies flat, it’s fresh. If it sinks but stands on one end, it’s still good but should be used soon. If it floats, it’s bad and should be discarded.
Preventing Fruit from Browning
Cut apples, pears, and other fruits can quickly turn brown. Salt can help prevent this.
1. Prepare a bowl of cold water.
2. Add 1/2 teaspoon of salt per cup of water.
3. Soak the cut fruit in the salt water for a few minutes.
4. Rinse the fruit with fresh water before serving. The salt water will help to inhibit oxidation, keeping your fruit looking fresh and appealing.
Extinguishing Grease Fires
Important Safety Note: Never use water on a grease fire! It will only spread the flames. Salt is a much safer option.
1. Carefully pour a generous amount of salt onto the flames. The salt will smother the fire by cutting off the oxygen supply.
2. Continue adding salt until the fire is completely extinguished.
3. Once the fire is out, let the pan cool completely before attempting to clean it.
Keeping Ants Away
Ants are unwelcome guests in any home. Salt can act as a natural deterrent.
1. Identify where the ants are entering your home.
2. Sprinkle a line of salt across their path. Ants are repelled by salt and will usually avoid crossing it.
3. You can also create a salt water solution and spray it around entry points. This will provide an extra layer of protection.
Setting Colors in New Clothes
Worried about your new clothes bleeding color in the wash? Salt can help set the dyes.
1. Fill a tub or sink with cold water.
2. Add 1/2 cup of salt.
3. Soak the new garment in the salt water for at least 30 minutes.
4. Wash the garment as usual. The salt will help to prevent the dyes from running and fading.
Creative Crafts: Salt for Artistic Endeavors
Salt isn’t just for cleaning and household tasks; it can also be used in some fun and creative crafts!
Making Salt Dough Ornaments
Salt dough is a classic craft material that’s easy to make and incredibly versatile.
1. Combine 1 cup of salt, 2 cups of flour, and 1 cup of water in a bowl.
2. Mix until a dough forms.
3. Knead the dough for a few minutes until it’s smooth and pliable.
4. Roll out the dough to your desired thickness.
5. Use cookie cutters or a knife to create your desired shapes.
6. Use a straw to create a hole for hanging.
7. Bake the ornaments in a preheated oven at 250°F (120°C) for 2-3 hours, or until they are hard.
8. Let the ornaments cool completely.
9. Decorate with paint, glitter, or markers.
Creating Salt Crystal Art
Growing your own salt crystals is a fun and educational project.
1. Boil 1 cup of water.
2. Slowly add salt to the boiling water, stirring until it dissolves. Continue adding salt until no more will dissolve (the solution should be saturated).
3. Pour the salt water solution into a clean glass jar.
4. Suspend a pipe cleaner or string in the jar, making sure it doesn’t touch the bottom. You can tie the string to a pencil or popsicle stick placed across the top of the jar.
5. Let the jar sit undisturbed for several days. As the water evaporates, salt crystals will form on the pipe cleaner or string.
6. Once the crystals have grown to your desired size, carefully remove them from the jar and let them dry.
Making Salt Paint
Salt paint adds a unique texture to your artwork.
1. Mix equal parts of salt and flour in a bowl.
2. Add water gradually, stirring until you have a thick, paste-like consistency.
3. Divide the mixture into separate bowls and add food coloring to each bowl.
4. Use a paintbrush to apply the salt paint to paper or cardboard.
5. Let the paint dry completely. As the paint dries, the salt will create a textured, crystalline effect.
Beauty Benefits: Salt for Skin and Hair
Believe it or not, salt can also be incorporated into your beauty routine.
Exfoliating Body Scrub
Salt’s abrasive texture makes it a great natural exfoliator.
1. Mix 1/2 cup of salt with 1/4 cup of oil (such as olive oil, coconut oil, or almond oil).
2. Add a few drops of essential oil for fragrance (optional).
3. In the shower, gently massage the scrub onto your skin in circular motions.
4. Rinse thoroughly with warm water
Conclusion
So, there you have it – a treasure trove of everyday uses for salt that extends far beyond the kitchen! From banishing stubborn stains and revitalizing your cleaning routine to enhancing your beauty regimen and even offering a helping hand in the garden, this humble mineral proves its versatility time and time again. We’ve explored how salt can be a natural abrasive, a powerful disinfectant, and a surprisingly effective solution for a multitude of household challenges.
But why is this DIY approach a must-try? Simply put, it’s cost-effective, eco-friendly, and readily accessible. Instead of reaching for harsh chemicals laden with artificial ingredients, you can harness the power of a natural resource that’s likely already sitting in your pantry. You’ll save money, reduce your environmental impact, and gain a deeper appreciation for the simple yet potent solutions that nature provides.
Looking for variations? Consider using different types of salt depending on the task at hand. Coarse salt is excellent for scrubbing, while fine salt dissolves more easily for cleaning solutions. For beauty treatments, sea salt or Epsom salt can offer additional mineral benefits. Experiment with adding essential oils to your salt scrubs or cleaning mixtures for a personalized touch and enhanced aromatherapy. For example, a few drops of lavender oil in your salt scrub can promote relaxation, while lemon oil in your cleaning solution can boost its disinfecting power and leave a fresh, citrusy scent. You can also try mixing salt with baking soda for an even more powerful cleaning paste. The possibilities are truly endless!
Don’t just take our word for it – we wholeheartedly encourage you to try these everyday uses for salt and discover the magic for yourself. Whether you’re tackling a tough stain, exfoliating your skin, or reviving your plants, we’re confident that you’ll be amazed by the results.
We’re eager to hear about your experiences! Share your successes, your variations, and any new uses you discover in the comments below. Let’s build a community of resourceful individuals who are embracing the power of simple, natural solutions. Your insights could inspire others to ditch the chemicals and embrace the versatility of salt in their everyday lives. So go ahead, give it a try, and let us know what you think! We can’t wait to hear from you.
Frequently Asked Questions (FAQ)
Q: Is there a specific type of salt that works best for these DIY tricks?
A: While common table salt will work for many of these applications, different types of salt can offer unique benefits. Coarse salt, like kosher salt or sea salt, is excellent for scrubbing and abrasive cleaning due to its larger crystals. Fine salt, like table salt, dissolves more easily and is better suited for creating solutions or soaking. Sea salt and Epsom salt are particularly beneficial for beauty treatments, as they contain additional minerals that can nourish the skin. Ultimately, the best type of salt depends on the specific task you’re undertaking. Experiment to see what works best for you!
Q: Can I use iodized salt for all of these purposes?
A: Iodized salt is generally safe to use for most of these DIY tricks. However, in some cases, the iodine may cause staining, particularly on light-colored surfaces. If you’re concerned about staining, it’s best to use non-iodized salt, such as sea salt or kosher salt. For cleaning purposes, the iodine content is unlikely to make a significant difference in effectiveness. For beauty treatments, some people prefer non-iodized salt to avoid any potential skin irritation, although this is rare.
Q: How do I store salt after using it in a DIY mixture?
A: Proper storage is essential to maintain the quality and effectiveness of your salt-based DIY mixtures. Store any leftover mixtures in airtight containers in a cool, dry place. This will prevent the salt from absorbing moisture and clumping together. Label the containers clearly with the contents and the date you made the mixture. For salt scrubs, it’s best to store them in the refrigerator to prolong their shelf life and prevent bacterial growth. Always discard any mixtures that show signs of spoilage, such as mold or discoloration.
Q: Are there any surfaces I should avoid using salt on?
A: While salt is generally safe for most surfaces, there are a few exceptions. Avoid using salt on delicate or easily scratched surfaces, such as polished wood, marble, or certain types of plastic. The abrasive nature of salt can cause damage to these materials. Also, be cautious when using salt on metal surfaces, as it can potentially cause corrosion over time. Always test a small, inconspicuous area first before applying salt to a larger surface. If you’re unsure, it’s best to err on the side of caution and use a gentler cleaning method.
Q: Can I use salt to get rid of weeds in my garden?
A: Yes, salt can be an effective natural weed killer. However, it’s important to use it carefully and strategically. Salt works by dehydrating the weeds, so it’s most effective on young, small weeds. To use salt as a weed killer, dissolve it in water and pour the solution directly onto the weeds, avoiding contact with desirable plants. Be aware that salt can also harm the soil, so it’s best to use it sparingly and only in areas where you don’t plan to grow anything else. For example, you can use it to kill weeds in cracks in your driveway or sidewalk.
Q: Is salt safe to use around pets and children?
A: While salt is generally considered safe, it’s important to exercise caution when using it around pets and children. Keep salt and salt-based mixtures out of reach of children to prevent accidental ingestion. While a small amount of salt is unlikely to cause serious harm, consuming large quantities can be dangerous. Similarly, be mindful of pets, especially dogs, who may be tempted to lick or eat salt. Excessive salt intake can lead to dehydration and other health problems in animals. When using salt for cleaning or gardening, keep pets and children away from the treated areas until they are dry.
Q: How can I use salt to clean my cast iron skillet?
A: Salt is a fantastic natural cleaner for cast iron skillets. After cooking, while the skillet is still warm, pour in a generous amount of coarse salt. Use a dry cloth or paper towel to scrub the skillet, using the salt as an abrasive to remove food particles. The salt will absorb grease and grime without damaging the seasoning of the skillet. Once the skillet is clean, rinse it with hot water and dry it thoroughly. You can then apply a thin layer of oil to maintain the seasoning.
Q: Can salt help with a sore throat?
A: Yes, gargling with warm salt water is a time-honored remedy for a sore throat. The salt helps to draw out fluids from the tissues in the throat, which can reduce inflammation and pain. To make a salt water gargle, dissolve about 1/2 teaspoon of salt in 8 ounces of warm water. Gargle the solution for 30 seconds, then spit it out. Repeat this several times a day as needed.
Q: How can I use salt to exfoliate my skin?
A: Salt scrubs are a popular way to exfoliate and revitalize the skin. To make a salt scrub, mix salt with a carrier oil, such as olive oil, coconut oil, or almond oil. You can also add essential oils for added benefits and fragrance. Gently massage the scrub onto your skin in circular motions, focusing on rough areas like elbows and knees. Rinse thoroughly with warm water and pat your skin dry. Be careful not to scrub too hard, as this can irritate the skin.

Leave a Comment