
Creative salt uses 鈥?bet you didn’t realize this humble kitchen staple could be your secret weapon for a thriving home and garden! For centuries, salt has been more than just a flavor enhancer; it’s been a preservative, a currency, and even a symbol of purity across various cultures. From ancient Roman soldiers being paid in salt (hence the word “salary”) to its use in traditional food preservation techniques, salt’s versatility is undeniable.
But did you know that this everyday ingredient can also work wonders in your garden? I’m excited to share some ingenious DIY tricks and hacks that will transform how you think about salt. We all want a lush, vibrant garden without breaking the bank or resorting to harsh chemicals, right? That’s where these creative salt uses come in.
Whether you’re battling pesky weeds, struggling with nutrient deficiencies, or simply looking for natural ways to boost your plant’s health, I’ve got you covered. Get ready to unlock the surprising potential of salt and discover how it can become your go-to solution for a healthier, happier garden. Let’s dive in and explore these simple yet effective techniques!
Unlocking the Magic of Salt: Beyond the Shaker!
Hey there, fellow DIY enthusiasts! We all know salt as that trusty seasoning in our kitchens, but trust me, this humble ingredient is a powerhouse of potential just waiting to be unleashed. I’m going to share some of my favorite, slightly unconventional, and seriously useful ways to use salt around the house. Get ready to be amazed!
Cleaning and Deodorizing with Salt
Salt’s abrasive texture and natural disinfecting properties make it a fantastic cleaning agent. Plus, it’s a much more eco-friendly option than many harsh chemicals.
Cleaning a Cast Iron Skillet
My cast iron skillet is my pride and joy, and salt is key to keeping it in tip-top shape. Forget soap 鈥?salt is your friend!
1. Scrape Away Food Debris: After cooking, use a spatula or scraper to remove any large pieces of food stuck to the skillet.
2. Add Coarse Salt: Pour a generous amount of coarse kosher salt into the skillet. The amount depends on the size of your skillet, but you want a good layer covering the cooking surface.
3. Scrub Vigorously: Using a dry paper towel or a stiff brush (specifically designed for cast iron), scrub the salt around the skillet in a circular motion. The salt acts as a gentle abrasive, lifting away stuck-on food particles.
4. Rinse (Sparingly): Rinse the skillet with hot water, using as little water as possible. You don’t want to soak it!
5. Dry Thoroughly: This is crucial! Immediately dry the skillet completely with a clean towel.
6. Season (Optional, but Recommended): Place the skillet on the stovetop over low heat to ensure it’s completely dry. Then, add a teaspoon of oil (vegetable, canola, or flaxseed work well) and rub it all over the inside of the skillet with a paper towel. Heat for a few minutes until the oil starts to smoke slightly. Turn off the heat and let the skillet cool completely. This re-seasons the skillet and prevents rust.
Freshening Up Sponges
Sponges can get pretty gross, pretty quickly. Salt can help extend their lifespan and keep them smelling fresh.
1. Prepare a Salt Solution: Mix 1/4 cup of salt with 1 quart of warm water.
2. Soak the Sponge: Submerge the sponge in the salt solution and let it soak for several hours, or even overnight.
3. Rinse and Squeeze: Thoroughly rinse the sponge with clean water and squeeze out any excess water.
Cleaning a Stained Mug
Coffee and tea stains can be stubborn. Salt to the rescue!
1. Moisten the Mug: Lightly dampen the inside of the stained mug with water.
2. Sprinkle with Salt: Sprinkle a generous amount of salt onto the damp stains.
3. Scrub: Use a damp sponge or cloth to scrub the salt onto the stains. The abrasive action of the salt will help lift the stains.
4. Rinse Thoroughly: Rinse the mug thoroughly with clean water.
Deodorizing a Cutting Board
Cutting boards, especially wooden ones, can absorb odors from food. Salt can help neutralize those smells.
1. Sprinkle with Salt: Sprinkle a generous amount of salt over the entire surface of the cutting board.
2. Rub with Lemon (Optional): For extra deodorizing power, cut a lemon in half and rub the cut side over the salt. The lemon juice will help break down odors and disinfect the board.
3. Let it Sit: Let the salt (and lemon, if used) sit on the cutting board for about 15-20 minutes.
4. Scrub and Rinse: Scrub the cutting board with a damp sponge or cloth and then rinse thoroughly with clean water.
Household Hacks with Salt
Beyond cleaning, salt can be used for a variety of other clever household hacks.
Testing Egg Freshness
This is a trick my grandmother taught me!
1. Prepare a Salt Solution: Fill a bowl with water and add about 2 tablespoons of salt per cup of water.
2. Gently Place the Egg: Gently place the egg into the salt water.
3. Observe:
* If the egg sinks and lies flat on its side, it’s fresh.
* If the egg sinks but stands on one end, it’s still good but should be used soon.
* If the egg floats, it’s no longer fresh and should be discarded.
Preventing Fruit from Browning
This is perfect for when you’re prepping a fruit platter ahead of time.
1. Prepare a Salt Solution: Mix 1/2 teaspoon of salt with 1 quart of water.
2. Soak the Fruit: Soak the cut fruit in the salt solution for a few minutes.
3. Rinse Thoroughly: Rinse the fruit thoroughly with clean water to remove any salty taste.
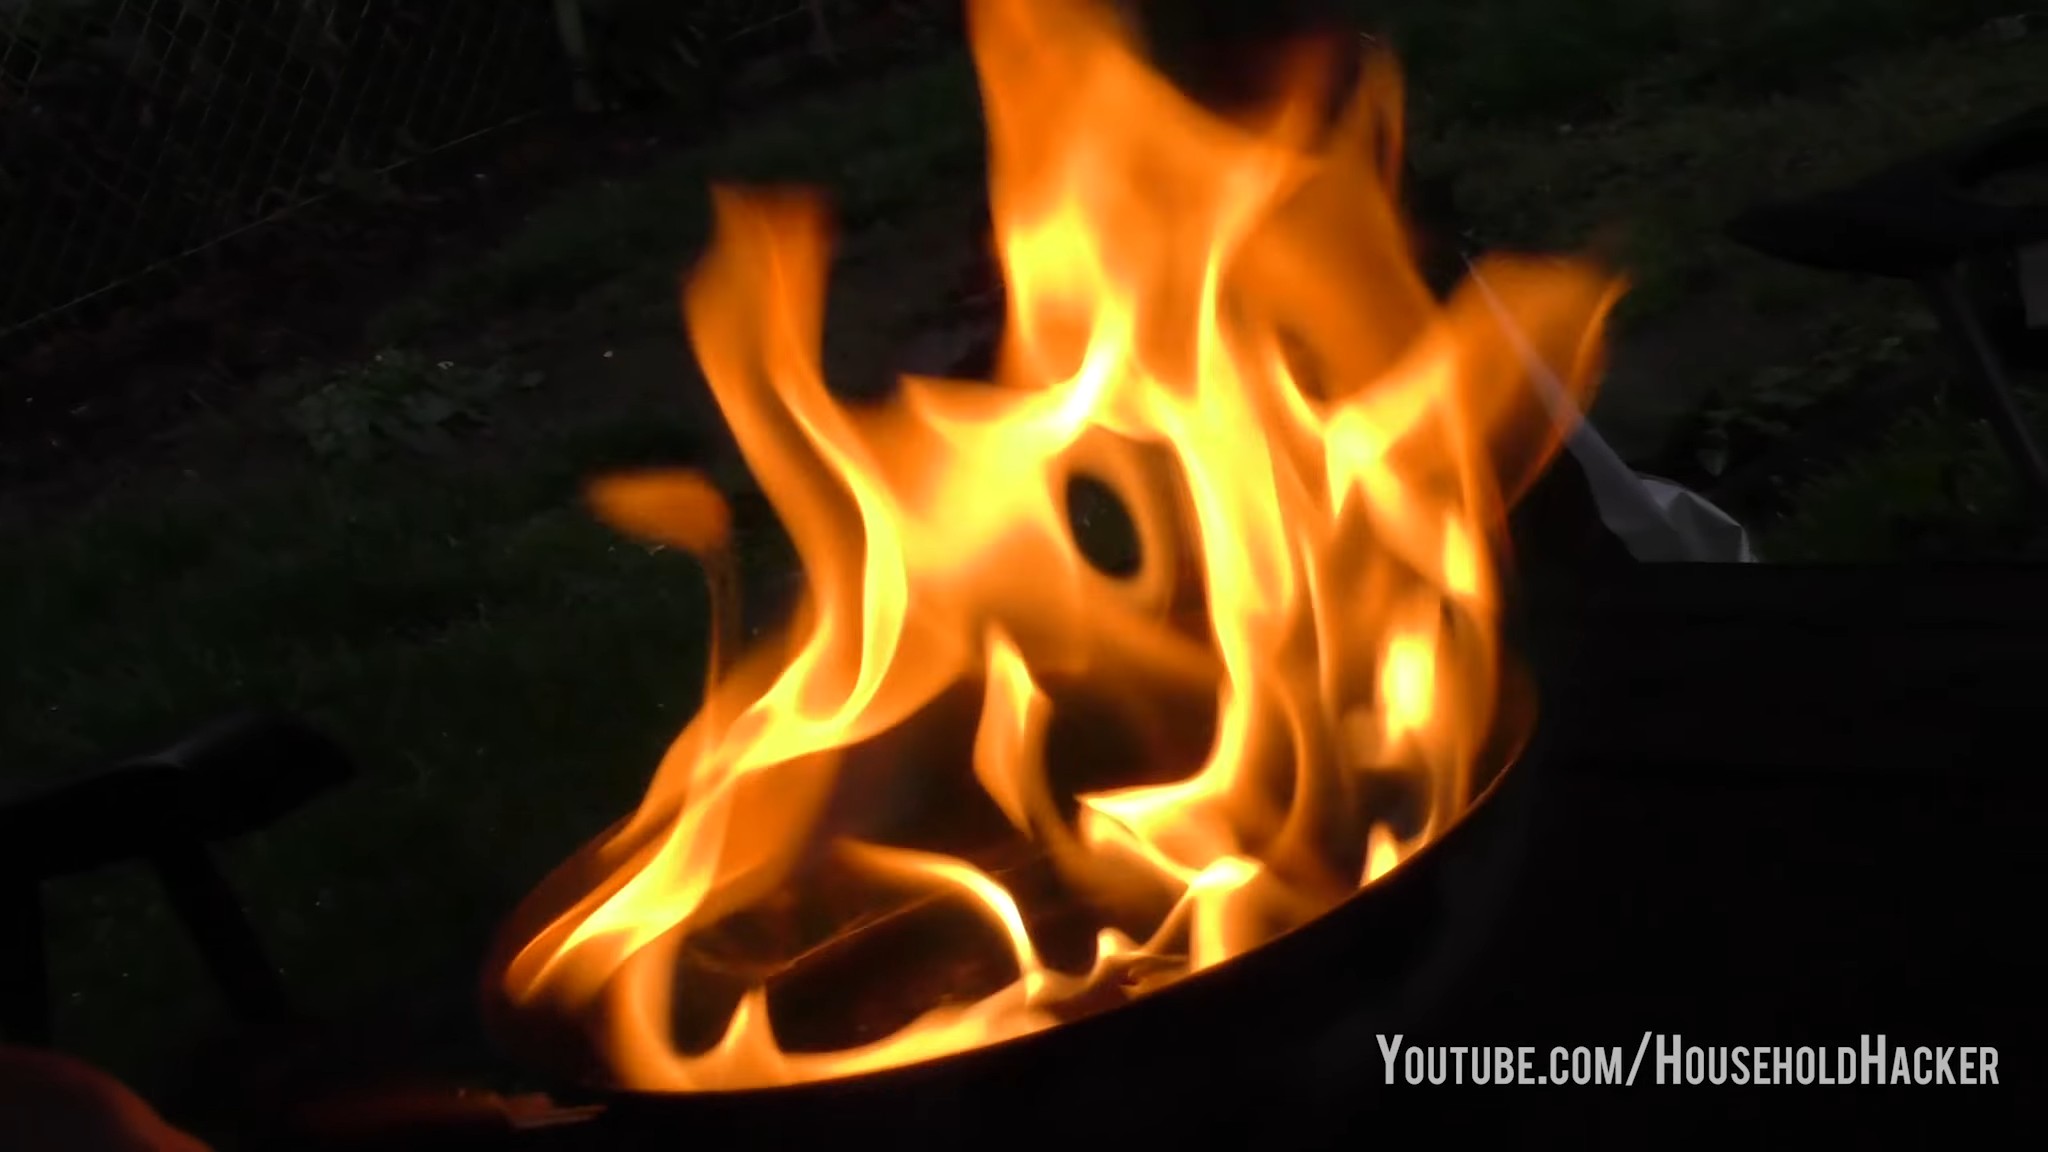
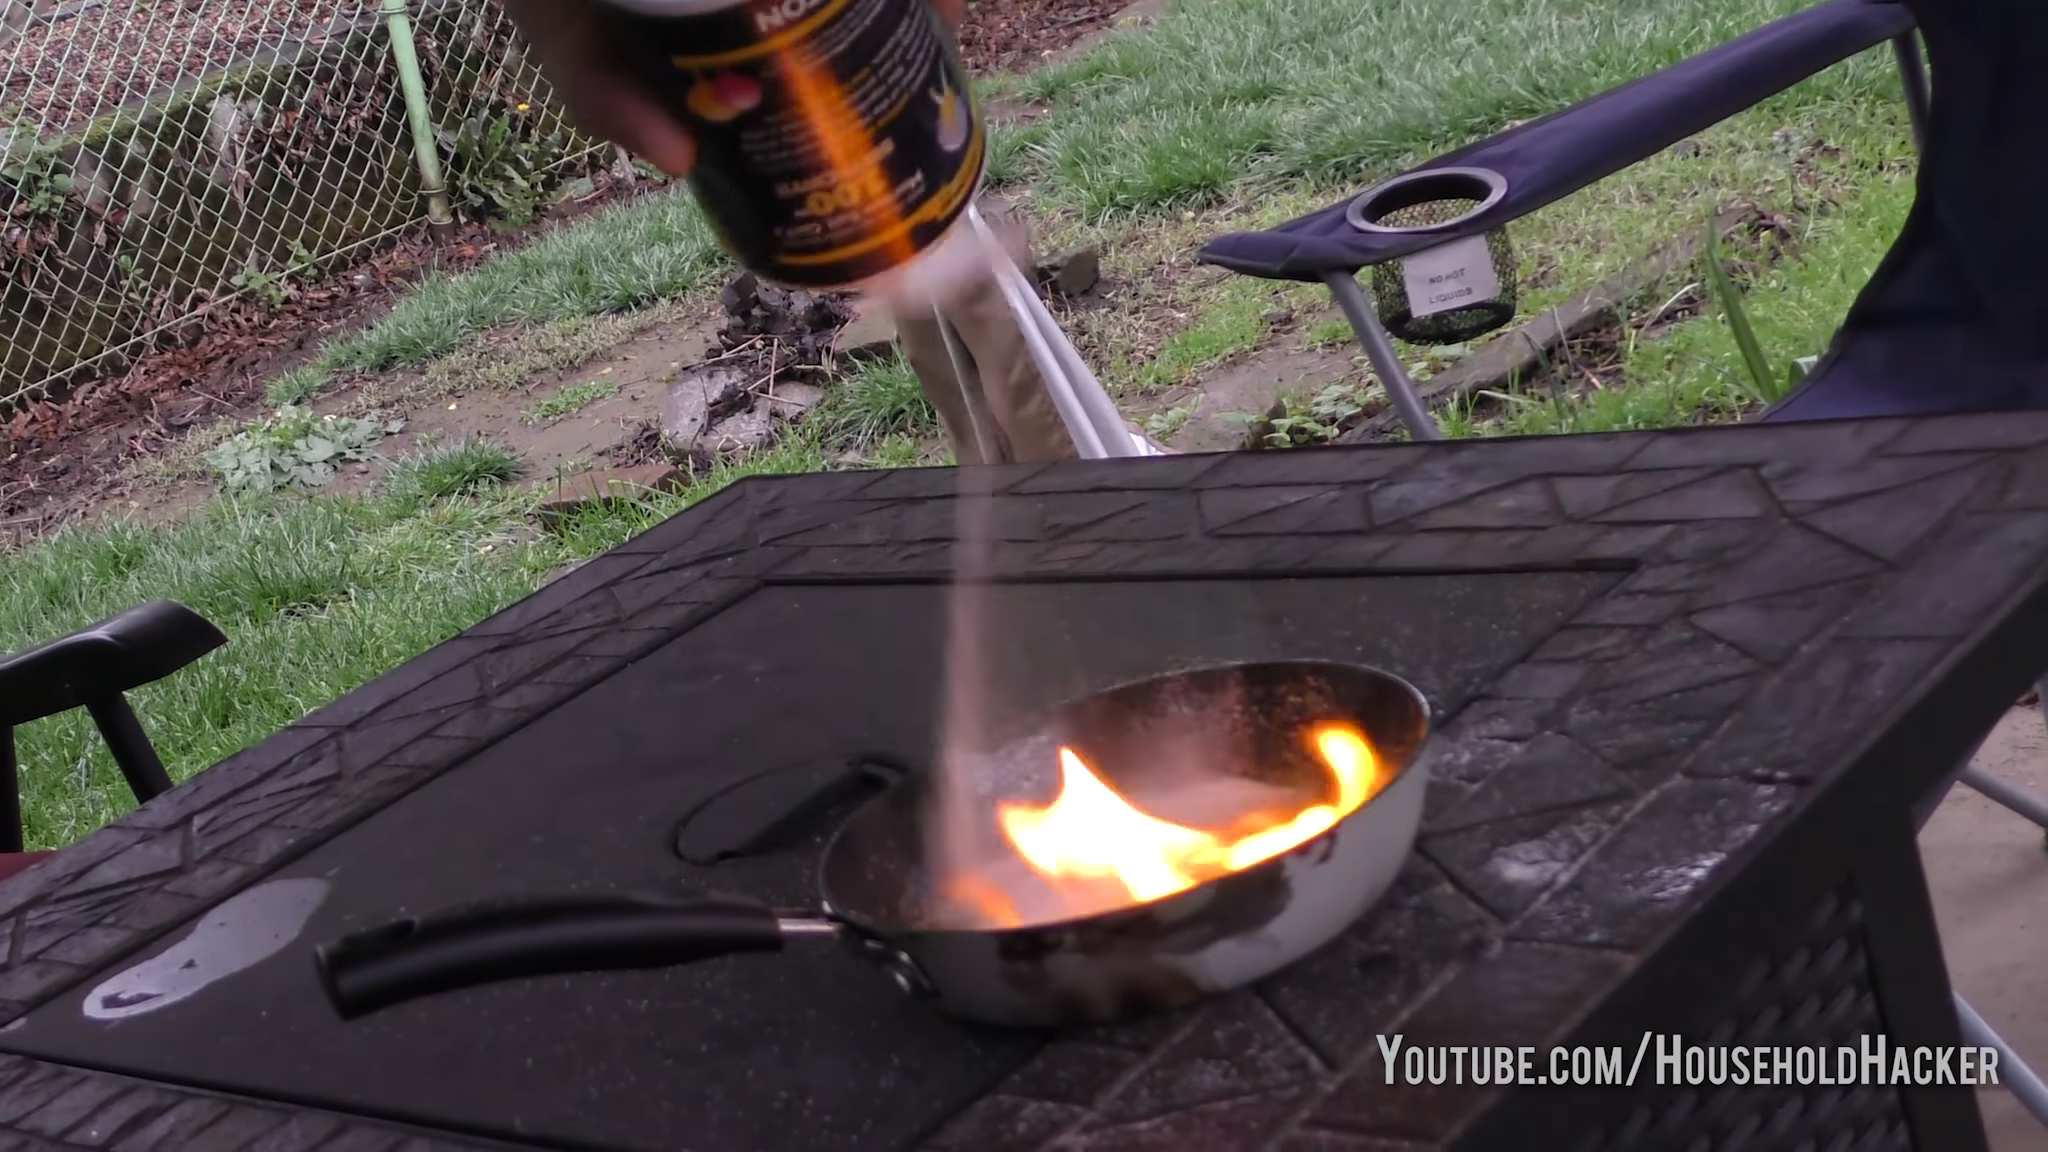
Extinguishing Grease Fires (Small Ones!)
Important Safety Note: This is only for small grease fires. If the fire is large or spreading, call emergency services immediately. Never use water on a grease fire!
1. Smother the Flames: Carefully pour a generous amount of salt onto the flames. The salt will help smother the fire by cutting off the oxygen supply.
2. Turn Off the Heat: Once the fire is extinguished, turn off the heat source.
Keeping Ants Away
Ants hate salt! This is a natural and non-toxic way to deter them.
1. Identify Entry Points: Locate where the ants are entering your home.
2. Create a Barrier: Sprinkle a line of salt along the ant trails or around the entry points.
Polishing Brass and Copper
Salt combined with vinegar creates a paste that can effectively polish brass and copper.
1. Make a Paste: Mix equal parts salt, vinegar, and flour to form a paste.
2. Apply to the Metal: Apply the paste to the tarnished brass or copper.
3. Let it Sit: Let the paste sit for about 15-30 minutes.
4. Rub and Rinse: Rub the paste onto the metal with a soft cloth, then rinse thoroughly with clean water.
5. Dry and Polish: Dry the metal completely with a clean cloth and polish to a shine.
Beauty and Self-Care with Salt
Believe it or not, salt can also be incorporated into your beauty routine!
Making a Salt Scrub
Salt scrubs are great for exfoliating and leaving your skin feeling smooth.
1. Choose Your Salt: Coarse sea salt or Epsom salt works best for body scrubs. For a gentler facial scrub, use fine sea salt.
2. Combine with Oil: Mix the salt with a carrier oil such as olive oil, coconut oil, or almond oil. The ratio should be about 2 parts salt to 1 part oil.
3. Add Essential Oils (Optional): Add a few drops of your favorite essential oils for fragrance and added benefits. Lavender, peppermint, and eucalyptus are popular choices.
4. Mix Well: Mix all the ingredients together until well combined.
5. Apply and Scrub: In the shower or bath, apply the scrub to your skin and gently massage in a circular motion.
6. Rinse Thoroughly: Rinse your skin thoroughly with warm water.
Soothing Sore Muscles with a Salt Bath
Epsom salt (magnesium sulfate) is known for its muscle-relaxing properties.
1. Draw a Warm Bath: Fill your bathtub with warm water.
2. Add Epsom Salt: Add 1-2 cups of Epsom salt to the bathwater.
3. Soak and Relax: Soak in the bath for 15-20 minutes.
Treating Acne with a Salt Water Toner
Salt water can help dry out pimples and reduce inflammation.
1. Prepare a Salt Solution: Mix 1 teaspoon of salt with 1 cup of warm water.
2. Apply to Skin: Dip a cotton ball into the salt solution and gently apply it to the affected areas.
3. Let it Sit: Let the solution sit on your skin for about 5-10 minutes.
4. Rinse Thoroughly: Rinse your skin thoroughly with cool water.
Gardening with Salt
Yes, even your garden can benefit from a little salt!
Weed Control
Salt can be used as a natural weed killer, but be careful not to get it on plants you want to keep.
1. Prepare a Salt Solution: Mix 1 cup of salt with 2 cups of hot water.
2. Apply to Weeds: Carefully pour the salt solution directly onto the weeds, avoiding contact with other plants.
Conclusion
So, there you have it! Unlocking the potential of something as simple as salt opens up a world of creative possibilities beyond just seasoning your food. We’ve explored how this humble ingredient can be transformed into a powerful cleaning agent, a soothing beauty treatment, and even a surprisingly effective craft supply. The versatility of salt is truly remarkable, and these DIY tricks are not only cost-effective but also environmentally friendly alternatives to many store-bought products.
Why is this a must-try? Because it’s simple, effective, and readily available. You likely already have salt in your pantry, making these DIY solutions incredibly accessible. Imagine the satisfaction of tackling stubborn stains with a homemade salt scrub, or creating unique textures in your art projects using salt’s absorbent properties. These are small changes that can make a big difference in your daily life, reducing your reliance on harsh chemicals and saving you money in the process.
But don’t stop there! Experiment with different types of salt to achieve varying results. Coarse sea salt can provide a more abrasive scrub, while finely ground table salt is ideal for delicate surfaces. Consider adding essential oils to your salt scrubs for an aromatherapy boost, or incorporating natural dyes to create colorful salt art. The possibilities are endless, and the only limit is your imagination.
We’ve covered a range of creative salt uses, from revitalizing your skin to adding a unique touch to your home decor. Remember the salt dough ornaments we discussed? They’re a fantastic activity for kids, providing hours of creative fun and resulting in cherished keepsakes. And who knew that salt could be used to clean your cast iron skillet without damaging the seasoning? It’s a game-changer for any home cook.
Ultimately, these DIY tricks are about embracing a more resourceful and sustainable lifestyle. By repurposing everyday ingredients like salt, we can reduce waste, save money, and discover new and exciting ways to solve common problems.
We wholeheartedly encourage you to try these DIY tricks and share your experiences with us. What creative salt uses have you discovered? What variations have you tried? We’d love to hear your stories and see your creations. Share your photos and tips in the comments below, and let’s inspire each other to unlock the full potential of this amazing ingredient. Let’s start a conversation about the amazing and creative salt uses we can all benefit from.
Now, let’s address some frequently asked questions to ensure you have all the information you need to embark on your salt-filled DIY adventure.
Frequently Asked Questions (FAQ)
What type of salt is best for these DIY projects?
The best type of salt depends on the specific project. For cleaning, regular table salt or sea salt works well. For scrubs, coarser salts like sea salt or Epsom salt (technically a salt compound) are ideal for exfoliation. For crafts, table salt is generally fine, but you can experiment with different textures for unique effects. Kosher salt is a good all-purpose option for many applications. Avoid using iodized salt for certain crafts, as the iodine can sometimes affect the color.
Can I use salt to clean delicate surfaces?
Yes, but with caution. For delicate surfaces, use finely ground table salt and a soft cloth. Always test a small, inconspicuous area first to ensure the salt doesn’t scratch or damage the surface. Avoid using coarse salts on delicate materials. A paste of salt and olive oil can be surprisingly gentle yet effective for removing grime.
How do I store homemade salt scrubs?
Store homemade salt scrubs in an airtight container in a cool, dry place. This will prevent the salt from clumping and ensure the scrub remains fresh. You can also add a preservative like vitamin E oil to extend the shelf life. Avoid introducing water into the container, as this can promote bacterial growth.
Are there any safety precautions I should take when using salt for cleaning?
While salt is generally safe, it’s always a good idea to wear gloves when cleaning, especially if you have sensitive skin. Avoid using salt on surfaces that are easily corroded, such as aluminum. Never mix salt with bleach or other harsh chemicals, as this can create dangerous fumes. Always rinse surfaces thoroughly after cleaning with salt.
Can I use salt to remove stains from clothing?
Yes, salt can be effective for removing certain types of stains from clothing. For fresh stains, immediately cover the stain with salt to absorb the liquid. For set-in stains, create a paste of salt and water and apply it to the stain. Let it sit for a few hours, then wash the garment as usual. Salt is particularly effective for removing red wine stains.
How long do homemade salt dough ornaments last?
Homemade salt dough ornaments can last for many years if stored properly. After baking and decorating, seal the ornaments with a clear varnish or sealant to protect them from moisture. Store them in an airtight container in a cool, dry place. Avoid storing them in humid environments, as this can cause them to soften or crumble.
Can I add essential oils to my salt scrubs?
Absolutely! Adding essential oils to your salt scrubs can enhance their therapeutic benefits and create a more luxurious experience. Choose essential oils that are appropriate for your skin type and desired effect. For example, lavender oil is calming and soothing, while tea tree oil is antibacterial and good for acne-prone skin. Start with a few drops of essential oil and adjust to your preference.
What are some other creative salt uses I haven’t thought of?
Beyond cleaning, beauty, and crafts, salt can also be used to:
* Keep cut flowers fresh longer by adding a pinch to the vase water.
* Prevent apples and pears from browning by soaking them in a saltwater solution.
* Clean your iron. Sprinkle salt on a clean ironing board, then iron over it. The salt will help remove residue from the iron’s surface.
* Deodorize your garbage disposal by pouring a cup of salt down the drain followed by cold water.
* Exfoliate your lips by gently rubbing a mixture of salt and honey on your lips.
Is there any type of salt I should avoid using for these DIY projects?
While most types of salt are safe to use, avoid using road salt or de-icing salt for any of these DIY projects. These salts often contain additives that can be harmful or irritating to the skin. Stick to culinary-grade salts for the best and safest results.
What if my salt scrub becomes too dry?
If your salt scrub becomes too dry, simply add a little more oil to rehydrate it. You can use olive oil, coconut oil, almond oil, or any other carrier oil of your choice. Start with a small amount of oil and mix well until you achieve the desired consistency.
Can I use salt to get rid of weeds in my garden?
Yes, salt can be used as a natural weed killer. However, use it with caution, as it can also harm desirable plants. Dissolve salt in water and pour the solution directly onto the weeds, avoiding contact with other plants. Be aware that salt can alter the soil composition and make it difficult for plants to grow in that area in the future.
How can I make colored salt for crafts?
Making colored salt for crafts is easy! Simply combine salt with powdered tempera paint or food coloring in a resealable bag. Seal the bag and shake well until the salt is evenly coated. Spread the colored salt on a baking sheet and let it dry completely before using it in your crafts. You can also use liquid watercolors for a more vibrant color.
What are the benefits of using salt in a bath?
Adding salt to your bath can provide several benefits, including:
* Relaxing muscles and relieving tension.
* Reducing inflammation and pain.
* Exfoliating the skin and removing dead cells.
* Improving circulation.
* Detoxifying the body.
Epsom salt is particularly popular for bath soaks due to its high magnesium content.
How do I dispose of salt water used for cleaning?
Salt water used for cleaning can generally be disposed of down the drain. However, if you’ve used salt water to clean up spills containing hazardous materials, dispose of the water according to local regulations for hazardous waste disposal.
Leave a Comment