
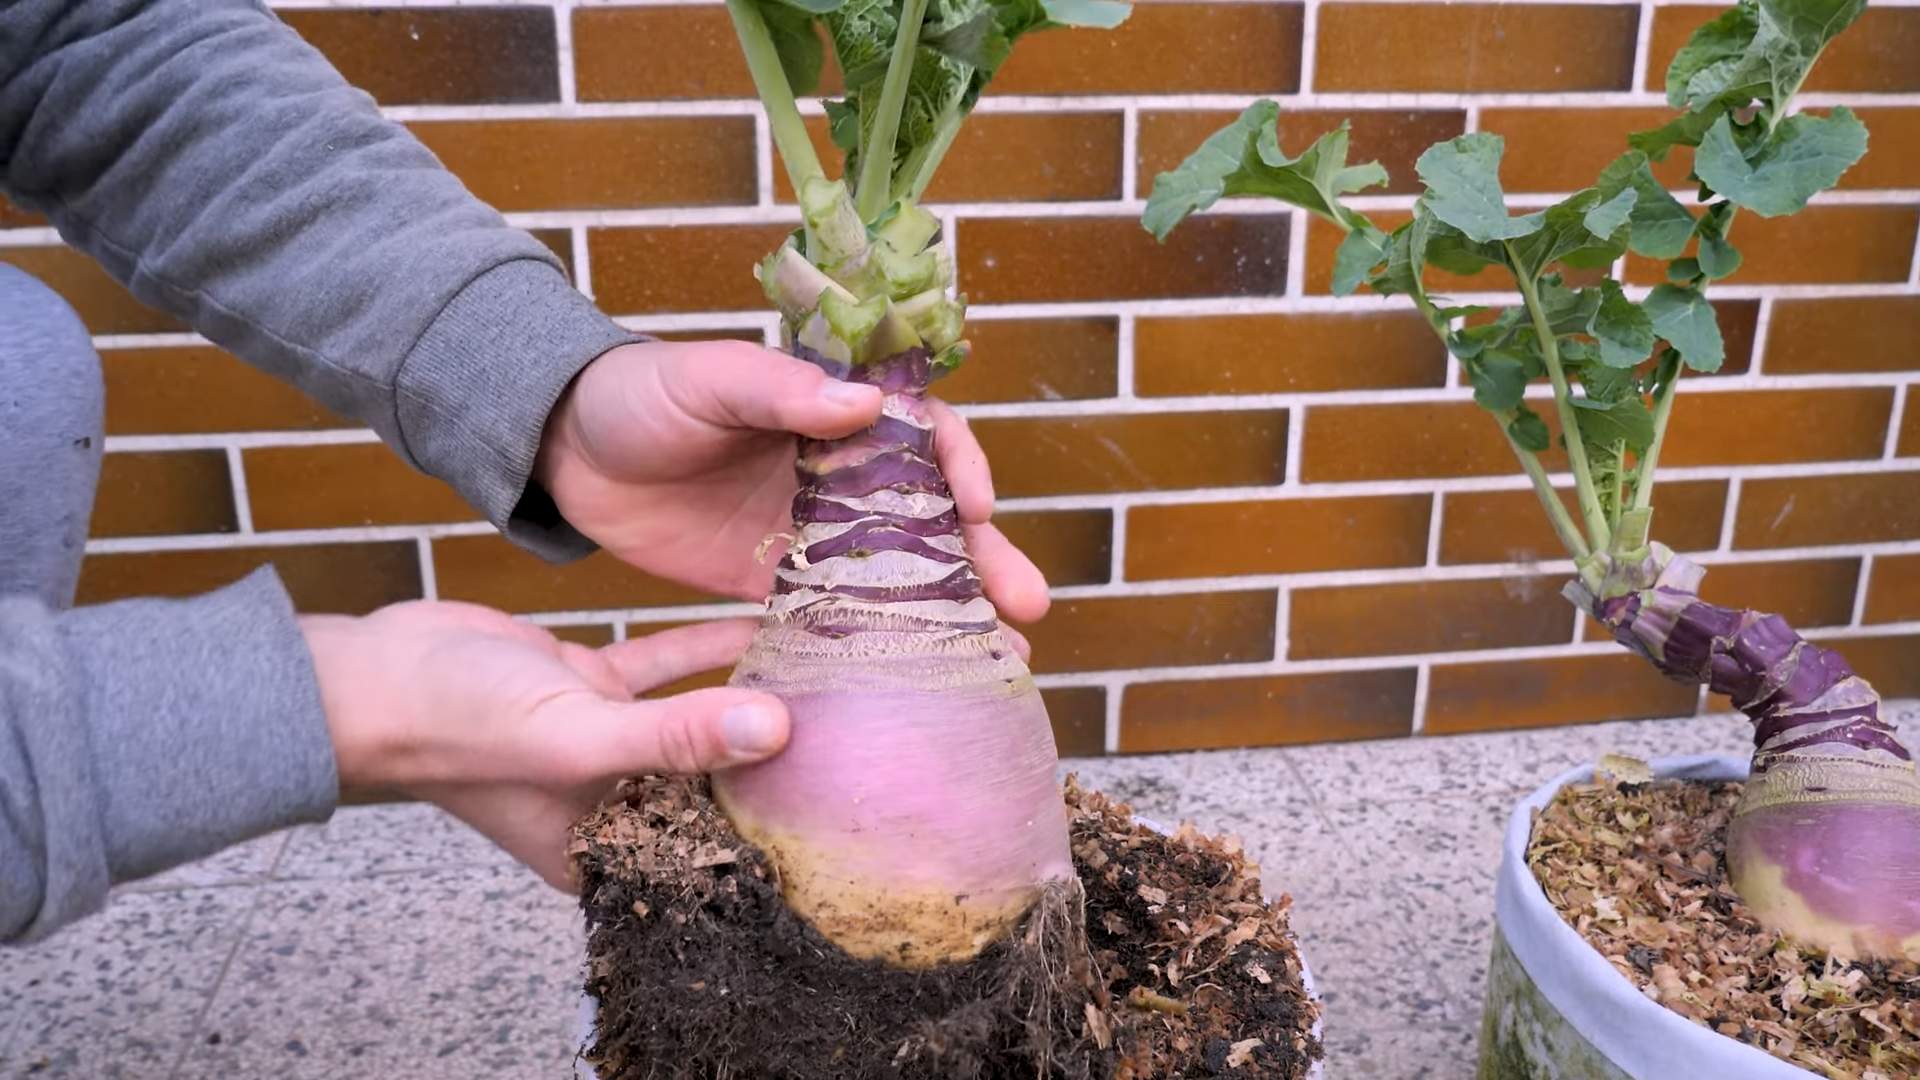
Grow Giant Rutabagas, you say? Absolutely! Imagine the look on your neighbor’s face when you proudly display a rutabaga the size of a small pumpkin! It’s not just a dream; with a few clever tricks and a little DIY magic, you can cultivate these impressive root vegetables right in your own backyard.
Rutabagas, sometimes called swedes, have a fascinating history. Originating as a cross between a cabbage and a turnip, they’ve been a staple in European diets for centuries, especially during leaner times. They’re incredibly nutritious and versatile in the kitchen, but let’s be honest, the real fun comes from growing them to epic proportions!
Why bother with these grow giant rutabagas hacks? Well, for starters, it’s incredibly rewarding to nurture something from a tiny seed into a colossal vegetable. Plus, larger rutabagas are easier to peel and prepare, and they store exceptionally well. But more importantly, in a world where self-sufficiency and sustainable living are becoming increasingly important, knowing how to maximize your garden’s yield is a valuable skill. I’m here to guide you through simple, effective DIY techniques that will transform your rutabaga-growing game. Get ready to impress your friends and family with your gardening prowess!
Growing Giant Rutabagas: My Guide to Root Vegetable Glory
Okay, so you want to grow giant rutabagas? Awesome! I’m here to tell you it’s totally achievable, and honestly, it’s incredibly rewarding to pull a massive, earthy rutabaga out of the ground that you nurtured from a tiny seed. It’s like winning a vegetable lottery! This guide will walk you through everything I’ve learned about cultivating these behemoths, from seed to harvest.
Understanding Rutabagas: More Than Just a Turnip Relative
First things first, let’s talk rutabagas. They’re often mistaken for turnips, but they’re actually a cross between a turnip and a cabbage. This gives them a slightly sweeter, milder flavor than turnips, and they tend to grow much larger. They’re packed with vitamins and fiber, making them a super healthy addition to your diet. Plus, they store incredibly well, so you can enjoy your harvest for months.
Planning Your Rutabaga Empire
Before you even think about planting, planning is key. Here’s what you need to consider:
* Timing is Everything: Rutabagas need a long growing season, about 90-100 days. I’ve found the best time to plant is in mid-summer, usually July or early August, depending on your climate. This allows them to mature in the cool fall weather, which is crucial for developing their sweetness and size. Planting too early can result in bolting (going to seed) in the heat.
* Location, Location, Location: Choose a spot in your garden that gets at least 6 hours of sunlight per day. Rutabagas are sun-loving plants, and they need plenty of light to fuel their growth.
* Soil Preparation: This is arguably the most important step. Rutabagas need loose, well-drained soil that’s rich in organic matter. Compacted soil will restrict their growth and result in smaller, misshapen roots.
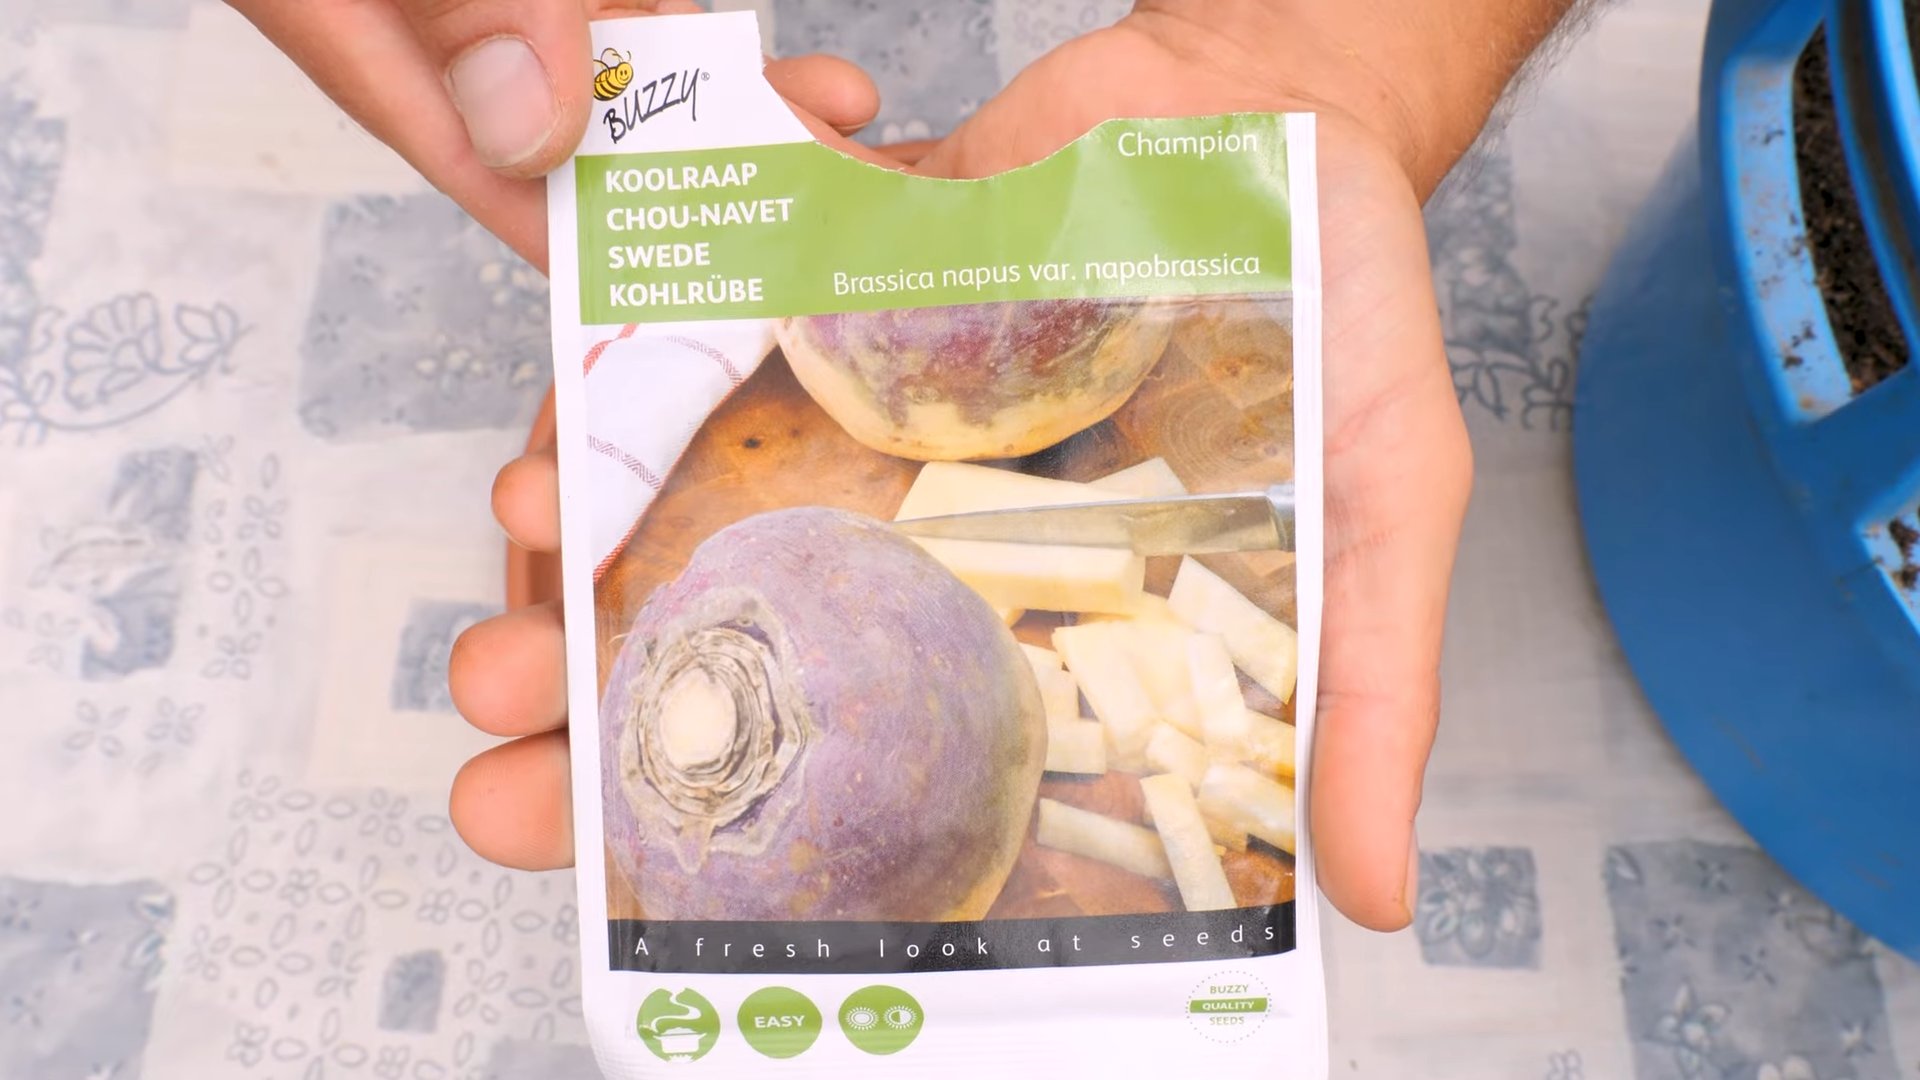
* Variety Selection: While most rutabaga varieties can grow to a decent size, some are specifically bred for larger yields. ‘American Purple Top’ is a classic choice known for its size and flavor. ‘Laurentian’ is another good option, known for its smooth skin and uniform shape.
Step-by-Step Planting Guide
Alright, let’s get our hands dirty! Here’s how I plant my rutabagas for maximum size:
1. Soil Amendment: Before planting, I amend my soil with plenty of compost and well-rotted manure. This provides the rutabagas with the nutrients they need to grow big and strong. I usually dig in about 2-3 inches of compost and manure, working it into the top 6-8 inches of soil. You can also add a slow-release fertilizer formulated for root vegetables.
2. Creating Raised Beds (Optional but Recommended): I prefer to grow my rutabagas in raised beds. This improves drainage and helps warm the soil, which is especially beneficial in cooler climates. If you’re not using raised beds, make sure your soil is well-drained and not prone to waterlogging.
3. Sowing the Seeds: Rutabaga seeds are small, so I sow them thinly, about 1/4 to 1/2 inch deep and 1-2 inches apart. I plant in rows that are about 18-24 inches apart. This gives the rutabagas plenty of room to grow.
4. Watering Gently: After planting, I water the seeds gently to avoid washing them away. Keep the soil consistently moist until the seedlings emerge, which usually takes about 5-10 days.
5. Thinning the Seedlings: Once the seedlings have developed a few true leaves, it’s time to thin them out. This is crucial for allowing the remaining plants to grow to their full potential. I thin them to about 6-8 inches apart. Don’t be afraid to be ruthless! The more space you give them, the bigger they’ll grow.
Nurturing Your Rutabagas: The Growing Season
Now that your rutabagas are planted, it’s time to focus on their care. Here’s what I do to keep them happy and healthy:
1. Consistent Watering: Rutabagas need consistent moisture, especially during dry spells. I aim to water them deeply at least once a week, or more often if the weather is hot and dry. Avoid overhead watering, as this can promote fungal diseases. Soaker hoses or drip irrigation are ideal.
2. Weed Control: Weeds can compete with rutabagas for nutrients and water, so it’s important to keep them under control. I hand-weed regularly, being careful not to disturb the shallow roots of the rutabagas. Mulching with straw or wood chips can also help suppress weeds and retain moisture.
3. Fertilizing (If Needed): If your soil is lacking in nutrients, you may need to fertilize your rutabagas. I usually side-dress them with a balanced fertilizer about 4-6 weeks after planting. Follow the instructions on the fertilizer package carefully.
4. Pest and Disease Management: Rutabagas can be susceptible to certain pests and diseases, such as flea beetles, aphids, and clubroot. I inspect my plants regularly for any signs of trouble. For flea beetles, I use row covers to protect the seedlings. For aphids, I spray them with a strong stream of water or use insecticidal soap. Clubroot is a soilborne disease that can cause swollen, distorted roots. To prevent clubroot, I practice crop rotation and avoid planting brassicas (cabbage, broccoli, cauliflower, etc.) in the same spot year after year.
5. Hilling: As the rutabagas grow, I like to hill up the soil around the base of the plants. This helps to support the roots and protect them from sunscald. It also encourages the development of a larger, more uniform root.
Harvesting Your Giant Rutabagas: The Grand Finale
The moment you’ve been waiting for! Harvesting your giant rutabagas is the most satisfying part of the process.
1. Knowing When to Harvest: Rutabagas are typically ready to harvest about 90-100 days after planting. The size of the rutabaga will depend on the variety and growing conditions, but you can generally harvest them when they are about 4-6 inches in diameter. I usually check the size by gently digging around the base of the plant.
2. The Harvesting Process: To harvest, I loosen the soil around the rutabaga with a garden fork and then gently pull it out of the ground. Be careful not to damage the root.
3. Cleaning and Storing: After harvesting, I brush off any excess soil and trim the tops, leaving about an inch or two of stem. I then store the rutabagas in a cool, dark, and humid place, such as a root cellar or refrigerator. They can last for several months if stored properly. I find wrapping them individually in damp paper towels and placing them in a plastic bag in the crisper drawer works wonders.
Troubleshooting: Common Rutabaga Problems
Even with the best planning and care, you might encounter some problems along the way. Here are a few common issues and how I deal with them:
* Bolting (Premature Flowering): This is usually caused by hot weather or stress. To prevent bolting, plant your rutabagas at the right time of year and provide them with consistent moisture.
* Cracking: This can be caused by inconsistent watering or rapid changes in soil moisture. To prevent cracking, water your rutabagas regularly and avoid letting the soil dry out completely.
* Pest Damage: As mentioned earlier, flea beetles and aphids can be a problem. Use row covers or insecticidal soap to control these pests.
* Clubroot: This soilborne disease can be difficult to control. Practice crop rotation and avoid planting brassicas in the same spot year after year.
My Secret Weapon: Epsom Salts
Okay, this might sound a little unconventional, but I swear by it! I’ve found that adding Epsom salts to the soil can really boost the growth of my rutabagas. Epsom salts are rich in magnesium, which is essential for plant growth. I usually dissolve about a tablespoon of Epsom salts in a gallon of water and use it to water my rutabagas every few weeks. I’ve noticed a significant difference in the size and health of my plants since I started using Epsom salts.
Enjoying Your Harvest: Rutabaga Recipes
Now that you’ve grown your giant rutabagas, it’s time to enjoy them! Rutabagas are incredibly versatile and can be used in a variety of dishes. Here are a few of my favorites:
* Roasted Rutabaga: Simply peel and cube the rutabaga, toss it with olive oil, salt, pepper, and your favorite herbs, and roast it in the oven until tender and slightly caramelized.
* Mashed Rutabaga: Peel and boil the rutabaga until tender, then mash it with butter, milk, and salt and
Conclusion
So, there you have it! The secret to cultivating truly colossal rutabagas isn’t some closely guarded farming secret, but rather a combination of understanding their needs and employing a few simple, yet effective, DIY tricks. We’ve walked you through everything from seed selection and soil preparation to thinning and strategic watering, all culminating in the potential for a harvest that will have your neighbors green with envy.
Why is this DIY approach a must-try? Because it empowers you to take control of your rutabaga growing process. You’re not just passively planting seeds and hoping for the best. You’re actively shaping the environment to encourage maximum growth. You’re understanding the nuances of what these root vegetables need to thrive, and you’re providing it in a way that’s both cost-effective and deeply satisfying. The satisfaction of pulling a truly giant rutabaga from the earth, knowing you nurtured it to that size, is an experience unlike any other.
But don’t think this is a one-size-fits-all approach. Feel free to experiment! Perhaps you want to try different types of organic fertilizers to see which yields the best results in your specific soil conditions. Maybe you’ll discover a unique companion planting strategy that further boosts growth. Consider using raised beds for improved drainage, especially if you live in an area with heavy clay soil. Or, if you’re short on space, explore container gardening with larger pots specifically designed for root vegetables. Remember to adjust the watering schedule based on your local climate and rainfall patterns.
The key is to adapt these techniques to your own garden and observe what works best. Growing giant rutabagas is a journey of discovery, and we encourage you to embrace the process.
Now, it’s your turn! We’ve given you the tools and the knowledge; all that’s left is for you to put them into practice. Plant those seeds, nurture those seedlings, and watch those rutabagas grow! And most importantly, don’t forget to share your experiences with us. We’d love to hear about your successes, your challenges, and any variations you discover along the way. Post pictures of your giant rutabagas on social media using #GiantRutabagaDIY, or leave a comment below sharing your tips and tricks. Let’s build a community of rutabaga enthusiasts and learn from each other’s experiences. Let’s all learn how to **grow giant rutabagas** together!
Frequently Asked Questions (FAQ)
What is the best time of year to plant rutabagas for maximum growth?
The ideal time to plant rutabagas is typically in late spring or early summer for a fall harvest. This allows them to mature during the cooler months, which is crucial for optimal root development. In regions with mild winters, you might even be able to plant a second crop in late summer for a winter harvest. However, avoid planting during the hottest part of the summer, as high temperatures can hinder growth and affect the quality of the roots. Check your local climate and planting guides for the most accurate timing for your specific area.
How much space do rutabagas need to grow to their full potential?
Rutabagas require ample space to develop into truly giant specimens. Aim for at least 6-8 inches between plants within a row and 18-24 inches between rows. This spacing allows the roots to expand without being crowded, ensuring they have access to sufficient nutrients and water. If you’re aiming for particularly large rutabagas, you might even consider giving them slightly more space. Thinning seedlings early is also crucial to ensure that the remaining plants have enough room to thrive.
What type of soil is best for growing giant rutabagas?
Rutabagas thrive in well-drained, fertile soil that is rich in organic matter. A slightly acidic to neutral pH (around 6.0 to 7.0) is ideal. Before planting, amend the soil with compost, well-rotted manure, or other organic materials to improve drainage, fertility, and water retention. Avoid heavy clay soils, as they can restrict root growth. If you have clay soil, consider adding sand and organic matter to improve its structure. A soil test can help you determine the pH and nutrient levels of your soil, allowing you to make necessary amendments.
How often should I water rutabagas to encourage giant growth?
Consistent watering is essential for growing large rutabagas. Aim to keep the soil consistently moist, but not waterlogged. Water deeply and regularly, especially during dry periods. The frequency of watering will depend on your local climate, soil type, and rainfall patterns. A good rule of thumb is to water when the top inch of soil feels dry to the touch. Mulching around the plants can help retain moisture and reduce the need for frequent watering.
What are some common pests and diseases that affect rutabagas, and how can I prevent them?
Rutabagas can be susceptible to various pests and diseases, including aphids, flea beetles, cabbage worms, clubroot, and powdery mildew. To prevent these problems, practice good garden hygiene, such as removing plant debris and weeds regularly. Crop rotation can also help prevent soilborne diseases. Use row covers to protect young plants from pests. Inspect your plants regularly for signs of infestation or disease, and take action promptly if you notice any problems. Organic pest control methods, such as insecticidal soap or neem oil, can be effective for controlling many common pests. Ensure good air circulation around the plants to minimize the risk of fungal diseases.
Can I use fertilizer to help my rutabagas grow larger? If so, what kind?
Yes, fertilizing rutabagas can significantly boost their growth. Use a balanced fertilizer that is rich in phosphorus and potassium, as these nutrients are essential for root development. Avoid over-fertilizing with nitrogen, as this can promote excessive foliage growth at the expense of root growth. Apply fertilizer according to the package instructions, and consider side-dressing the plants with compost or well-rotted manure during the growing season. Organic fertilizers, such as bone meal and kelp meal, can also be beneficial.
How do I know when my rutabagas are ready to harvest?
Rutabagas are typically ready to harvest in the fall, after the first frost. The roots should be firm and smooth, and the size will depend on the variety and growing conditions. A good indication of maturity is when the top of the root begins to protrude from the soil. You can also check the size of the rutabaga by gently digging around the base of the plant. Harvest before the ground freezes solid, as this can damage the roots.
What are some creative ways to use giant rutabagas in cooking?
Giant rutabagas are incredibly versatile in the kitchen. They can be roasted, mashed, boiled, steamed, or even grated and used in salads or slaws. They have a slightly sweet and earthy flavor that pairs well with a variety of herbs and spices. Try roasting them with other root vegetables, such as carrots and parsnips, for a hearty side dish. You can also use them to make soups, stews, or gratins. For a unique twist, try fermenting rutabagas to create a tangy and probiotic-rich condiment. The possibilities are endless!

Leave a Comment