
Growing Potatoes Above Ground might sound like something out of a science fiction movie, but trust me, it’s a real and incredibly rewarding gardening technique! Forget back-breaking digging and endless weeding in the traditional potato patch. I’m going to show you how to harvest a bumper crop of spuds with minimal effort, all while keeping your soil happy and healthy.
Potatoes have been a staple food for centuries, with their cultivation dating back to the Inca civilization in the Andes Mountains. These resourceful people understood the importance of maximizing yields in challenging environments. While they might not have used the exact methods we’ll explore today, their ingenuity paved the way for innovative techniques like growing potatoes above ground.
So, why should you consider this method? Well, for starters, it’s perfect for gardeners with limited space, poor soil, or those who simply want to avoid the hassle of digging. Imagine harvesting your potatoes from a tower or container, clean and ready to eat! Plus, it’s a fantastic way to deter pests and diseases that thrive in the soil. I’ve found that this method significantly reduces the risk of potato scab and wireworms. Get ready to ditch the shovel and embrace a simpler, more efficient way to enjoy fresh, homegrown potatoes. Let’s get started!
Growing Potatoes in a Tower: A DIY Guide for Bountiful Harvests!
Hey there, fellow gardening enthusiasts! Are you dreaming of a potato harvest that’s both abundant and space-saving? Well, you’ve come to the right place! I’m going to walk you through building your very own potato tower, a fantastic way to grow potatoes above ground, maximizing your yield even if you have limited space. Trust me, it’s easier than you think, and the results are incredibly rewarding.
What You’ll Need: Gathering Your Supplies
Before we dive in, let’s make sure you have everything you need. This project is relatively inexpensive, and you might even have some of these items lying around already!
* Seed Potatoes: Choose your favorite variety! Certified seed potatoes are best, as they are disease-free. You can find these at your local garden center. I personally love Yukon Gold for their creamy texture and delicious flavor.
* Container: You’ll need a large container to start. A plastic garbage can (new, of course!), a large planter, or even a repurposed barrel will work. Aim for something at least 2 feet in diameter and 3 feet tall.
* Soil: A well-draining potting mix is crucial. I recommend a mix of compost, peat moss (or coconut coir), and perlite or vermiculite. This will provide the nutrients and drainage your potatoes need.
* Straw or Hay: This is essential for layering and creating the tower effect. Straw is generally preferred as it decomposes slower than hay.
* Drill (Optional): If you’re using a plastic container, you might want to drill drainage holes in the bottom.
* Knife: For cutting the seed potatoes (if necessary).
* Watering Can or Hose: To keep your potato tower hydrated.
* Gloves: To protect your hands.
* Eye Protection: If you are drilling holes.
Preparing Your Seed Potatoes: Getting Ready to Plant
This step is important for maximizing your potato yield.
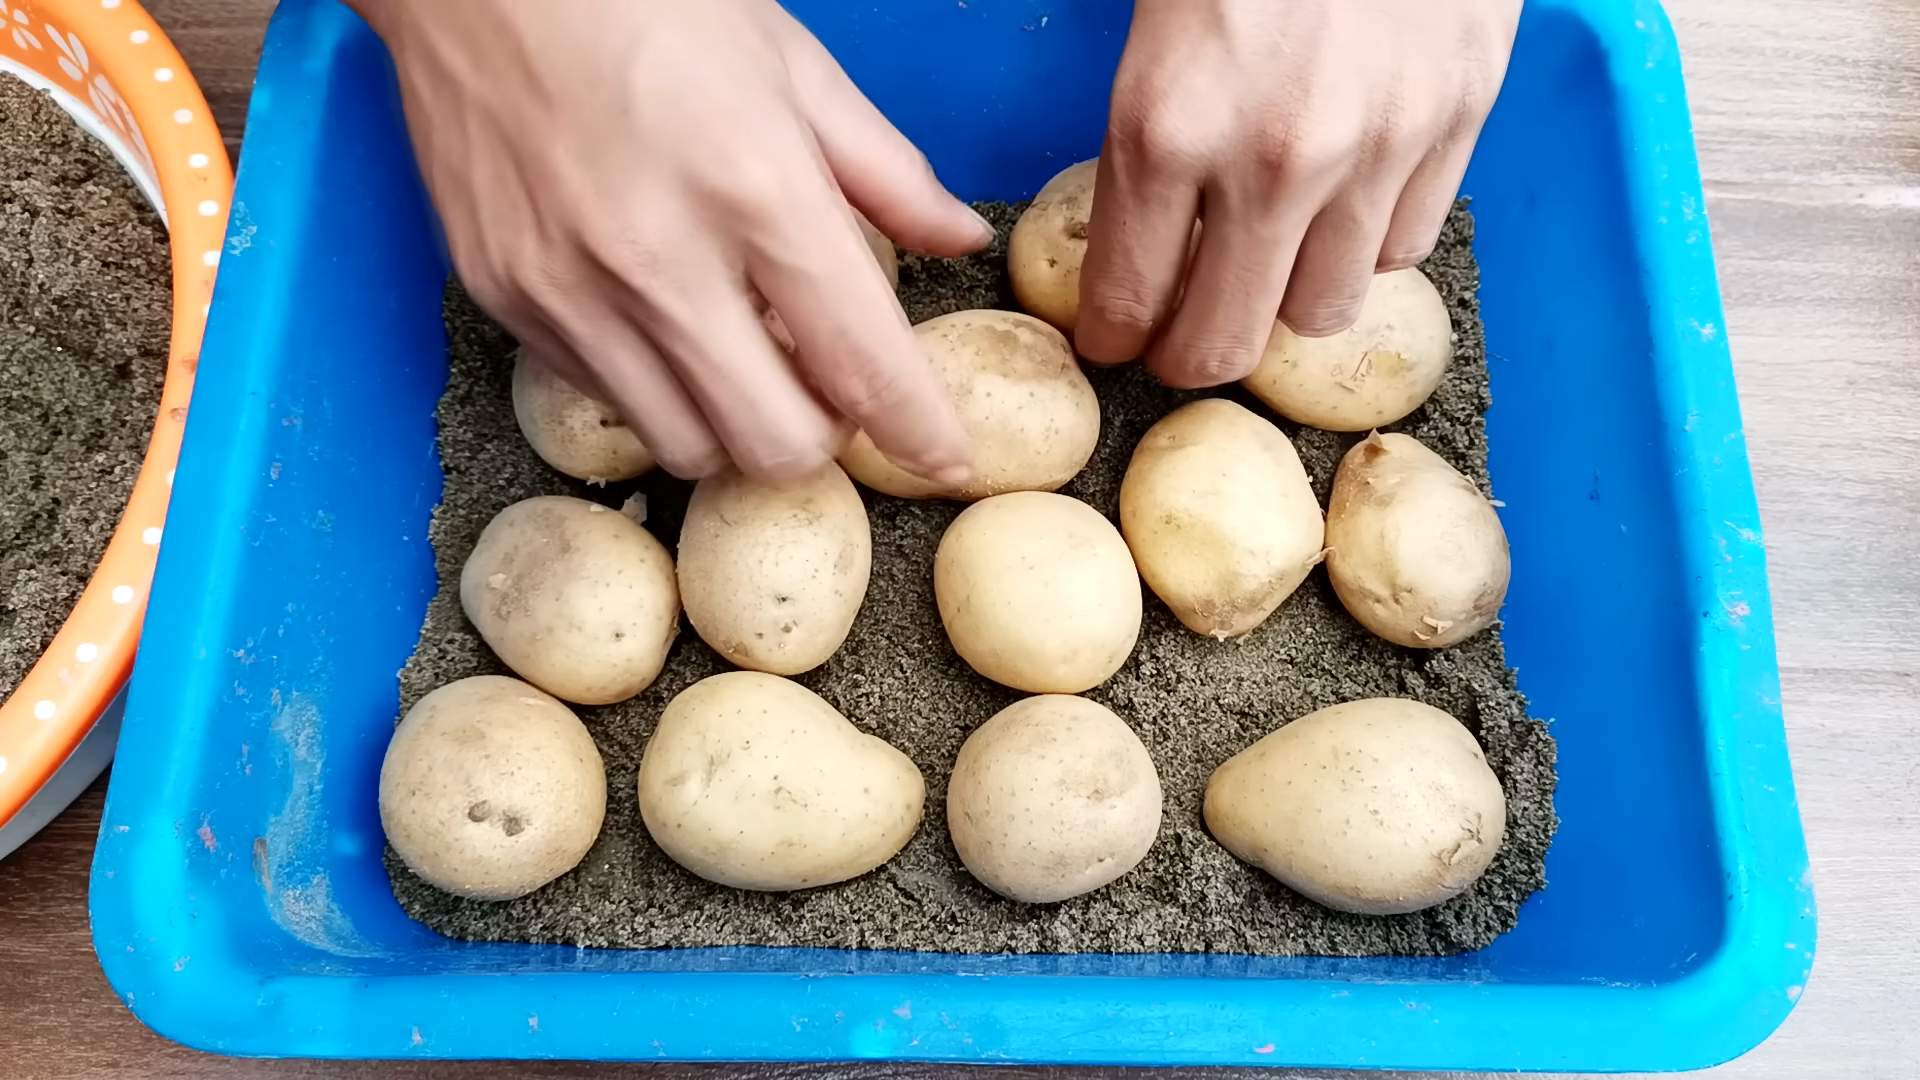
1. Chitting (Sprouting) Your Potatoes: A few weeks before planting, place your seed potatoes in a cool, bright location (but not direct sunlight). This encourages them to sprout “eyes.” You can use an egg carton or a shallow tray. This process, called chitting, gives your potatoes a head start.
2. Cutting Large Potatoes (Optional): If your seed potatoes are large (bigger than an egg), you can cut them into smaller pieces, ensuring each piece has at least 2-3 “eyes.” Let the cut pieces dry for a day or two to callous over. This helps prevent rotting.
Building Your Potato Tower: Step-by-Step Instructions
Alright, let’s get our hands dirty and build this tower!
1. Prepare Your Container: If you’re using a plastic container, drill drainage holes in the bottom. This is crucial to prevent waterlogging, which can rot your potatoes.
2. First Layer of Soil: Add about 6-8 inches of your potting mix to the bottom of the container. This will be the foundation for your first layer of potatoes.
3. Planting the First Potatoes: Place 3-4 seed potato pieces (or small whole potatoes) on top of the soil, spacing them evenly around the container. Make sure the “eyes” are facing upwards.
4. Cover with Soil: Cover the potatoes with another 4-6 inches of soil. Gently water the soil to moisten it.
5. Layer of Straw: Add a layer of straw or hay around the base of the plants, this will help retain moisture and suppress weeds.
6. Waiting Game: Now, wait for the potato plants to grow about 6-8 inches tall. This might take a week or two, depending on the weather.
7. Adding More Soil: Once the plants have reached 6-8 inches, add another 4-6 inches of soil, burying the stems almost completely, leaving only the top few leaves exposed. This encourages the plant to produce more potatoes along the buried stem.
8. Repeat the Process: Continue this process of adding soil as the plants grow taller. Each time the plants reach 6-8 inches, add another layer of soil, burying the stems. This is the key to the potato tower method!
9. Watering Regularly: Keep the soil consistently moist, but not waterlogged. Water deeply whenever the top inch of soil feels dry.
10. Fertilizing (Optional): You can fertilize your potato plants every few weeks with a balanced liquid fertilizer. Follow the instructions on the fertilizer package.
11. Monitor for Pests and Diseases: Keep an eye out for common potato pests like potato beetles or aphids. Treat any infestations promptly with an appropriate insecticide or organic pest control method. Also, watch for signs of diseases like blight.
12. Continue Adding Straw: As the tower grows, continue to add straw around the base of the plants to help retain moisture and suppress weeds.
Harvesting Your Potatoes: The Grand Finale!
This is the moment you’ve been waiting for!
1. When to Harvest: You can start harvesting “new potatoes” (small, tender potatoes) a few weeks after the plants flower. To harvest new potatoes, carefully reach into the soil and pull out a few potatoes without disturbing the rest of the plant.
2. Full Harvest: For a full harvest of mature potatoes, wait until the plants have flowered and the foliage starts to die back. This usually happens in late summer or early fall.
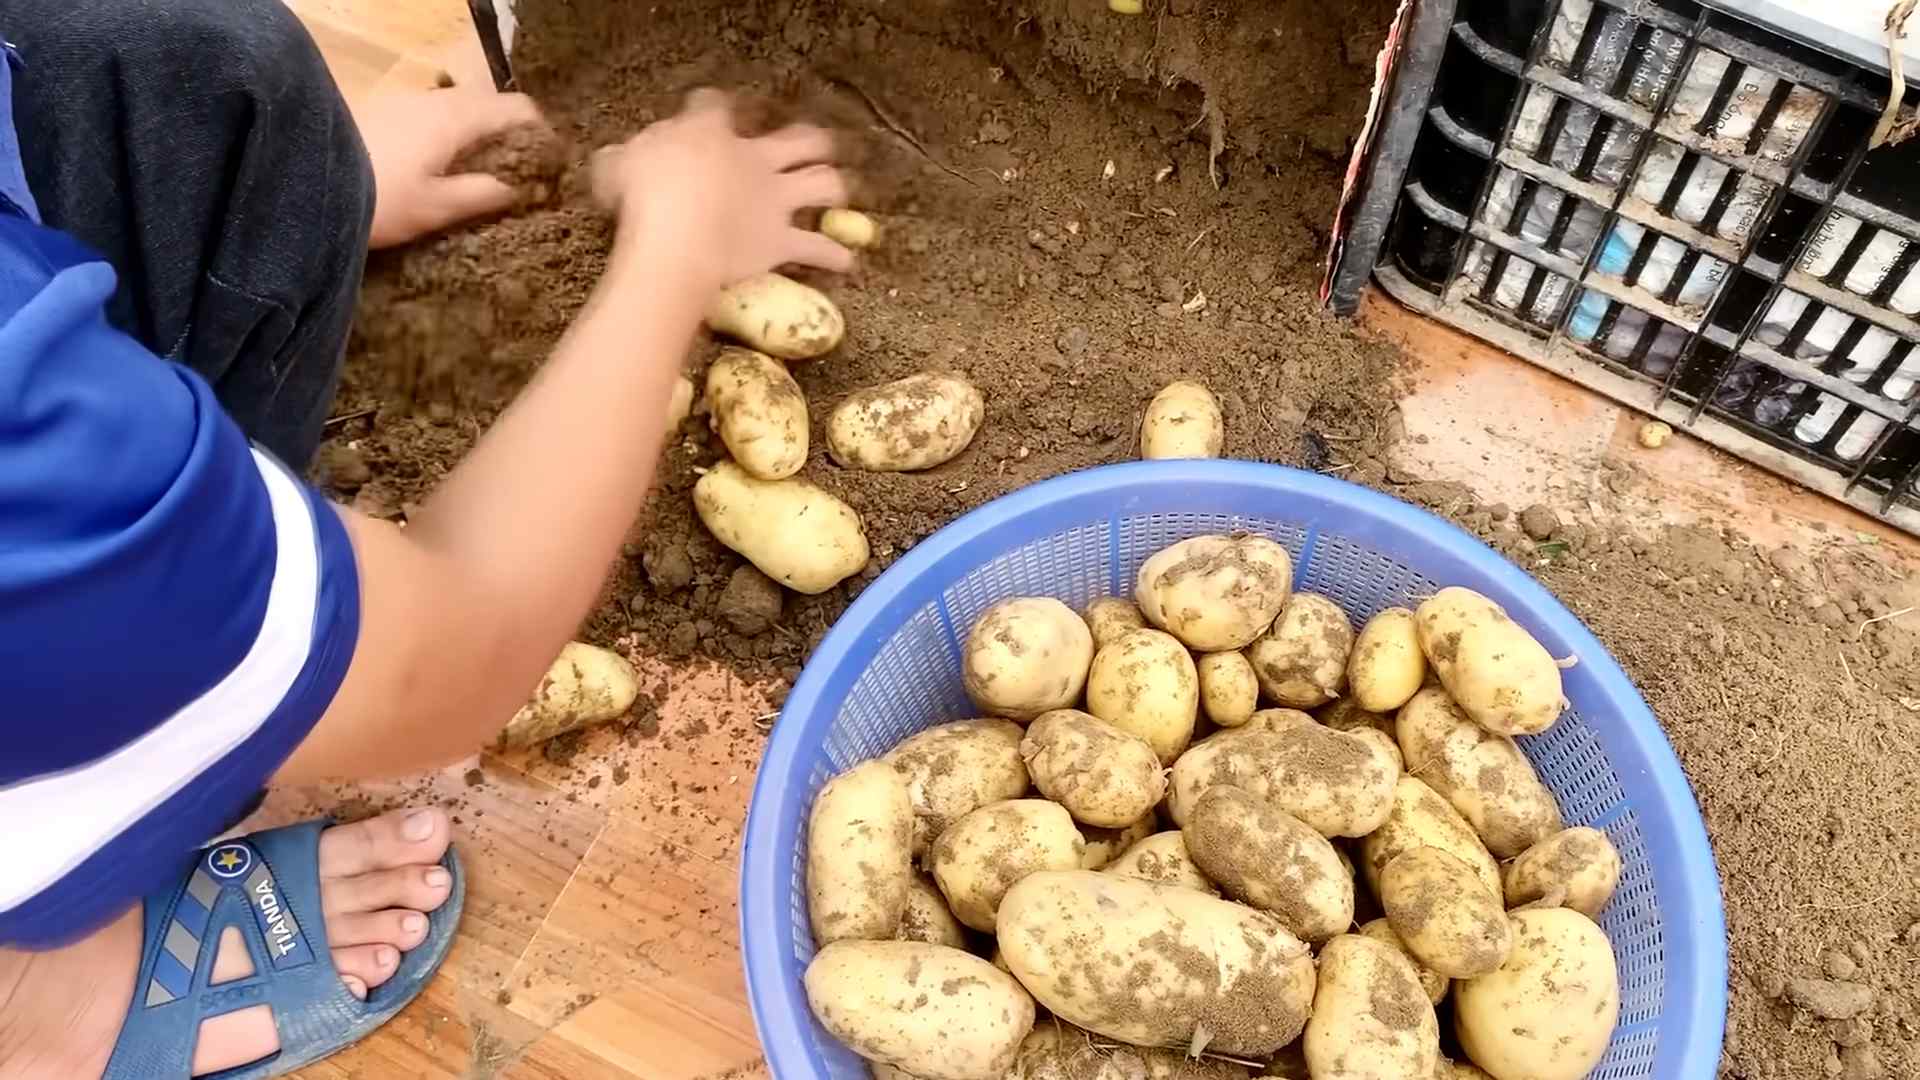
3. Harvesting Technique: To harvest, gently tip over the container and carefully remove the soil, collecting the potatoes as you go. You’ll be amazed at how many potatoes you’ve grown in such a small space!
4. Curing Your Potatoes: After harvesting, cure your potatoes by spreading them out in a cool, dark, and well-ventilated place for a week or two. This helps them to develop a thicker skin and store longer.
Troubleshooting Tips: Addressing Common Issues
Even with the best planning, sometimes things don’t go exactly as expected. Here are a few common issues you might encounter and how to address them:
* Yellowing Leaves: This could be a sign of overwatering, underwatering, or nutrient deficiency. Check the soil moisture and adjust your watering accordingly. You can also try fertilizing with a balanced fertilizer.
* Potato Beetles: These pesky beetles can quickly defoliate your potato plants. Handpick them off the plants or use an appropriate insecticide.
* Blight: This fungal disease can cause brown spots on the leaves and stems. Remove any affected foliage and treat the plants with a fungicide.
* Potatoes Turning Green: Potatoes exposed to sunlight will turn green and produce solanine, a toxic substance. Make sure to keep your potatoes covered with soil or straw.
Choosing the Right Location: Sunlight is Key
Potatoes need at least 6-8 hours of sunlight per day to thrive. Choose a location for your potato tower that receives plenty of sunlight. A south-facing location is ideal. Also, make sure the location is easily accessible for watering and harvesting.
Choosing the Right Container: Size Matters
The size of your container will determine how many potatoes you can grow. A larger container will allow you to grow more potatoes. Aim for a container that is at least 2 feet in diameter and 3 feet tall. You can use a plastic garbage can, a large planter, or even a repurposed barrel. Just make sure the container has drainage holes.
Soil Composition: The Foundation for Success
The soil is the foundation for your potato tower. Use a well-draining potting mix that is rich in organic matter. A mix of compost, peat moss (or coconut coir), and perlite or vermiculite is ideal. Avoid using garden soil, as it can be too heavy and may not drain well.
Watering and Fertilizing: Keeping Your Plants Happy
Water your potato plants regularly, especially during hot, dry weather. Water deeply whenever the top inch of soil feels dry. Avoid overwatering, as this can lead to root rot. You can also fertilize your potato plants every few weeks with a balanced liquid fertilizer. Follow the instructions on the fertilizer package.
Pest and Disease Control: Protecting Your Investment
Keep an eye out for common potato pests like potato beetles or aphids. Treat any infestations promptly with an appropriate insecticide or organic pest control method. Also, watch for signs of diseases like blight. Remove any affected foliage and treat the plants with a fungicide.
Choosing the Right Potato Variety: Personal Preference
There are many different varieties of potatoes to choose from. Some popular varieties include Yukon Gold, Russet, and Red Pontiac. Choose a variety that you enjoy eating and that is well-suited to your climate.
Extending the Growing Season: Getting the Most Out of Your Tower
If you live in a colder climate, you can extend the growing season by starting your potato tower indoors a few weeks before the last frost. You can also use a cold frame or greenhouse
Conclusion
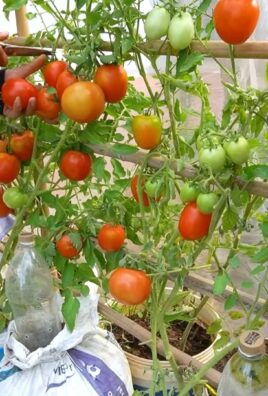
So, there you have it! Growing potatoes above ground in containers or grow bags is not just a gardening trend; it’s a game-changer. We’ve explored the simplicity, the space-saving benefits, and the sheer joy of harvesting a bountiful crop of potatoes without ever having to dig in the dirt. This method offers a cleaner, more controlled environment, minimizing pests and diseases that often plague traditional potato patches. Plus, let’s be honest, the visual appeal of a lush, green potato plant overflowing from a container is undeniably satisfying.
But the real magic lies in the ease of harvest. Forget the back-breaking labor of digging through compacted soil, hoping to unearth hidden treasures. With above-ground potato growing, harvesting is as simple as tipping the container and sifting through the loose soil. It’s like a potato treasure hunt where you’re guaranteed to find gold!
This DIY trick is a must-try for several reasons. First, it’s incredibly accessible. Whether you have a sprawling backyard or a tiny balcony, you can grow potatoes. Second, it’s a fantastic learning experience, allowing you to observe the potato plant’s growth cycle up close. And third, it’s incredibly rewarding to harvest your own homegrown potatoes, knowing you nurtured them from seed to spud.
Ready to take your potato growing to the next level? Consider experimenting with different potato varieties. Russets, Yukon Golds, and fingerling potatoes all thrive in containers. You can also try adding different amendments to your soil mix, such as compost or bone meal, to boost nutrient levels. Another fun variation is to create a tiered potato tower using multiple containers stacked on top of each other. This maximizes space and creates a stunning visual display.
Don’t be afraid to get creative with your container choices, either. While grow bags are a popular option, you can also use large plastic bins, repurposed barrels, or even old tires. Just make sure your chosen container has adequate drainage holes.
Ultimately, the success of your above-ground potato growing venture depends on your willingness to experiment and adapt. Pay attention to your plants’ needs, adjust your watering and fertilizing schedule as necessary, and don’t be discouraged by setbacks. Gardening is a journey, and every mistake is an opportunity to learn and grow.
We are confident that once you experience the ease and abundance of growing potatoes above ground, you’ll never go back to traditional methods. So, grab your seed potatoes, gather your supplies, and get ready to embark on a potato-growing adventure.
We’d love to hear about your experiences! Share your photos, tips, and tricks in the comments below. Let’s build a community of above-ground potato growers and inspire others to discover the joys of homegrown potatoes. What are you waiting for? Get planting!
Frequently Asked Questions (FAQ)
What kind of potatoes are best for growing above ground?
While many potato varieties can be grown in containers, some tend to perform better than others. Determinate varieties, which produce all their potatoes at once, are generally a good choice. These include Yukon Gold, Red Pontiac, and Irish Cobbler. These varieties tend to be bushier and more compact, making them well-suited for container growing. Indeterminate varieties, which continue to produce potatoes throughout the growing season, can also be grown in containers, but they may require more space and support. Fingerling potatoes are also a popular choice for container gardening due to their unique shape and flavor. Ultimately, the best variety for you will depend on your personal preferences and growing conditions. Experiment with different varieties to see what works best in your area.
How much sunlight do potatoes need when grown above ground?
Potatoes are sun-loving plants and require at least six to eight hours of direct sunlight per day to thrive. Insufficient sunlight can lead to leggy growth, reduced potato production, and increased susceptibility to diseases. When choosing a location for your container or grow bag, select a spot that receives ample sunlight throughout the day. If you live in a particularly hot climate, you may need to provide some afternoon shade to prevent the plants from overheating. You can also use grow lights to supplement natural sunlight, especially if you are starting your potatoes indoors or if you live in an area with limited sunlight. Monitor your plants closely and adjust their location as needed to ensure they are receiving adequate sunlight.
What type of soil is best for growing potatoes in containers?
The ideal soil for growing potatoes in containers is a well-draining, nutrient-rich mix. A combination of potting soil, compost, and perlite or vermiculite is a good starting point. Potting soil provides a base for the mix, while compost adds essential nutrients and improves drainage. Perlite or vermiculite helps to aerate the soil and prevent compaction. Avoid using garden soil in containers, as it can be too heavy and may not drain well. You can also add other amendments to your soil mix, such as bone meal or rock phosphate, to provide additional phosphorus, which is essential for root development. The pH of the soil should be slightly acidic, around 6.0 to 6.5.
How often should I water my potatoes grown in containers?
Watering frequency will depend on several factors, including the size of your container, the type of soil you are using, and the weather conditions. Generally, you should water your potatoes when the top inch of soil feels dry to the touch. Avoid overwatering, as this can lead to root rot. During hot, dry weather, you may need to water your plants daily. In cooler, wetter weather, you may only need to water them every few days. When watering, water deeply and thoroughly, ensuring that the entire root ball is moistened. Avoid watering the foliage, as this can promote fungal diseases.
How do I fertilize potatoes grown above ground?
Potatoes are heavy feeders and require regular fertilization to produce a good crop. Start by incorporating a slow-release fertilizer into your soil mix at planting time. This will provide a steady supply of nutrients throughout the growing season. You can also supplement with liquid fertilizer every two to three weeks. Choose a fertilizer that is high in phosphorus and potassium, as these nutrients are essential for potato development. Avoid over-fertilizing, as this can lead to excessive foliage growth and reduced potato production. Follow the instructions on the fertilizer label carefully.
How do I hill potatoes grown in containers?
Hilling is the process of adding more soil around the stems of the potato plants as they grow. This encourages the plants to produce more potatoes along the buried stems. When growing potatoes in containers, you can hill them by gradually adding more soil to the container as the plants grow. Start by filling the container about one-third full with soil. As the plants grow, add more soil until the container is about two-thirds full. Be careful not to bury the leaves of the plants.
What are common pests and diseases that affect potatoes grown above ground, and how can I prevent them?
While growing potatoes above ground can reduce the risk of some pests and diseases, it’s still important to be vigilant. Common pests that can affect potatoes include aphids, potato beetles, and flea beetles. Diseases that can affect potatoes include early blight, late blight, and potato scab. To prevent pests and diseases, start by using disease-free seed potatoes. You can also use organic pest control methods, such as insecticidal soap or neem oil, to control pests. To prevent diseases, ensure that your plants have good air circulation and avoid overwatering. You can also use a fungicide to protect your plants from fungal diseases. Regularly inspect your plants for signs of pests or diseases and take action promptly if you notice any problems.
When and how do I harvest potatoes grown above ground?
The timing of your harvest will depend on the variety of potatoes you are growing and your personal preferences. New potatoes, which are small and tender, can be harvested as early as two to three weeks after flowering. Mature potatoes, which are larger and have thicker skins, should be harvested after the foliage has died back. To harvest potatoes grown in containers, simply tip the container and sift through the soil to collect the potatoes. Be careful not to damage the potatoes during harvest. Store your potatoes in a cool, dark, and dry place.
Can I reuse the soil from my potato containers?
It’s generally not recommended to reuse the soil from your potato containers for growing potatoes again in the same container the following year. Potatoes can deplete the soil of nutrients, and reusing the soil can increase the risk of disease. However, you can reuse the soil for other plants that are not susceptible to the same diseases as potatoes. You can also amend the soil with compost and other organic matter to replenish nutrients.
How do I store my harvested potatoes?
Proper storage is crucial for extending the shelf life of your homegrown potatoes. The ideal storage conditions are cool, dark, and dry. A root cellar is ideal, but a cool basement or garage can also work. Avoid storing potatoes in the refrigerator, as this can cause them to develop a sweet taste. Before storing your potatoes, cure them by allowing them to air dry for a few days. This will help to toughen the skins and prevent spoilage. Store your potatoes in a single layer in a well-ventilated container, such as a cardboard box or a mesh bag. Check your potatoes regularly for signs of spoilage and remove any that are rotting.
Leave a Comment