
Professional cleaning secrets aren’t just for the pros anymore! Have you ever walked into a hotel room and wondered how they achieve that spotless, almost sterile, level of clean? Or envied the gleaming floors and dust-free surfaces of a professionally cleaned office? Well, I’m here to tell you that you can achieve that same level of sparkling cleanliness in your own home, without breaking the bank or spending all day scrubbing.
For generations, cleaning techniques have been passed down, often guarded like family recipes. Think about it – your grandmother probably had her own secret weapon for tackling stubborn stains, and professional cleaners have honed their methods over years of experience. These aren’t just random tips; they’re time-tested strategies designed for maximum efficiency and effectiveness.
In today’s busy world, who has time to spend hours cleaning? That’s where these professional cleaning secrets come in. I’m going to share some of the best DIY tricks and hacks that will revolutionize your cleaning routine. Imagine having more free time, a healthier home environment, and the satisfaction of knowing you’re using techniques that the professionals swear by. From tackling tough stains to organizing like a pro, these tips will transform your home into a sparkling sanctuary. Let’s dive in and unlock the secrets to a cleaner, happier you!
Unlock Professional Cleaning Secrets: DIY Hacks for a Sparkling Home
Okay, let’s dive into some seriously effective cleaning hacks that the pros use. I’m going to share some of my favorite tips and tricks to get your home looking its absolute best, without breaking the bank or spending all day scrubbing. Get ready to transform your cleaning routine!
Tackling Stubborn Stains: The Power of Paste
One of the most versatile cleaning solutions you can make is a simple paste. It’s fantastic for lifting stains from various surfaces.
What you’ll need:
* Baking soda
* Water
* An old toothbrush or soft scrub brush
* A clean cloth
Step-by-step instructions:
1. Mix it up: In a small bowl, gradually add water to baking soda until you form a thick paste. You want it to be spreadable but not runny. Think toothpaste consistency.
2. Apply generously: Apply the paste directly to the stain. Make sure you cover the entire affected area. Don’t be shy!
3. Let it sit: This is the key! Allow the paste to sit on the stain for at least 30 minutes, or even longer for really stubborn stains. I sometimes leave it overnight. The baking soda will work its magic, drawing the stain out.
4. Scrub gently: Using your old toothbrush or soft scrub brush, gently scrub the area in a circular motion. Avoid applying too much pressure, especially on delicate surfaces.
5. Rinse and wipe: Rinse the area thoroughly with clean water. Use a clean, damp cloth to wipe away any remaining residue.
6. Repeat if needed: If the stain is still visible, repeat the process. Sometimes it takes a couple of tries, especially with older stains.
This paste works wonders on:
* Burnt food on pots and pans
* Soap scum in the bathroom
* Stains on countertops
* Grime on oven doors
Streak-Free Windows: The Vinegar Solution
Achieving streak-free windows can feel like an impossible task. But trust me, with this simple vinegar solution, you’ll be amazed at the results.
What you’ll need:
* White vinegar
* Water
* A spray bottle
* Microfiber cloths (crucial for streak-free results!)
* Optional: A squeegee
Step-by-step instructions:
1. Mix the solution: In your spray bottle, combine equal parts white vinegar and water. For example, 1 cup of vinegar and 1 cup of water.
2. Spray liberally: Spray the window surface generously with the vinegar solution. Don’t be afraid to really soak it.
3. Wipe with a microfiber cloth: Using a clean microfiber cloth, wipe the window in a circular motion to remove dirt and grime.
4. Dry with a clean, dry microfiber cloth: This is where the magic happens! Use a separate, clean, and dry microfiber cloth to dry the window. Wipe in long, overlapping strokes.
5. Optional: Use a squeegee: If you prefer, you can use a squeegee after spraying the window. Overlap each stroke slightly and wipe the blade clean after each pass. Then, use a microfiber cloth to wipe up any drips.
Why this works: Vinegar is a natural degreaser and helps to dissolve dirt and grime. Microfiber cloths are essential because they don’t leave behind lint or streaks like paper towels can.
Pro tip: Avoid cleaning windows on a hot, sunny day. The solution will dry too quickly and leave streaks.
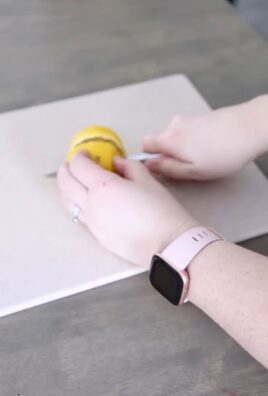
Deep Cleaning Your Microwave: The Lemon Steam Trick
Microwaves can get incredibly gross, incredibly fast. This lemon steam trick is a super easy and effective way to loosen up all that stuck-on food.
What you’ll need:
* A microwave-safe bowl
* 1 lemon
* Water
* A clean sponge or cloth
Step-by-step instructions:
1. Prepare the lemon water: Fill the microwave-safe bowl with about 1 cup of water. Cut the lemon in half and squeeze the juice into the water. Then, drop the lemon halves into the bowl as well.
2. Microwave for 3-5 minutes: Place the bowl in the microwave and microwave on high for 3-5 minutes, or until the water is boiling and the microwave is filled with steam.
3. Let it sit: Leave the microwave door closed for another 5 minutes to allow the steam to further loosen the grime.
4. Wipe clean: Carefully remove the bowl (it will be hot!). Use a clean sponge or cloth to easily wipe away the loosened food particles. The lemon scent will also leave your microwave smelling fresh and clean.
Why this works: The steam softens the dried food, making it much easier to wipe away. The lemon adds a pleasant scent and also has some degreasing properties.
Freshening Your Garbage Disposal: Citrus Power
Garbage disposals can get pretty stinky. Here’s a simple way to freshen them up using citrus peels.
What you’ll need:
* Citrus peels (lemon, lime, orange, grapefruit – any combination works!)
* Ice cubes
* Water
Step-by-step instructions:
1. Gather your citrus peels: Save your citrus peels after you’ve used the fruit.
2. Freeze the peels (optional): Freezing the peels beforehand can help to sharpen them and make them more effective at cleaning the disposal blades.
3. Run cold water: Turn on the cold water to a steady stream.
4. Drop in the peels and ice: Gradually drop the citrus peels and a handful of ice cubes into the garbage disposal while it’s running.
5. Let it run: Let the disposal run for about 30 seconds to a minute.
Why this works: The citrus peels help to scrub the sides of the disposal and remove any built-up grime. The ice cubes help to sharpen the blades and dislodge any debris. The citrus also leaves a fresh, clean scent.
Pro tip: Avoid putting starchy foods like pasta, rice, or potato peels down the garbage disposal, as they can clog it.
Cleaning Grout Like a Pro: Baking Soda and Vinegar
Dirty grout can make your entire bathroom or kitchen look dingy. This baking soda and vinegar method is a powerful way to brighten your grout lines.
What you’ll need:
* Baking soda
* White vinegar
* An old toothbrush or grout brush
* Water
* A spray bottle
Step-by-step instructions:
1. Apply baking soda: Sprinkle baking soda generously over the grout lines you want to clean.
2. Spray with vinegar: Fill a spray bottle with white vinegar and spray it directly onto the baking soda-covered grout lines. The mixture will fizz – that’s a good thing!
3. Let it sit: Allow the mixture to sit for about 5-10 minutes. This gives the baking soda and vinegar time to break down the dirt and grime.
4. Scrub vigorously: Using an old toothbrush or grout brush, scrub the grout lines vigorously. You’ll see the dirt and grime start to lift.
5. Rinse with water: Rinse the area thoroughly with clean water to remove any remaining baking soda and vinegar residue.
6. Dry with a cloth: Wipe the area dry with a clean cloth.
Why this works: The combination of baking soda and vinegar creates a powerful cleaning action that effectively removes dirt, grime, and mildew from grout lines.
Important note: Always test this method in an inconspicuous area first to ensure it doesn’t damage your tile.
Removing Hard Water Stains: The Lemon Juice Solution
Hard water stains can be a real pain, especially in bathrooms. Lemon juice is a natural acid that can help to dissolve these stubborn stains.
What you’ll need:
* Lemon juice
* A spray bottle or cloth
* A clean cloth
* Optional: Baking soda (for extra stubborn stains)
Step-by-step instructions:
1. Apply lemon juice: Pour lemon juice into a spray bottle or apply it directly to the hard water stains with a cloth.
2. Let it sit: Allow the lemon juice to sit on the stains for about 15-30 minutes.
3. Scrub gently: Use a clean cloth or sponge to gently scrub the area.
4. Rinse with water: Rinse the area thoroughly with clean water.
5. Dry with a cloth: Wipe the area dry with a clean cloth.
6. For stubborn stains: If the stains are particularly stubborn, you can make a paste of lemon juice and baking soda and apply it to the stains. Let it sit for a few minutes, then scrub
Conclusion
So, there you have it! Unveiling these professional cleaning secrets isn’t just about saving money; it’s about taking control of your home’s cleanliness and creating a healthier, more inviting space for yourself and your loved ones. We’ve explored how simple, readily available ingredients can be transformed into powerful cleaning solutions that rival, and often surpass, their expensive store-bought counterparts. From tackling stubborn stains to achieving a sparkling shine, these DIY methods offer a sustainable and effective approach to home maintenance.
The beauty of these professional cleaning secrets lies in their adaptability. Feel free to experiment with different essential oils to customize the scents of your cleaners. Lavender, lemon, tea tree, and eucalyptus are all excellent choices, each offering unique aromatherapy benefits alongside their cleaning prowess. For instance, adding a few drops of tea tree oil to your all-purpose cleaner can boost its antibacterial properties, while lemon oil can enhance its degreasing power.
Consider variations tailored to specific needs. If you have hard water, adding a bit more vinegar to your cleaning solutions can help prevent mineral buildup. For delicate surfaces, dilute your cleaners further to avoid any potential damage. Remember to always test any new cleaning solution on an inconspicuous area first to ensure compatibility.
This isn’t just about cleaning; it’s about empowerment. It’s about knowing exactly what’s going into your cleaning products and avoiding harsh chemicals that can be harmful to your health and the environment. It’s about creating a cleaning routine that’s both effective and sustainable.
We wholeheartedly encourage you to try these professional cleaning secrets and experience the difference for yourself. Don’t be afraid to get creative and adapt the recipes to suit your specific needs and preferences. The possibilities are endless!
But the journey doesn’t end here. We want to hear from you! Share your experiences, tips, and variations in the comments below. What worked best for you? What challenges did you encounter? What innovative solutions did you discover? Your feedback is invaluable and will help us continue to refine and improve these DIY cleaning methods. Let’s build a community of empowered homeowners who are passionate about creating clean, healthy, and sustainable living spaces.
So, grab your ingredients, roll up your sleeves, and get ready to transform your cleaning routine. You’ll be amazed at the results! And remember, a clean home is a happy home. Let’s make our homes sparkle, one DIY cleaning solution at a time. We are confident that these professional cleaning secrets will become an integral part of your cleaning routine.
Frequently Asked Questions
Q: Are these DIY cleaning solutions safe for all surfaces?
A: While most of these DIY cleaning solutions are generally safe for a wide range of surfaces, it’s always crucial to test them on an inconspicuous area first. This is especially important for delicate surfaces like marble, granite, or wood. Avoid using abrasive cleaners or scrub brushes on these surfaces, as they can cause scratches or damage. For sensitive materials, dilute the cleaning solution further and use a soft cloth for application. If you’re unsure about a particular surface, consult the manufacturer’s recommendations or seek advice from a professional cleaner. Remember, prevention is always better than cure!
Q: Can I use essential oils other than the ones mentioned in the recipes?
A: Absolutely! Essential oils offer a wide range of benefits and scents, so feel free to experiment and find your favorites. Lavender, lemon, tea tree, eucalyptus, orange, and peppermint are all popular choices for cleaning due to their antibacterial, antiviral, and antifungal properties. However, be mindful of the potential effects of certain essential oils on specific surfaces. For example, citrus oils can be too acidic for some delicate materials. Always dilute essential oils properly and test them on an inconspicuous area before applying them to larger surfaces. Also, be aware of any allergies or sensitivities you or your family members may have to certain essential oils.
Q: How long can I store these DIY cleaning solutions?
A: The shelf life of DIY cleaning solutions can vary depending on the ingredients used. Solutions containing water are more prone to bacterial growth and should be used within a few weeks. Solutions made with vinegar or alcohol tend to have a longer shelf life, typically lasting for several months. To maximize the shelf life of your DIY cleaning solutions, store them in airtight containers in a cool, dark place. Label each container with the date it was made and the ingredients used. If you notice any changes in color, odor, or consistency, discard the solution immediately. It’s always best to make smaller batches of cleaning solutions to ensure freshness and effectiveness.
Q: Are these DIY cleaning solutions safe for pets and children?
A: While these DIY cleaning solutions are generally safer than many commercial cleaners, it’s still important to exercise caution when using them around pets and children. Keep all cleaning solutions out of reach of children and pets. Avoid using essential oils that are known to be toxic to animals, such as tea tree oil. When cleaning floors or surfaces that pets or children may come into contact with, rinse thoroughly with water after applying the cleaning solution. Ensure that the area is well-ventilated to prevent inhalation of fumes. If you suspect that your pet or child has ingested a cleaning solution, contact your veterinarian or poison control center immediately.
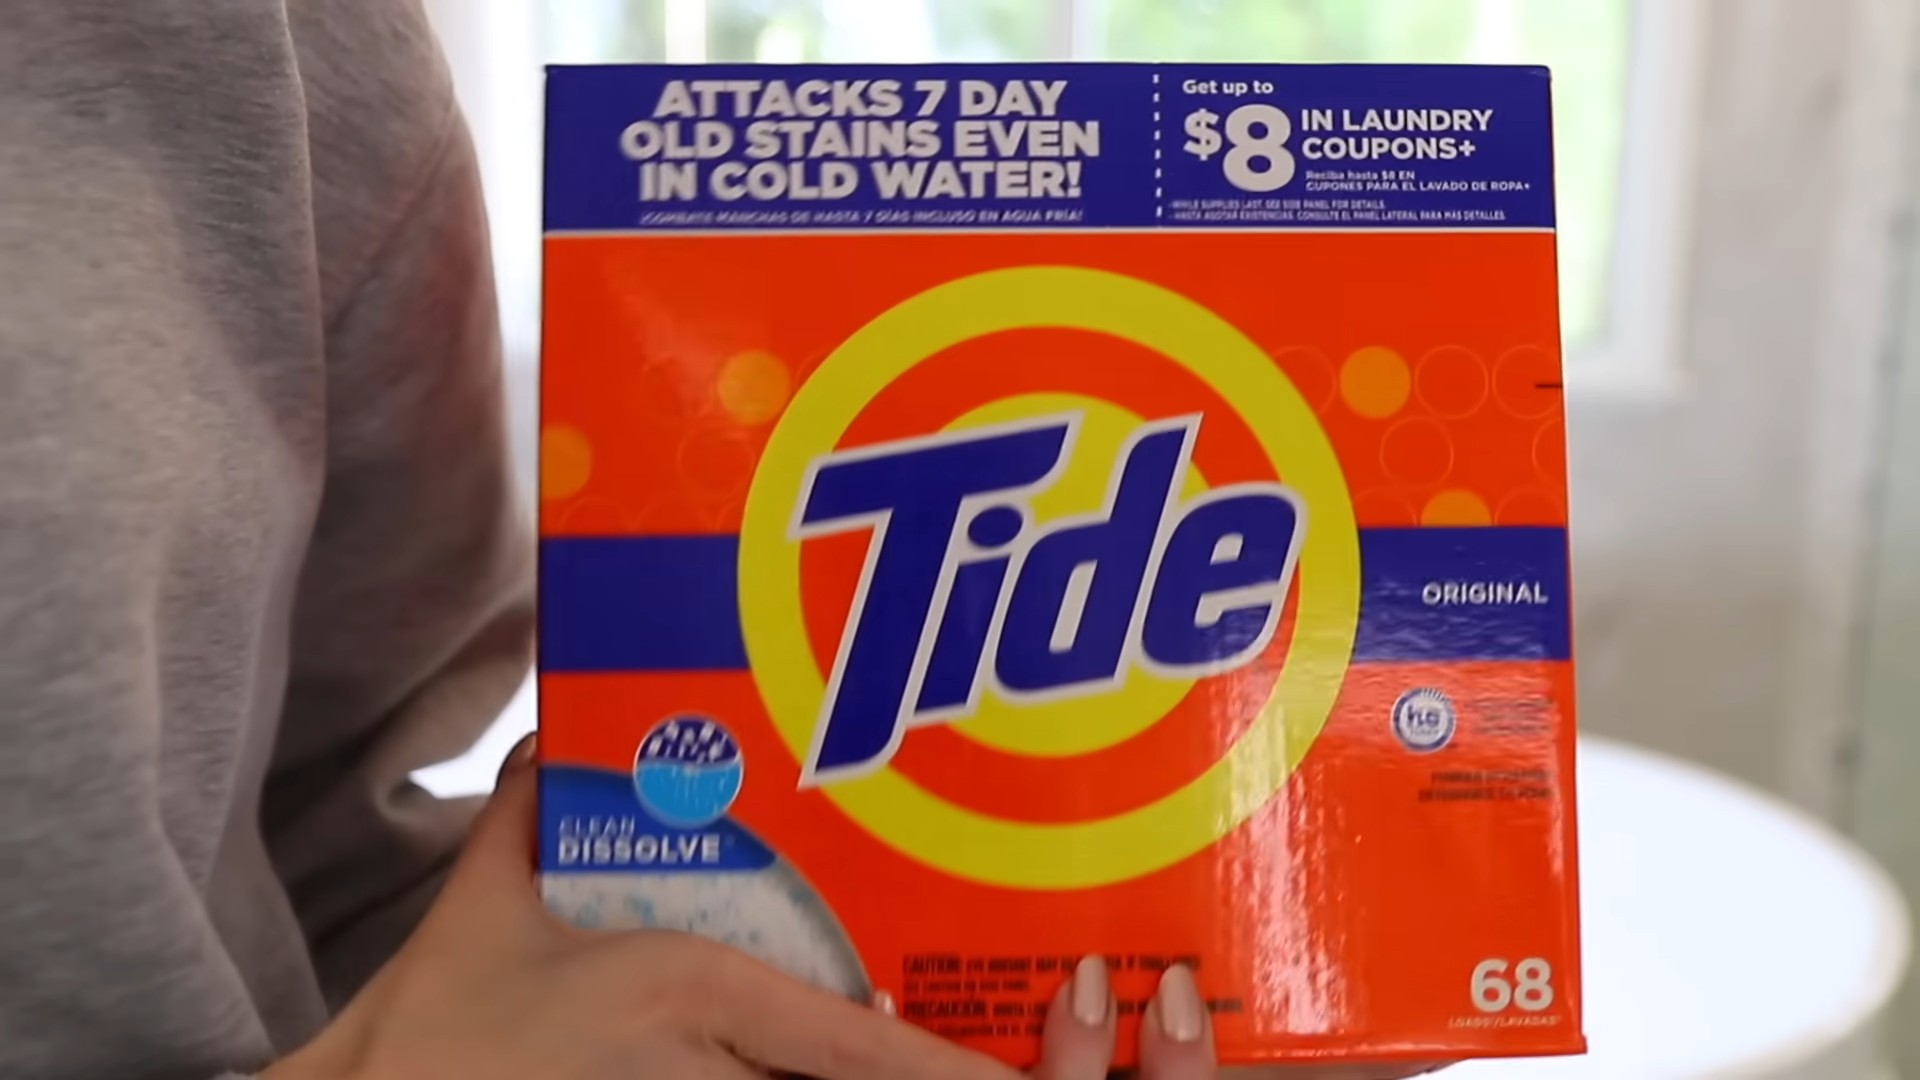
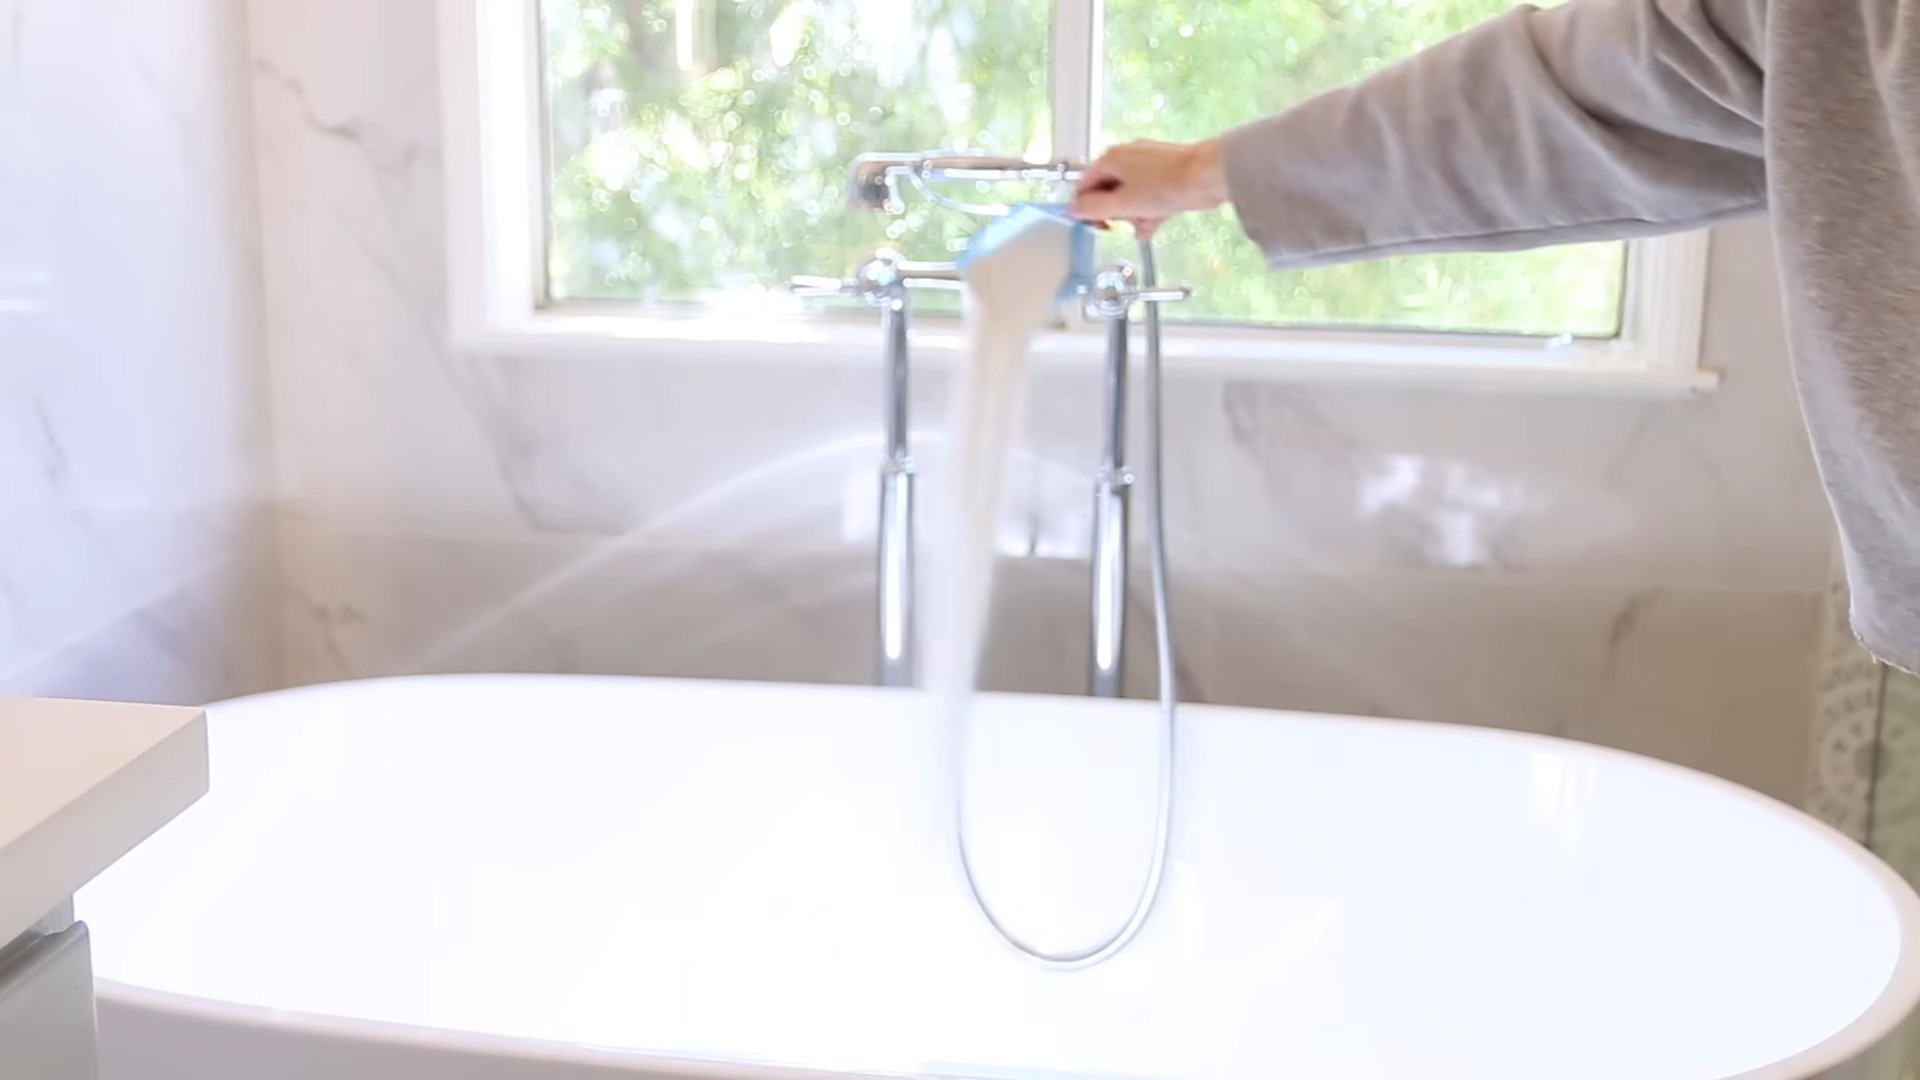
Q: Can I use these DIY cleaning solutions in my laundry?
A: Yes, many of these DIY cleaning solutions can be used in your laundry. Vinegar, for example, is a natural fabric softener and can help remove odors and stains. Baking soda can also be added to your laundry to boost the cleaning power of your detergent. However, it’s important to use these solutions in moderation and to avoid mixing them with bleach. Always test any new laundry solution on a small, inconspicuous area of fabric first to ensure that it doesn’t cause any discoloration or damage. For delicate fabrics, use a gentler cleaning solution and wash on a delicate cycle.
Q: What are some tips for making these DIY cleaning solutions more effective?
A: To maximize the effectiveness of your DIY cleaning solutions, consider the following tips:
* Use high-quality ingredients: The quality of your ingredients can significantly impact the effectiveness of your cleaning solutions. Opt for pure essential oils, distilled white vinegar, and baking soda that is fresh and free of clumps.
* Mix thoroughly: Ensure that all ingredients are thoroughly mixed before using the cleaning solution. This will help to distribute the cleaning agents evenly and ensure optimal results.
* Allow the solution to dwell: After applying the cleaning solution, allow it to dwell on the surface for a few minutes before wiping it away. This will give the cleaning agents time to penetrate and break down dirt and grime.
* Use the right tools: Use the right tools for the job. Microfiber cloths are excellent for cleaning surfaces without leaving streaks or residue. Scrub brushes can be used to tackle stubborn stains and grime.
* Rinse thoroughly: After cleaning, rinse the surface thoroughly with water to remove any remaining cleaning solution. This will help to prevent buildup and ensure that the surface is clean and fresh.
Q: What if I don’t have all the ingredients listed in the recipes?
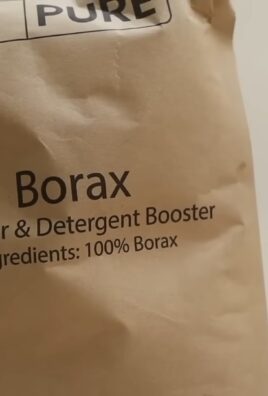
A: Don’t worry if you don’t have all the ingredients listed in the recipes. Many of the ingredients can be substituted with similar alternatives. For example, if you don’t have white vinegar, you can use apple cider vinegar instead. If you don’t have baking soda, you can use washing soda. The key is to understand the purpose of each ingredient and find a suitable substitute that will achieve the same result. You can also experiment with different combinations of ingredients to find what works best for you. The beauty of DIY cleaning is that it’s all about customization and experimentation!
Leave a Comment