
Surprising cleaning hacks – who doesn’t love a good shortcut to a sparkling clean home? I know I do! We all crave that feeling of walking into a fresh, tidy space, but let’s be honest, spending hours scrubbing isn’t exactly anyone’s idea of a fun weekend. That’s where these game-changing DIY cleaning tricks come in.
For centuries, people have been searching for easier, more effective ways to maintain their homes. From ancient civilizations using natural ingredients like vinegar and baking soda to our modern obsession with innovative cleaning gadgets, the quest for a spotless sanctuary is a timeless pursuit. But sometimes, the best solutions are the simplest, and often, the most surprising!
In today’s busy world, time is precious. Juggling work, family, and social commitments leaves little room for extensive cleaning routines. That’s why I’m so excited to share these surprising cleaning hacks with you. These aren’t your grandma’s old-fashioned cleaning methods (although some of those are pretty great too!). These are clever, unexpected solutions that will save you time, money, and a whole lot of elbow grease. Imagine effortlessly removing stubborn stains, banishing odors, and achieving a level of cleanliness you never thought possible – all with items you probably already have in your pantry. Ready to unlock the secrets to a cleaner, happier home? Let’s dive in!
Surprising Cleaning Hacks That Will Blow Your Mind!
Okay, let’s be honest, cleaning isn’t exactly anyone’s favorite pastime. But what if I told you there are some seriously clever, almost magical, cleaning hacks out there that can make the whole process faster, easier, and even…dare I say…fun? I’ve compiled a list of my absolute favorite surprising cleaning hacks that have saved me time, money, and a whole lot of elbow grease. Get ready to be amazed!
Cleaning Your Microwave with Lemon Power
This is a game-changer, especially if you’re like me and sometimes forget to cover your food in the microwave. Say goodbye to splattered food and lingering odors!
What you’ll need:
* 1 lemon
* 1 cup of water
* Microwave-safe bowl
* Clean cloth or sponge
Step-by-step instructions:
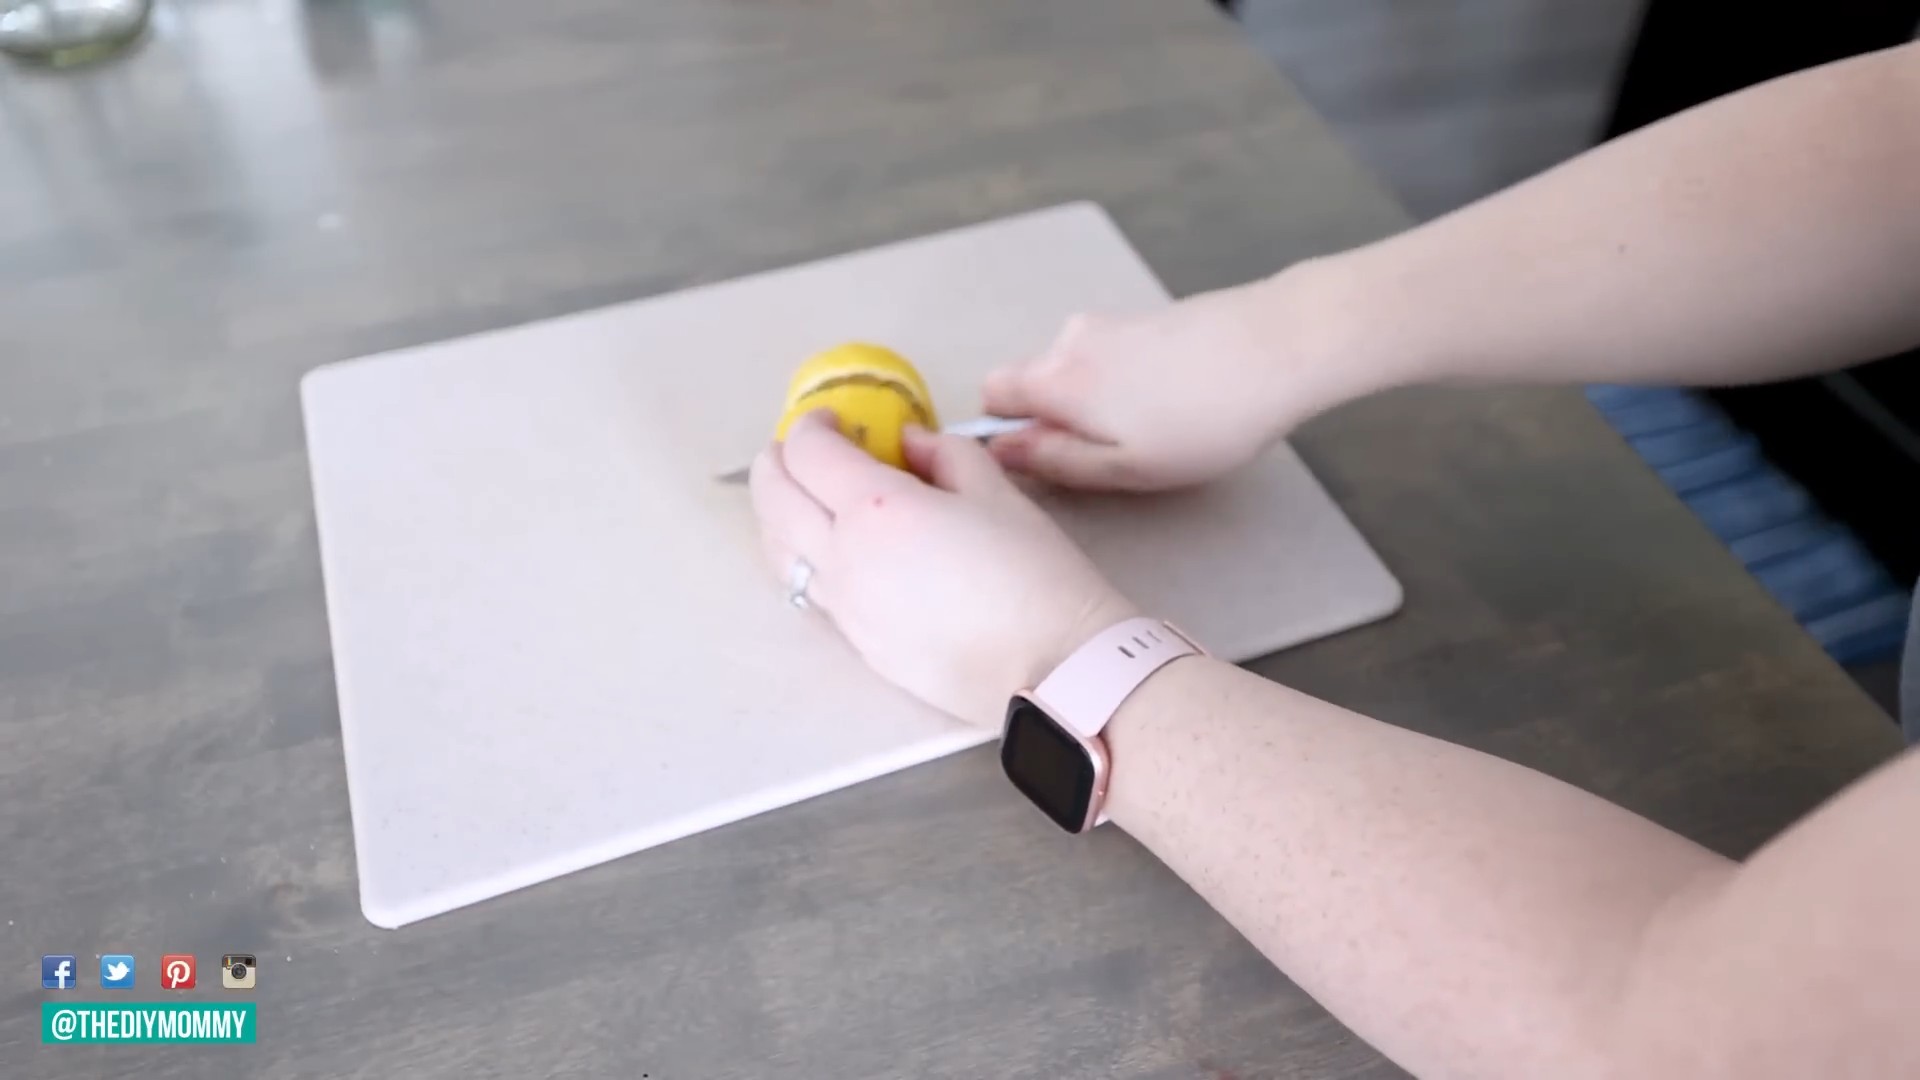
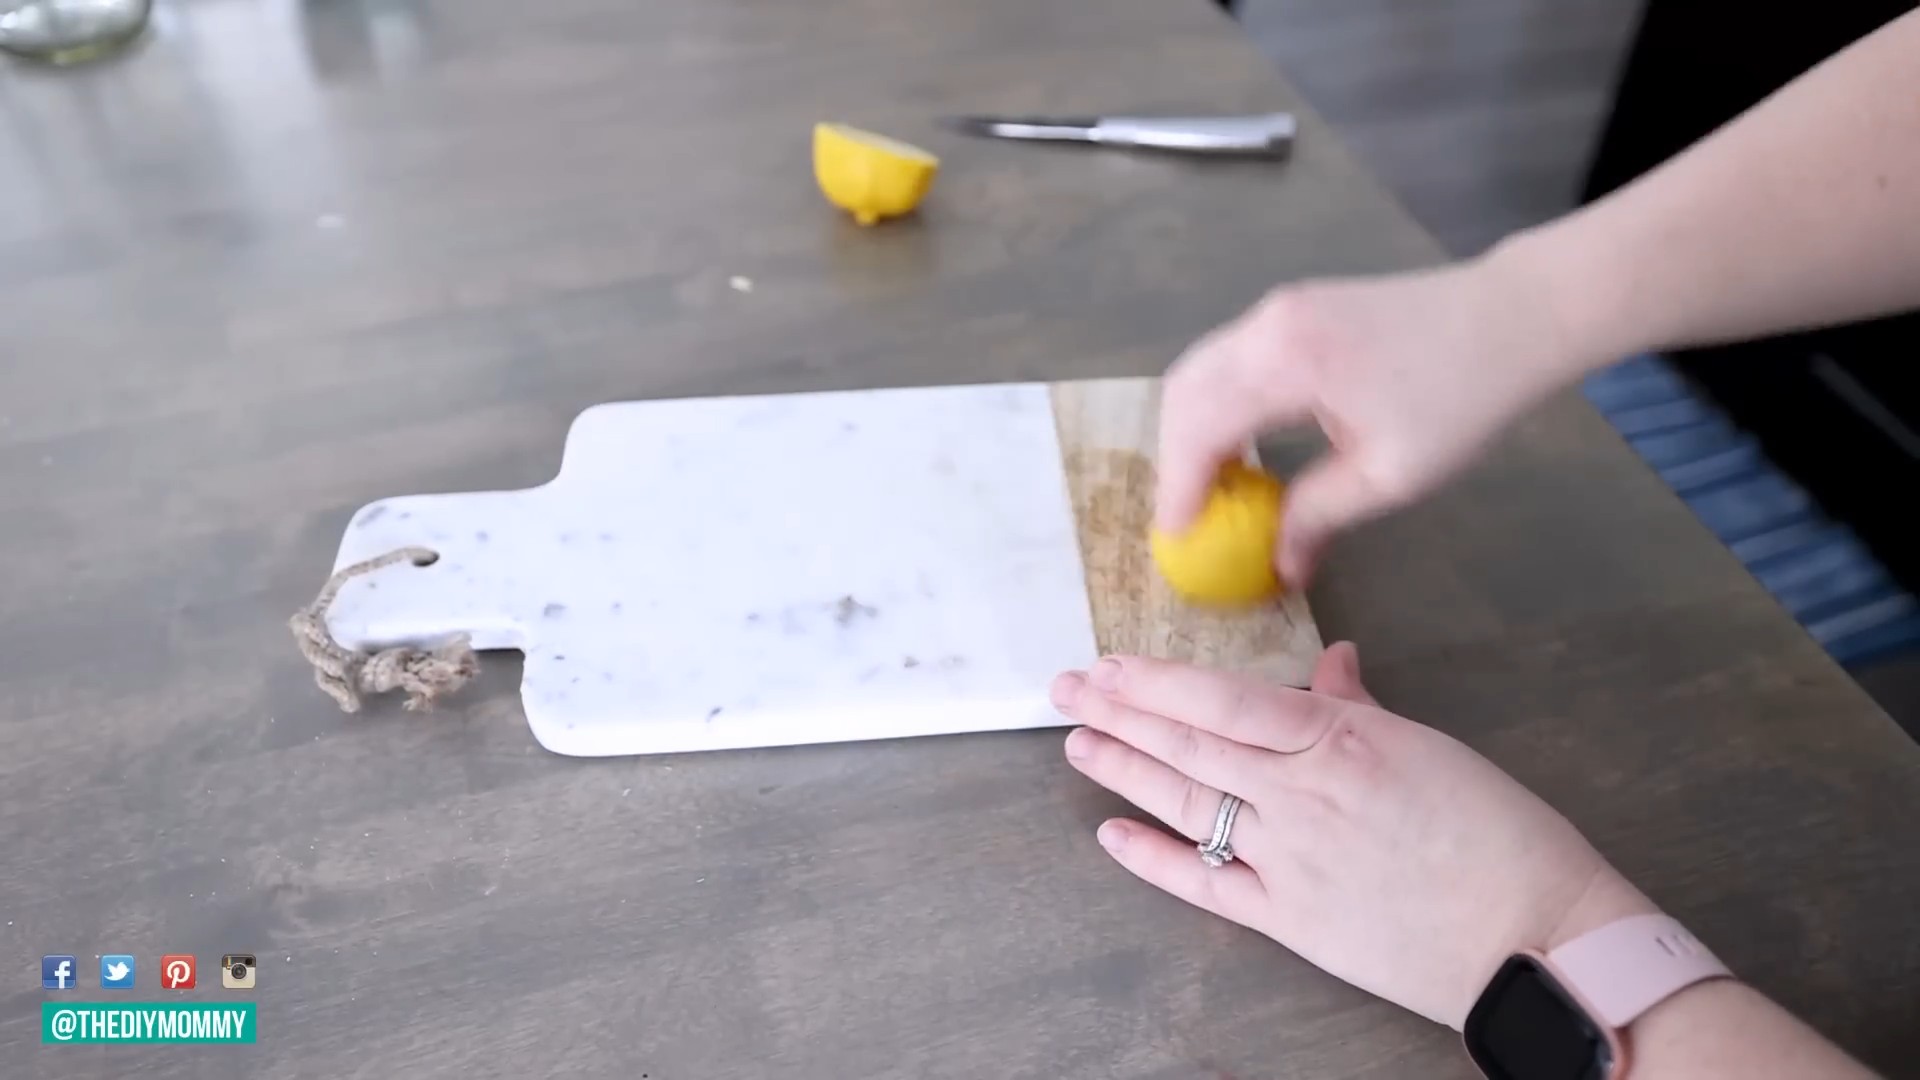
1. Prepare the Lemon Solution: Cut the lemon in half. Squeeze the juice from both halves into the microwave-safe bowl. Then, drop the lemon halves into the bowl as well. Add one cup of water.
2. Microwave the Solution: Place the bowl in the microwave and heat on high for 3-5 minutes. You want the water to boil and create steam.
3. Let it Steam: This is the crucial part! Leave the bowl in the microwave for another 5-10 minutes *without* opening the door. The steam will loosen all the grime and splatters.
4. Wipe it Clean: Carefully remove the bowl (it will be hot!). Use a clean cloth or sponge to easily wipe away all the loosened food particles. You’ll be amazed at how effortlessly everything comes off!
5. Enjoy Your Fresh Microwave: Your microwave will not only be sparkling clean but will also smell wonderfully fresh and lemony!
Reviving Your Showerhead with Vinegar
Hard water got your showerhead looking sad and sputtering? This hack will restore it to its former glory!
What you’ll need:
* White vinegar
* Plastic bag (a sandwich bag works well)
* Rubber band or twist tie
Step-by-step instructions:
1. Fill the Bag with Vinegar: Pour enough white vinegar into the plastic bag to completely submerge the showerhead.
2. Secure the Bag: Carefully position the bag over the showerhead, ensuring the showerhead is fully immersed in the vinegar. Use a rubber band or twist tie to securely fasten the bag to the showerhead neck.
3. Soak Overnight: Let the showerhead soak in the vinegar overnight (or for at least a few hours). This allows the vinegar to dissolve the mineral deposits.
4. Remove and Rinse: Remove the bag and discard the vinegar. Turn on the shower and let the water run for a few minutes to flush out any remaining vinegar and loosened debris.
5. Wipe Clean (If Needed): If there are any stubborn deposits remaining, use an old toothbrush or a scrub brush to gently scrub them away.
6. Enjoy Your Powerful Shower: Your showerhead should now be flowing freely and powerfully, like new!
Cleaning Your Blender Like a Pro
Cleaning a blender can be a pain, especially after making smoothies with sticky ingredients. This hack makes it a breeze!
What you’ll need:
* Dish soap
* Water
Step-by-step instructions:
1. Fill with Water: Fill the blender jar about halfway with warm water.
2. Add Dish Soap: Add a squirt or two of dish soap.
3. Blend Away: Secure the lid and blend on high speed for about 30-60 seconds.
4. Rinse Thoroughly: Pour out the soapy water and rinse the blender jar thoroughly with clean water.
5. Air Dry: Let the blender jar air dry completely before storing.
De-Gunking Your Grout with Baking Soda Paste
Grungy grout can make even the cleanest bathroom look dirty. This simple baking soda paste will work wonders!
What you’ll need:
* Baking soda
* Water
* Old toothbrush or grout brush
* Spray bottle (optional)
Step-by-step instructions:
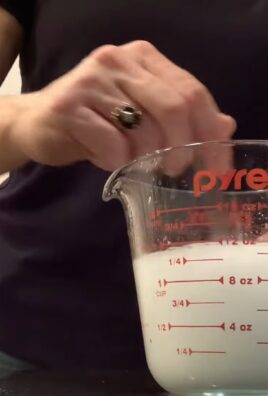
1. Make the Paste: In a small bowl, mix baking soda with a little water to form a thick paste. The consistency should be similar to toothpaste.
2. Apply the Paste: Apply the baking soda paste to the grout lines. You can use your fingers, a small spatula, or an old toothbrush to apply it.
3. Let it Sit: Allow the paste to sit on the grout for about 10-15 minutes. This gives the baking soda time to loosen the dirt and grime.
4. Scrub the Grout: Use an old toothbrush or a grout brush to scrub the grout lines. Apply some pressure and scrub in a back-and-forth motion.
5. Rinse Thoroughly: Rinse the grout lines thoroughly with water. You can use a spray bottle filled with water to make rinsing easier.
6. Dry and Admire: Wipe the area dry with a clean cloth. Admire your sparkling clean grout!
Removing Water Stains from Wood Furniture with a Hair Dryer
Those pesky white rings from water glasses on your wood furniture are the bane of my existence! But fear not, this hack is surprisingly effective.
What you’ll need:
* Hair dryer
* Soft cloth
Step-by-step instructions:
1. Position the Hair Dryer: Set your hair dryer to a low or medium heat setting. Hold the hair dryer a few inches away from the water stain.
2. Apply Heat: Move the hair dryer back and forth over the water stain. The heat will help to evaporate the trapped moisture.
3. Monitor the Stain: Keep an eye on the stain as you apply heat. You should see it start to fade.
4. Wipe with a Cloth: After a few minutes of applying heat, wipe the area with a soft cloth.
5. Repeat if Necessary: If the stain is still visible, repeat the process. You may need to apply heat for a longer period of time.
6. Wax or Polish (Optional): Once the stain is gone, you may want to apply a furniture wax or polish to protect the wood and restore its shine.
Cleaning Your Dishwasher with Vinegar and Baking Soda
Yes, even the machine that cleans your dishes needs a good cleaning itself! This hack will keep your dishwasher running smoothly and smelling fresh.
What you’ll need:
* White vinegar
* Baking soda
Step-by-step instructions:
1. Vinegar Rinse: Place a dishwasher-safe cup or bowl filled with one cup of white vinegar on the top rack of your empty dishwasher.
2. Run a Hot Cycle: Run the dishwasher on a hot cycle. The vinegar will help to dissolve grease, grime, and mineral deposits.
3. Baking Soda Boost: Once the cycle is complete, sprinkle one cup of baking soda on the bottom of the dishwasher.
4. Run a Short Cycle: Run a short, hot cycle. The baking soda will help to freshen the dishwasher and remove any lingering odors.
5. Wipe Down the Interior: After the cycle is complete, wipe down the interior of the dishwasher with a damp cloth. Pay attention to the door seals and spray arms.
Freshening Up Your Mattress with Baking Soda
Mattresses can harbor dust mites, odors, and moisture. This simple baking soda treatment will leave your mattress feeling fresh and clean.
What you’ll need:
* Baking soda
* Vacuum cleaner with upholstery attachment
* Essential oil (optional)
Step-by-step instructions:
1. Strip the Bed: Remove all bedding from your mattress.
2. Sprinkle with Baking Soda: Generously sprinkle baking soda over the entire surface of the mattress. If you want to add a pleasant scent, mix a few drops of your favorite essential oil (like lavender or eucalyptus) with the baking soda before sprinkling.
3. Let it Sit: Allow the baking soda to sit on the mattress for at least 30 minutes, or even better, for a few hours. This allows the baking soda to absorb odors and moisture.
4. Vacuum Thoroughly: Use a vacuum cleaner with an upholstery attachment to thoroughly vacuum the entire surface of the mattress. Make sure to get into all the crevices and seams.
5. Flip and Repeat (Optional): If you want to be extra thorough, flip the mattress over and repeat the process on the other side.
6. Put Your Bedding Back On: Once you’ve vacuumed the mattress, put your clean bedding back on and enjoy your freshly cleaned mattress!
Cleaning Burnt Food from Pots and Pans with Baking Soda and Vinegar
Conclusion
So there you have it! These surprising cleaning hacks aren’t just about saving money; they’re about reclaiming your time and sanity. Imagine a world where stubborn stains vanish with minimal effort, where your home sparkles without hours of back-breaking labor, and where you can finally say goodbye to harsh chemicals. That’s the promise of these simple yet incredibly effective DIY solutions.
The beauty of these hacks lies in their adaptability. Feel free to experiment with variations to suit your specific needs and preferences. For instance, if you find the vinegar scent too strong, infuse it with citrus peels for a refreshing aroma. If you’re dealing with particularly tough grime, consider adding a touch of baking soda to your cleaning paste for extra scrubbing power. The possibilities are truly endless!
These aren’t just quick fixes; they’re sustainable solutions that promote a healthier home environment. By ditching the expensive, chemical-laden cleaners and embracing these natural alternatives, you’re not only saving money but also reducing your exposure to potentially harmful substances. It’s a win-win for you and the planet!
We understand that trying new things can sometimes feel daunting, but trust us, these cleaning hacks are worth the effort. They’re easy to implement, require minimal ingredients, and deliver impressive results. Plus, the satisfaction of creating your own effective cleaning solutions is incredibly rewarding.
Don’t just take our word for it – give these surprising cleaning hacks a try! We’re confident that you’ll be amazed by the results. And once you’ve experienced the magic for yourself, we encourage you to share your experiences with us. Let us know which hacks worked best for you, any variations you tried, and any other tips or tricks you’ve discovered along the way. Together, we can create a community of savvy cleaners who are passionate about making their homes sparkle without breaking the bank or compromising their health.
We are especially interested in hearing how you’ve adapted these hacks to tackle unique cleaning challenges in your own home. Did you find a particularly effective way to use lemon juice to remove hard water stains? Or perhaps you discovered a secret ingredient that boosts the cleaning power of your homemade all-purpose cleaner? Share your insights and inspire others to embrace the power of DIY cleaning.
Remember, cleaning doesn’t have to be a chore. With these surprising cleaning hacks, it can be a fun, rewarding, and even empowering experience. So, grab your ingredients, roll up your sleeves, and get ready to transform your home into a sparkling oasis. We can’t wait to hear about your success stories!
Frequently Asked Questions (FAQ)
Q: Are these cleaning hacks safe for all surfaces?
A: While most of these hacks are generally safe for a wide range of surfaces, it’s always a good idea to test them in an inconspicuous area first, especially on delicate materials like wood, marble, or granite. For example, vinegar, while a powerful cleaner, can etch certain types of stone. Similarly, abrasive cleaners like baking soda should be used with caution on easily scratched surfaces. Always err on the side of caution and test before applying liberally. If you are unsure about a surface, consult the manufacturer’s instructions or a professional cleaner.
Q: Can I use essential oils in these cleaning solutions?
A: Absolutely! Essential oils can add a pleasant fragrance and even boost the cleaning power of your DIY solutions. Lemon, tea tree, lavender, and eucalyptus oils are all excellent choices for their antibacterial and antifungal properties. However, be sure to use pure essential oils and dilute them properly. A few drops are usually sufficient. Also, be mindful of potential allergies or sensitivities, especially if you have pets or young children. Some essential oils can be toxic to animals, so do your research before using them around your furry friends.
Q: How long will these DIY cleaning solutions last?
A: The shelf life of your homemade cleaning solutions will depend on the ingredients you use. Solutions containing water are more prone to bacterial growth and should be used within a week or two. Solutions made with vinegar or alcohol will last longer, typically for several months. To extend the shelf life, store your solutions in airtight containers in a cool, dark place. Always label your containers clearly with the date and ingredients. If you notice any changes in color, odor, or consistency, discard the solution.
Q: Are these hacks effective for deep cleaning?
A: Yes, these hacks can be incredibly effective for deep cleaning, especially when used regularly. The key is to be consistent and thorough. For example, using a vinegar and water solution to clean your shower regularly can prevent the buildup of soap scum and mildew. Similarly, using baking soda to deodorize your carpets can keep them fresh and clean. For particularly stubborn stains or grime, you may need to repeat the cleaning process or use a more concentrated solution. Remember, prevention is always better than cure, so incorporating these hacks into your regular cleaning routine will make deep cleaning much easier in the long run.
Q: What are some alternatives to vinegar for those who dislike the smell?
A: If you find the smell of vinegar overpowering, there are several alternatives you can try. Lemon juice is a great option, as it has similar cleaning properties and a more pleasant scent. You can also try using citric acid, which is a natural cleaning agent derived from citrus fruits. Another alternative is hydrogen peroxide, which is a powerful disinfectant and stain remover. However, be sure to use hydrogen peroxide with caution, as it can bleach certain fabrics. Finally, you can try using a commercial cleaning product that is specifically designed to be low-odor or fragrance-free.
Q: Can these hacks be used on clothing?
A: Some of these hacks can be used on clothing, but it’s important to be cautious and test them in an inconspicuous area first. For example, lemon juice can be used to remove stains from white clothing, but it can also bleach colored fabrics. Baking soda can be used to deodorize clothing and remove stains, but it should be used sparingly on delicate fabrics. Vinegar can be used to soften clothing and remove odors, but it should be diluted with water to prevent damage. Always check the care label on your clothing before using any cleaning product, and test the product in a hidden area to ensure that it doesn’t cause any discoloration or damage.
Q: How do I dispose of these DIY cleaning solutions safely?
A: Most of these DIY cleaning solutions can be safely disposed of down the drain with plenty of water. However, it’s important to avoid mixing different cleaning solutions together, as this can create harmful fumes. For example, never mix vinegar with bleach, as this can produce chlorine gas, which is toxic. If you have a large amount of cleaning solution to dispose of, it’s best to contact your local waste management facility for guidance. They may have specific instructions for disposing of certain chemicals safely.
Q: What if these hacks don’t work for me?
A: While these hacks are generally effective, they may not work for everyone or every situation. If you’re not seeing the results you expect, there are a few things you can try. First, make sure you’re using the correct ingredients and following the instructions carefully. Second, try increasing the concentration of the cleaning solution. Third, try using a different cleaning method or tool. Finally, if all else fails, you may need to consult a professional cleaner. Remember, cleaning is not an exact science, and what works for one person may not work for another. Don’t be afraid to experiment and find what works best for you.
Leave a Comment