
Clorox Grout Cleaner: Let’s face it, sparkling clean grout can make or break the look of any tiled surface. But battling stubborn stains and grime in those tiny crevices? It’s a chore we all dread! I’ve been there, scrubbing for hours with minimal results, feeling like I’m losing the war against dirty grout. That’s why I decided to put Clorox Grout Cleaner to the ultimate test, and I’m excited to share my honest review and some DIY tricks to maximize its effectiveness.
Grout, a humble mixture of cement, sand, and water, has been used for centuries to bind tiles together. From the intricate mosaics of ancient Rome to the vibrant tilework of Moorish Spain, grout has played a vital role in architectural beauty. However, its porous nature makes it a magnet for dirt, mildew, and stains, turning a beautiful surface into an eyesore.
Why is this review and these DIY tricks so important? Because nobody wants to spend their precious free time scrubbing grout! We all want a clean and healthy home, but we also want to achieve it efficiently. This article will not only provide an in-depth Clorox Grout Cleaner review, highlighting its pros and cons, but also equip you with simple, effective DIY hacks to tackle even the toughest grout stains. Get ready to say goodbye to endless scrubbing and hello to sparkling clean grout with minimal effort!
DIY Grout Cleaning Power-Up: Making Clorox Grout Cleaner Even Better!
Okay, so you’ve got a bottle of Clorox Grout Cleaner. Great! It’s a decent starting point, but let’s be honest, sometimes it needs a little *oomph* to really tackle those stubborn grout stains. I’ve been there, staring at dingy grout lines, feeling defeated. But don’t worry, I’ve experimented and found a way to boost the cleaning power of Clorox Grout Cleaner without resorting to harsh, potentially damaging chemicals. This method is all about combining the cleaner with some readily available household ingredients to create a super-charged grout cleaning solution.
What You’ll Need:
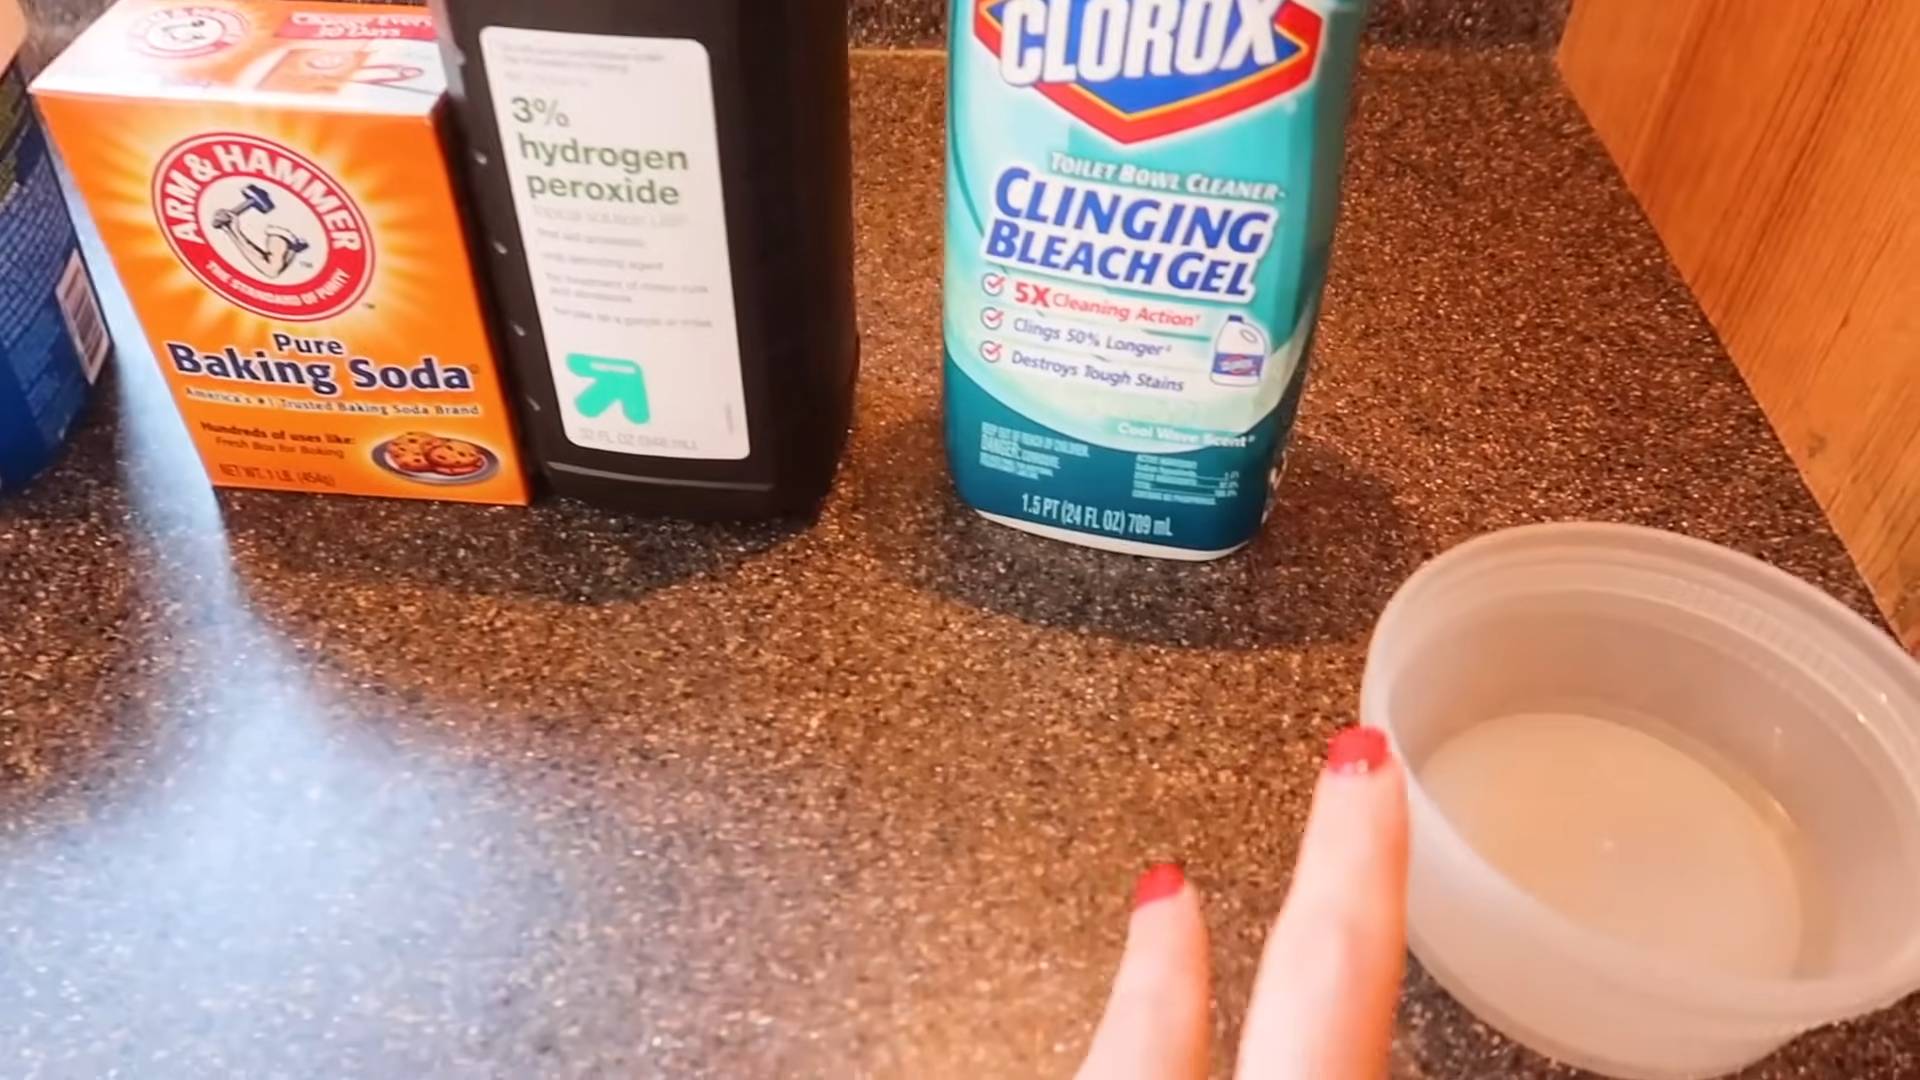
* Clorox Grout Cleaner (obviously!)
* Baking Soda
* Hydrogen Peroxide (3% solution – the kind you find at the drugstore)
* An old toothbrush or grout brush
* Small bowl or container for mixing
* Gloves (protect those hands!)
* Eye protection (safety first!)
* Clean water
* Clean cloths or paper towels
Why This Works: The Science Behind the Sparkle
Before we dive in, let’s quickly understand why this combination is so effective. Clorox Grout Cleaner typically contains bleach, which helps to whiten and disinfect. Baking soda is a mild abrasive that helps to scrub away grime and also acts as a deodorizer. Hydrogen peroxide is a mild bleaching agent and disinfectant, and when combined with baking soda, it creates a fizzing action that helps to lift dirt and stains. Together, these ingredients create a powerful cleaning synergy that can tackle even the most stubborn grout stains.
Step-by-Step Instructions: Let’s Get Cleaning!
Here’s the breakdown of how to supercharge your Clorox Grout Cleaner:
1. Prepare Your Workspace: Before you even think about mixing anything, make sure your bathroom (or wherever you’re cleaning) is well-ventilated. Open a window or turn on the exhaust fan. This is important, especially when working with bleach-based products. Also, clear the area of any loose items that might get in the way.
2. Gear Up: Put on your gloves and eye protection. Trust me, you don’t want to get bleach in your eyes or on your skin. It’s just not a fun experience.
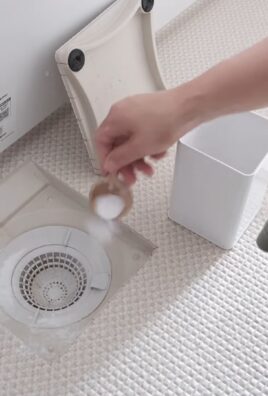
3. Mixing the Magic Potion: In your small bowl or container, add about 1/2 cup of baking soda.
4. Adding the Peroxide: Slowly pour in about 1/4 cup of hydrogen peroxide. You’ll notice it starts to fizz a bit when it comes into contact with the baking soda. That’s exactly what we want!
5. Clorox Grout Cleaner Time: Now, add about 1/4 cup of Clorox Grout Cleaner to the mixture. Be careful not to add too much at once, as the combination of bleach and other chemicals can create fumes. Mix gently with a spoon or spatula until you have a paste-like consistency. It should be thick enough to stick to the grout lines.
6. Testing in an Inconspicuous Area: Before you go all-in, test your mixture in a small, hidden area of your grout. This is crucial to ensure that the solution doesn’t discolor or damage your grout. Apply a small amount, let it sit for a few minutes, and then wipe it away. If everything looks good, proceed to the next step.
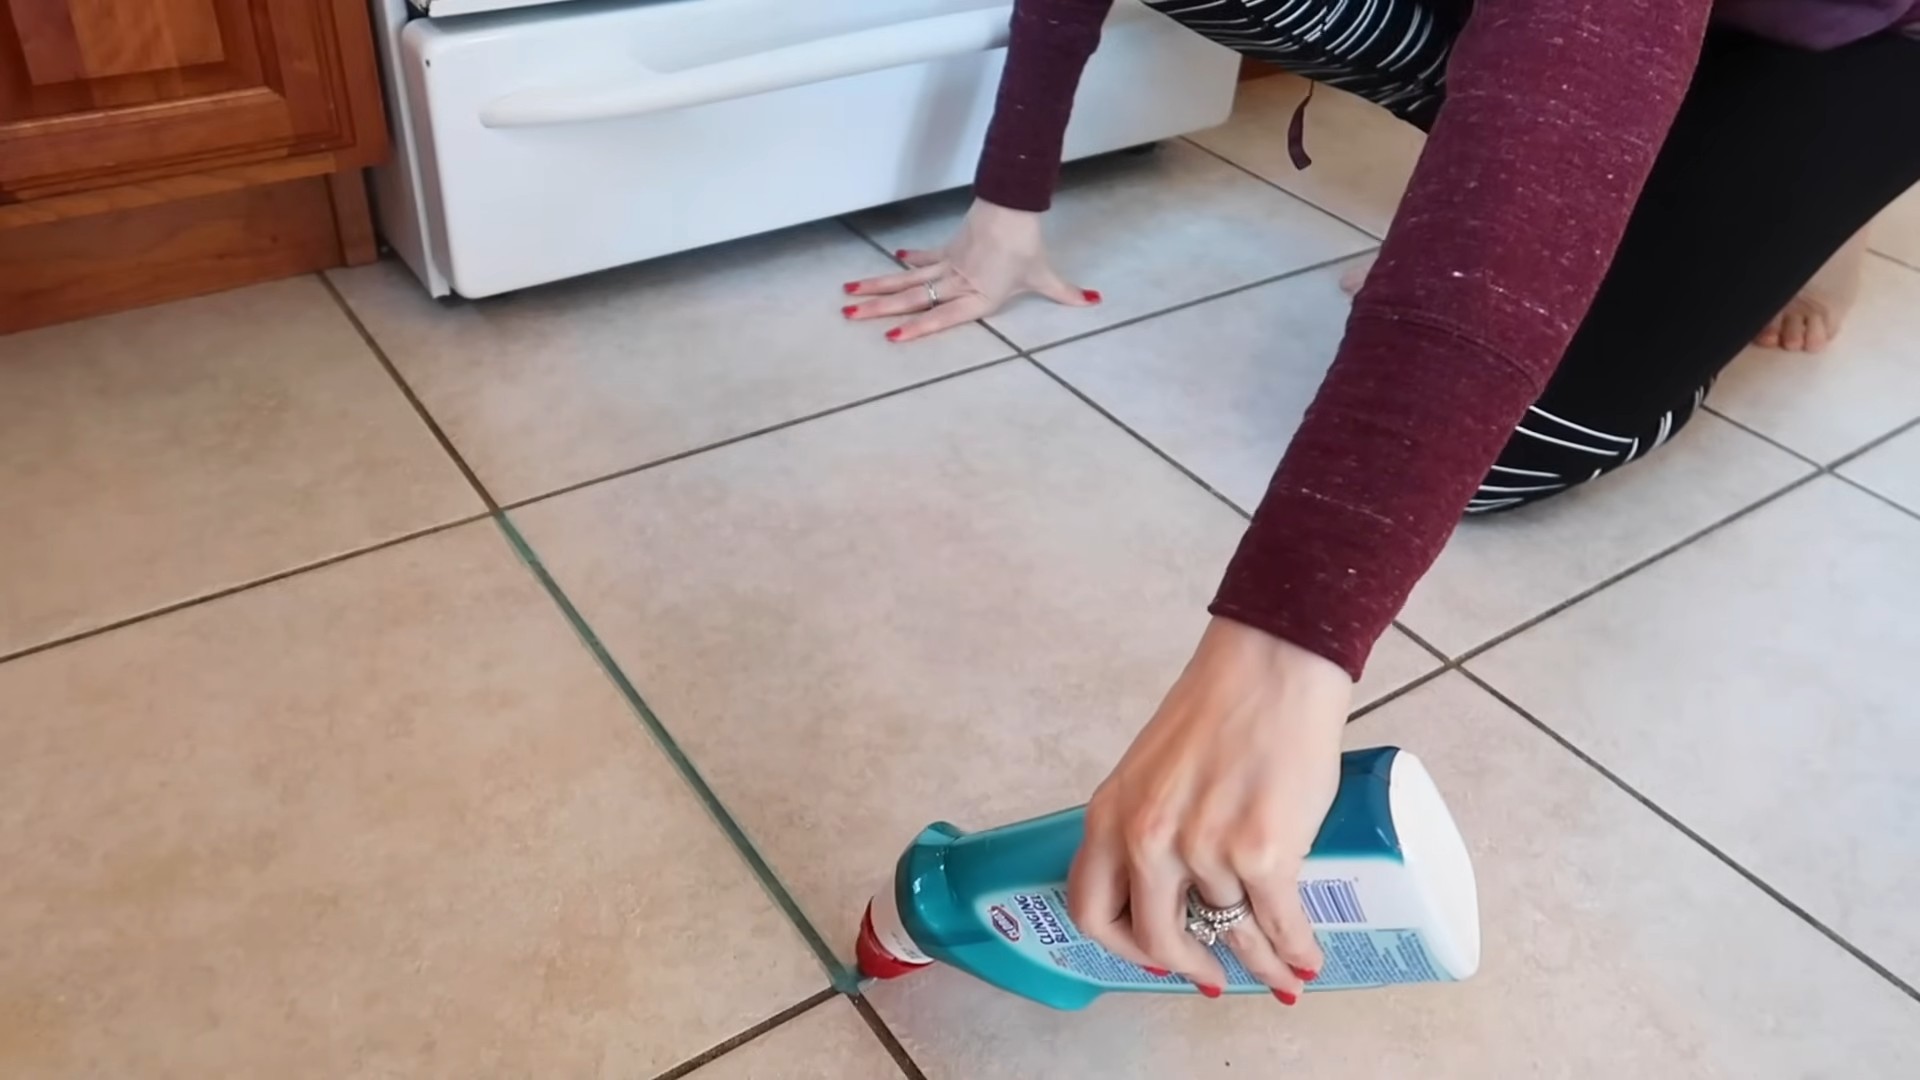
7. Applying the Paste: Using your old toothbrush or grout brush, carefully apply the paste to the grout lines. Make sure to cover the entire area you want to clean. I like to work in small sections to prevent the paste from drying out too quickly.
8. Let it Sit: Once you’ve applied the paste, let it sit for about 5-10 minutes. This gives the cleaning agents time to penetrate the grout and loosen the dirt and grime. Don’t let it sit for too long, though, as it could potentially damage the grout.
9. Scrubbing Time: Now comes the fun part (okay, maybe not *fun*, but definitely satisfying!). Using your toothbrush or grout brush, scrub the grout lines thoroughly. Apply some pressure and work in a back-and-forth motion. You should start to see the dirt and grime lifting away.
10. Rinsing Thoroughly: After scrubbing, rinse the area thoroughly with clean water. You can use a sponge or a spray bottle to remove all traces of the cleaning paste. Make sure to rinse multiple times to ensure that no residue remains.
11. Drying and Admiring: Finally, dry the area with a clean cloth or paper towels. Step back and admire your sparkling clean grout!
Dealing with Stubborn Stains: Advanced Techniques
Sometimes, even with this supercharged cleaner, you might encounter some particularly stubborn stains. Don’t despair! Here are a few extra tricks you can try:
* Repeat the Process: If the stain is still visible after the first cleaning, simply repeat the process. Sometimes it takes a couple of applications to fully remove tough stains.
* Longer Soak Time: For really stubborn stains, you can try letting the paste sit for a slightly longer period of time, up to 15 minutes. Just be sure to keep a close eye on the grout and rinse immediately if you notice any discoloration.
* Targeted Scrubbing: Focus your scrubbing efforts on the stained areas. Use a smaller brush or even a cotton swab to get into those hard-to-reach spots.
* Magic Eraser Assist: After rinsing, try gently rubbing the grout lines with a Magic Eraser. These little sponges can be surprisingly effective at removing lingering stains. Just be careful not to scrub too hard, as they can be abrasive.
Important Considerations and Safety Tips:
* Ventilation is Key: I can’t stress this enough – always work in a well-ventilated area when using cleaning products, especially those containing bleach.
* Protect Yourself: Gloves and eye protection are essential. Bleach can irritate your skin and eyes.
* Test First: Always test the cleaning solution in an inconspicuous area before applying it to the entire surface.
* Don’t Mix with Other Cleaners: Never mix Clorox Grout Cleaner with other cleaning products, especially those containing ammonia. This can create dangerous fumes.
* Rinse Thoroughly: Make sure to rinse the area thoroughly after cleaning to remove all traces of the cleaning solution.
* Keep Out of Reach of Children and Pets: Store Clorox Grout Cleaner and your homemade cleaning solution out of reach of children and pets.
* Grout Sealer: Once your grout is clean and dry, consider applying a grout sealer to help protect it from future stains. This will make your cleaning efforts last longer.
Troubleshooting: What to Do If Things Go Wrong
Even with the best intentions, sometimes things don’t go according to plan. Here are a few common issues you might encounter and how to address them:
* Grout Discoloration: If you notice that your grout is becoming discolored, stop using the cleaning solution immediately and rinse the area thoroughly with water. The solution may be too strong for your grout type.
* Fading Color: If your colored grout is fading, it’s likely due to the bleach in the Clorox Grout Cleaner. Unfortunately, there’s not much you can do to reverse this. You may need to consider re-grouting or using a grout colorant.
* Strong Odor: If you’re experiencing a strong odor, it’s likely due to the bleach. Make sure the area is well-ventilated and consider wearing a mask.
* Paste Drying Too Quickly: If the paste is drying out too quickly, try working in smaller sections or adding a little more hydrogen peroxide to the mixture.
Alternative Ingredients: When You Don’t Have Everything on Hand
Sometimes you might not have all the ingredients readily available. Here are a few substitutions you can try:
* Vinegar Instead of Hydrogen Peroxide: White vinegar can be used as a substitute for hydrogen peroxide. It’s a natural disinfectant and can help to loosen dirt and grime. However, be careful when mixing vinegar with bleach, as it can create harmful fumes. Use it sparingly and ensure good ventilation.
* Dish Soap for Extra Cleaning Power: A small squirt of dish soap can be added to the mixture for extra cleaning power. Just be sure to rinse thoroughly to remove any soap residue.
Maintaining Your Sparkling Grout: Prevention is Key
Once you’ve achieved that sparkling clean grout, you’ll want to keep it that way! Here are a few tips for maintaining your grout and preventing future stains:
* Wipe Up Spills Immediately: The sooner you wipe up spills, the less likely they are to stain your grout.
* Regular Cleaning: Clean your grout regularly, even if it doesn’t look dirty. A quick wipe-down with a mild cleaner can help to prevent buildup.
*
Conclusion
So, there you have it! Ditching the harsh chemicals and embracing this simple, yet incredibly effective DIY grout cleaner is a game-changer for anyone battling dingy, stained grout. We’ve explored how readily available ingredients, likely already in your pantry, can create a powerful cleaning solution that rivals, and in many cases surpasses, commercially available options like Clorox grout cleaner.
Why is this a must-try? Because it’s not just about saving money (though that’s a definite perk!). It’s about creating a healthier home environment, free from the fumes and potential irritants found in many store-bought cleaners. It’s about having control over the ingredients you’re using and knowing exactly what’s going down your drains. And, frankly, it’s about the satisfaction of creating something effective with your own two hands.
Beyond the basic recipe, feel free to experiment! For particularly stubborn stains, consider adding a tablespoon of borax to the mix for an extra boost of cleaning power. If you prefer a thicker paste for vertical surfaces, simply reduce the amount of liquid used. For a fresh scent, a few drops of your favorite essential oil (tea tree, lemon, or eucalyptus are excellent choices for their antibacterial properties) can be added. Remember to always test any variation in an inconspicuous area first to ensure it doesn’t discolor your grout.
We understand that switching from a trusted brand like Clorox grout cleaner to a DIY solution might seem daunting. But we urge you to give it a try. The results speak for themselves. You’ll be amazed at how effectively this homemade concoction lifts dirt and grime, revealing the bright, clean grout you thought was lost forever.
Don’t just take our word for it! We encourage you to try this DIY grout cleaner and see the difference for yourself. Share your experiences in the comments below. Let us know what variations you tried, what worked best for you, and any tips you have for fellow DIY enthusiasts. We’re building a community here, sharing knowledge and empowering each other to create cleaner, healthier homes.
We are confident that once you experience the cleaning power and the peace of mind that comes with using a natural, homemade solution, you’ll never go back to harsh chemical cleaners again. This DIY grout cleaner is not just a cleaning solution; it’s a lifestyle choice – a commitment to a healthier, more sustainable way of living. So, grab your ingredients, put on your gloves, and get ready to transform your grout! We can’t wait to hear about your success!
Frequently Asked Questions (FAQ)
1. Is this DIY grout cleaner as effective as Clorox grout cleaner?
In many cases, yes! The effectiveness of this DIY grout cleaner depends on the severity of the staining and the specific ingredients used. However, the combination of baking soda, vinegar, and dish soap creates a powerful cleaning action that can effectively lift dirt, grime, and mildew from grout. Many users find that it works just as well, if not better, than commercially available options, especially when dealing with everyday dirt and grime. For heavily stained grout, multiple applications or the addition of borax may be necessary. The key advantage is that you control the ingredients and avoid harsh chemicals.
2. What type of grout is this DIY cleaner safe for?
This DIY grout cleaner is generally safe for most types of grout, including cementitious and epoxy grout. However, it’s always recommended to test the cleaner in an inconspicuous area first to ensure it doesn’t discolor or damage the grout. Be particularly cautious with colored grout, as some ingredients, like vinegar, could potentially cause fading over time with repeated use. If you have any concerns, consult with a professional tile installer.
3. Can I use this DIY grout cleaner on natural stone tiles?
Vinegar, an ingredient in this DIY cleaner, is acidic and can etch or damage natural stone tiles like marble, granite, and limestone. Therefore, it’s not recommended to use this cleaner on natural stone. For natural stone tiles, use a pH-neutral cleaner specifically designed for stone surfaces.
4. How often should I use this DIY grout cleaner?
The frequency of cleaning depends on the amount of traffic and exposure to dirt and grime. For high-traffic areas like bathrooms and kitchens, cleaning once a week or every other week may be necessary. For less frequently used areas, cleaning once a month may suffice. Regular cleaning will prevent the buildup of dirt and grime, making it easier to maintain clean grout over time.
5. What tools do I need to apply this DIY grout cleaner?
You’ll need a few basic tools:
* A small bowl or container for mixing the ingredients.
* A toothbrush or grout brush for scrubbing the grout lines.
* A spray bottle (optional, for easier application).
* Gloves to protect your hands.
* A sponge or cloth for wiping away the cleaner.
* Water for rinsing.
6. What if the stains are really stubborn and the DIY cleaner doesn’t work?
For extremely stubborn stains, consider these options:
* Increase the concentration of baking soda: Create a thicker paste for more abrasive cleaning.
* Add borax: Borax is a natural mineral with excellent cleaning properties. Add a tablespoon to the mixture for an extra boost.
* Let it sit longer: Allow the cleaner to sit on the grout for a longer period (up to 30 minutes) before scrubbing.
* Use a steam cleaner: Steam cleaning can be very effective at loosening dirt and grime from grout.
* Consider a commercial grout cleaner: If all else fails, you may need to resort to a commercial grout cleaner specifically designed for tough stains. However, always follow the manufacturer’s instructions carefully and wear appropriate safety gear.
7. Can I store leftover DIY grout cleaner?
It’s best to use the DIY grout cleaner immediately after mixing it, as the chemical reaction between the baking soda and vinegar will diminish over time. However, if you have leftover cleaner, you can store it in an airtight container for up to 24 hours. Keep in mind that it may not be as effective after sitting for a while.
8. Is this DIY grout cleaner safe for pets and children?
While the ingredients in this DIY grout cleaner are generally considered safe, it’s still important to keep pets and children away from the area while you’re cleaning. Vinegar can be irritating to sensitive skin, and baking soda can cause digestive upset if ingested in large quantities. After cleaning, rinse the area thoroughly with water to remove any residue.
9. What are the benefits of using a DIY grout cleaner over a commercial one?
There are several benefits to using a DIY grout cleaner:
* Cost-effective: The ingredients are typically inexpensive and readily available.
* Environmentally friendly: You avoid harsh chemicals that can pollute the environment.
* Healthier: You reduce your exposure to potentially harmful fumes and irritants.
* Customizable: You can adjust the ingredients to suit your specific needs and preferences.
* Control over ingredients: You know exactly what you’re using in your home.
10. Can I use lemon juice instead of vinegar in this DIY grout cleaner?
Yes, lemon juice can be used as a substitute for vinegar. It has similar acidic properties that help to break down dirt and grime. However, lemon juice may not be as effective as vinegar for removing stubborn stains. Also, be aware that lemon juice can also potentially lighten colored grout over time with repeated use. Always test in an inconspicuous area first.
Leave a Comment