
Grout cleaner Oxiclean toilet bowl – sounds like an odd combination, right? But trust me, this unexpected duo is about to become your new best friend when it comes to tackling stubborn grout stains! For generations, homeowners have struggled with dingy, discolored grout, resorting to harsh chemicals and endless scrubbing. But what if I told you there’s a simpler, more effective, and surprisingly affordable solution hiding in your laundry room and bathroom?
The history of grout cleaning is a long and arduous one. From ancient Romans using pumice stones to modern-day commercial cleaners, the quest for sparkling grout has been ongoing. But sometimes, the best solutions are the ones we least expect. This DIY trick combines the powerful stain-lifting properties of Oxiclean with the toilet bowl’s shape to create a potent cleaning method.
Why do you need this DIY grout cleaning hack? Because let’s face it, nobody enjoys spending hours on their hands and knees scrubbing grout! This method is not only easier and faster than traditional cleaning methods, but it’s also gentler on your grout, preventing damage and extending its lifespan. Plus, it’s a budget-friendly alternative to expensive commercial cleaners. I’m excited to share this simple yet effective way to achieve sparkling clean grout using the power of grout cleaner Oxiclean toilet bowl method. Get ready to say goodbye to stubborn stains and hello to a brighter, cleaner home!
DIY Grout Cleaner: Oxiclean Toilet Bowl Hack
Hey there, fellow DIY enthusiasts! Are you tired of battling stubborn grout stains? I know I was! I’ve tried countless commercial cleaners, and honestly, most of them either didn’t work well enough or smelled so strongly that I had to open all the windows and wear a mask. Then, I stumbled upon a game-changing hack: using Oxiclean toilet bowl cleaner to clean grout. Yes, you read that right! It sounds a little crazy, but trust me, it works wonders. And the best part? It’s super affordable and easy to do.
This method is particularly effective for light to moderate staining. For really tough, years-old stains, you might need to repeat the process or consider a more aggressive cleaning method. But for everyday grime and discoloration, this is my go-to solution.
What You’ll Need
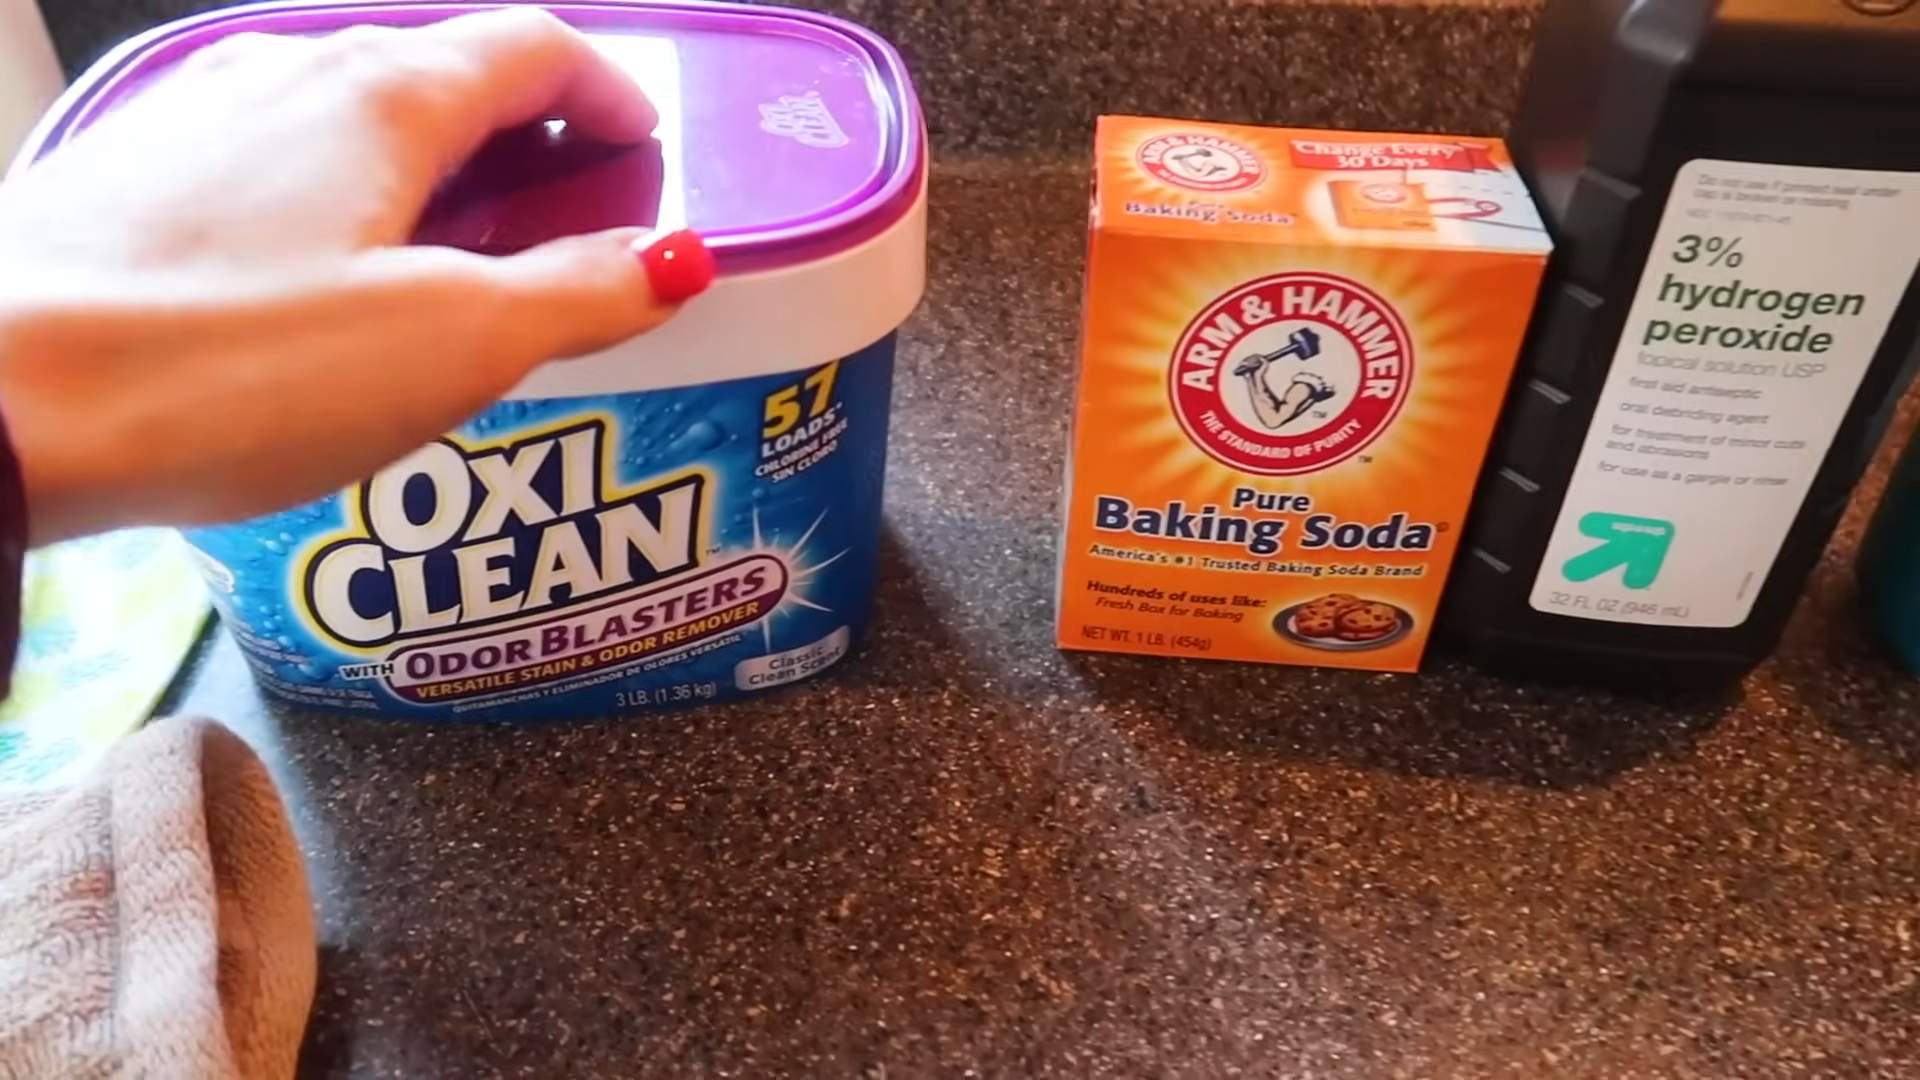
Before we dive in, let’s gather our supplies. Here’s what you’ll need for this grout-cleaning adventure:
* Oxiclean Toilet Bowl Cleaner (the powder kind, not the liquid)
* Warm Water
* A Small Bowl or Container
* An Old Toothbrush or Grout Brush
* A Sponge or Cloth
* Rubber Gloves (trust me, you’ll want these!)
* Eye Protection (safety first!)
* Optional: A Spray Bottle
Safety First!
Before we even think about mixing anything, let’s talk safety. Oxiclean, even in toilet bowl cleaner form, is a chemical. It’s important to protect yourself:
* Always wear rubber gloves. This will prevent skin irritation.
* Wear eye protection. Splashes happen, and you don’t want this stuff in your eyes.
* Work in a well-ventilated area. Open a window or turn on a fan.
* Keep out of reach of children and pets. This should be a no-brainer, but it’s worth repeating.
* Never mix Oxiclean with other cleaning products, especially bleach. This can create dangerous fumes.
Mixing the Cleaning Solution
Okay, now that we’ve covered safety, let’s get to the fun part: mixing our cleaning solution.
1. Pour a small amount of Oxiclean Toilet Bowl Cleaner into your bowl or container. I usually start with about 1/4 cup. You can always add more if you need it.
2. Slowly add warm water to the powder. Start with a tablespoon or two and mix it in. You want to create a paste-like consistency. It shouldn’t be too runny, but not too thick either. Think of it like a thick pancake batter.
3. Mix thoroughly. Use a spoon or even the handle of your toothbrush to mix the powder and water until they are fully combined and there are no clumps.
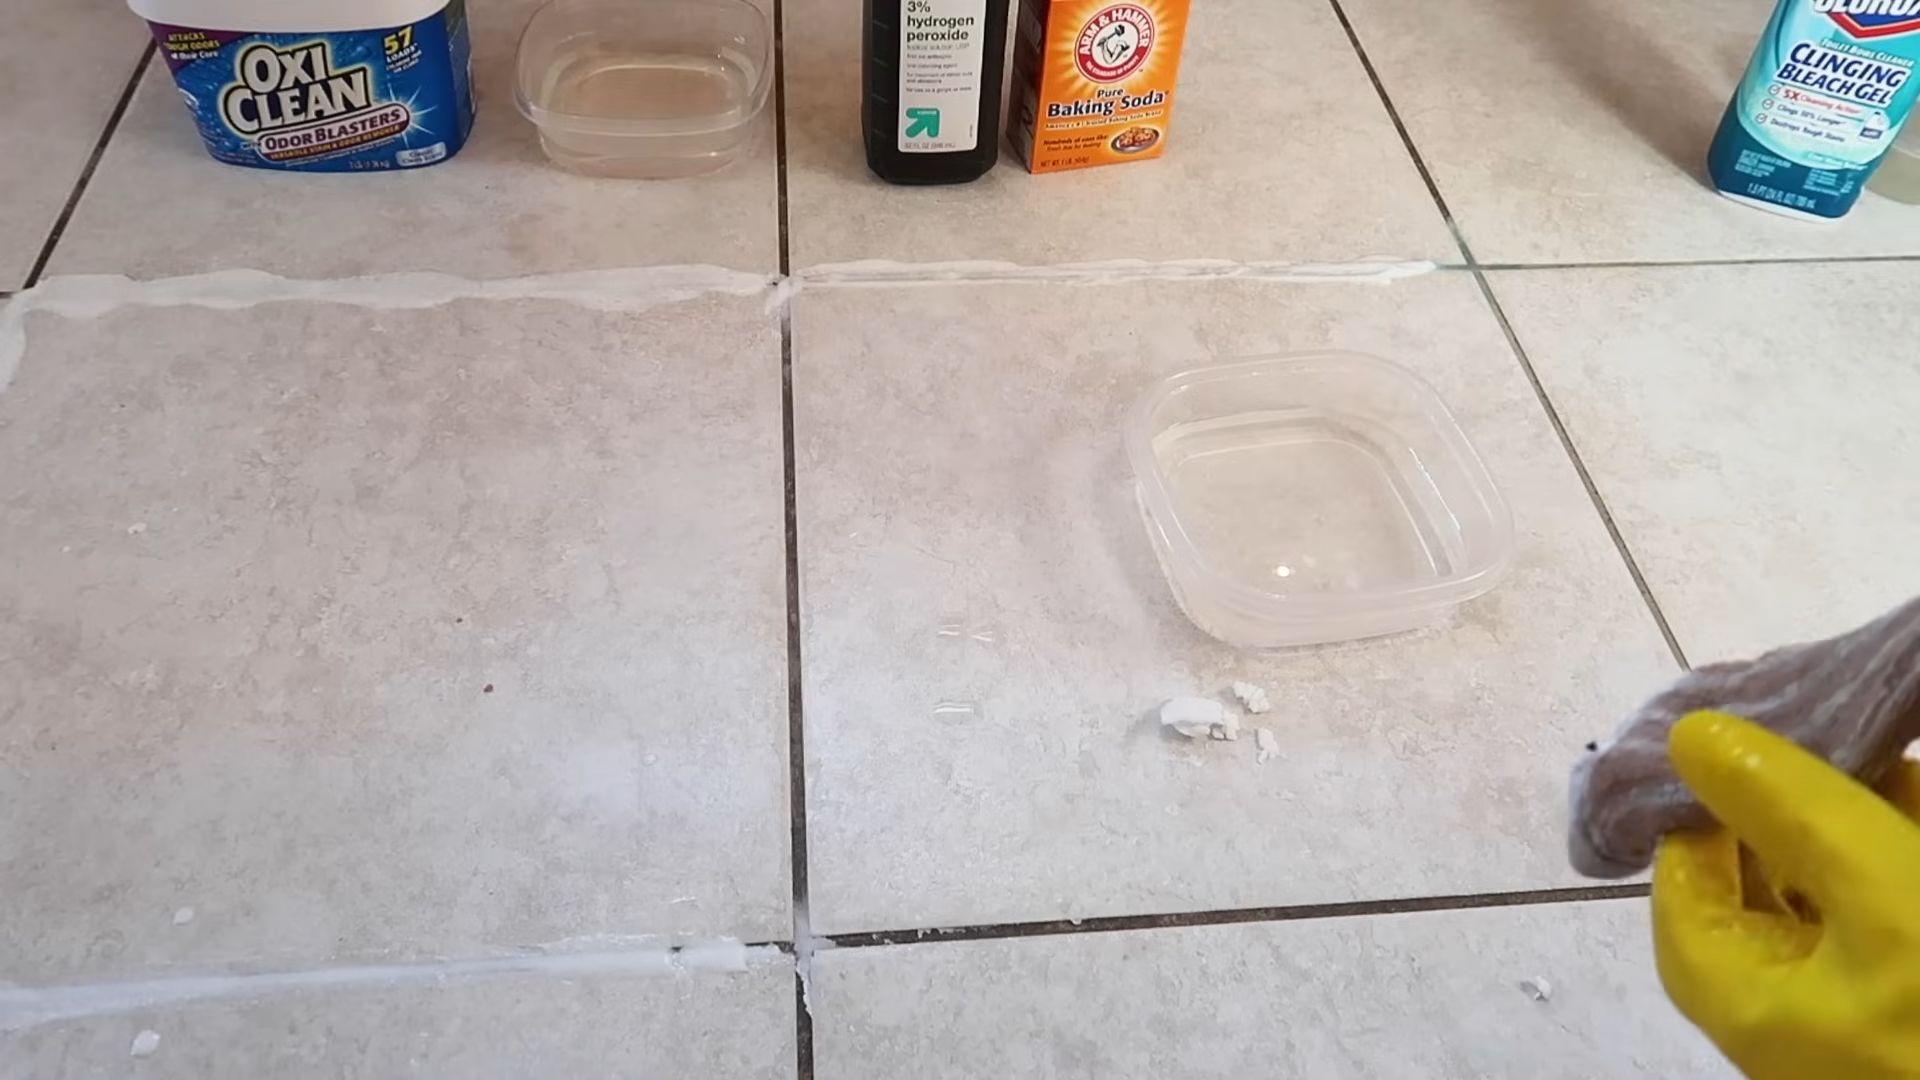
Applying the Cleaning Solution
Now comes the moment of truth: applying our homemade grout cleaner.
1. Dip your toothbrush or grout brush into the paste. Make sure you get a good amount of the cleaner on the bristles.
2. Apply the paste to the grout lines. Work in small sections, focusing on the areas that are most stained or discolored.
3. Scrub the grout lines. Use a back-and-forth motion to really get the cleaner into the grout. Don’t be afraid to put some elbow grease into it! You’ll likely see the grime starting to lift as you scrub.
4. Let the cleaner sit for a few minutes. This gives the Oxiclean time to work its magic. I usually let it sit for about 5-10 minutes, but you can adjust the time depending on how stained your grout is. For heavily stained grout, you might even let it sit for up to 15 minutes. Just don’t let it dry completely.
5. Optional: For larger areas, you can transfer the mixture to a spray bottle. This can help with even distribution and make the application process faster. Just be sure to shake the bottle well before each use.
Rinsing and Cleaning Up
Almost there! Now it’s time to rinse away the cleaner and reveal your sparkling grout.
1. Rinse the grout lines with clean water. Use a sponge or cloth to wipe away the cleaner and any remaining grime. You might need to rinse several times to remove all traces of the Oxiclean.
2. Dry the area. Use a clean towel or cloth to dry the grout lines. This will help prevent water spots and mildew growth.
3. Inspect your work. Take a look at your grout and see if there are any areas that need a little extra attention. If so, repeat the process on those specific spots.
4. Clean your tools. Rinse your toothbrush or grout brush thoroughly with water. Dispose of any remaining cleaning solution properly.
Dealing with Stubborn Stains
Sometimes, even with our amazing Oxiclean hack, you might encounter some stubborn stains that just won’t budge. Don’t despair! Here are a few tips for tackling those tough spots:
* Repeat the process. Sometimes, all it takes is a second application to loosen up the stain.
* Make a stronger paste. Try using a little less water when mixing your cleaning solution to create a more concentrated paste.
* Use a more abrasive brush. If your toothbrush isn’t cutting it, try using a stiffer grout brush.
* Try a magic eraser. These little sponges are surprisingly effective at removing stains. Just be careful not to scrub too hard, as they can be abrasive.
* Consider a commercial grout cleaner. If all else fails, you might need to resort to a commercial grout cleaner. Just be sure to follow the instructions carefully and wear appropriate safety gear.
Tips and Tricks for Success
Here are a few extra tips and tricks I’ve learned along the way that can help you achieve the best results:
* Test in an inconspicuous area first. Before applying the cleaner to your entire grout area, test it in a small, hidden spot to make sure it doesn’t damage or discolor the grout.
* Work in small sections. This will prevent the cleaner from drying out and make it easier to rinse away.
* Use a grout sealer. Once your grout is clean, consider applying a grout sealer to help protect it from future stains.
* Clean your grout regularly. The more often you clean your grout, the easier it will be to keep it looking its best.
* Don’t use this method on colored grout. Oxiclean can sometimes lighten or discolor colored grout.
Alternative Uses for Oxiclean Toilet Bowl Cleaner
While this article focuses on using Oxiclean Toilet Bowl Cleaner for grout, it’s worth noting that it can also be used for other cleaning tasks around the house. Here are a few ideas:
* Cleaning toilet bowls (obviously!). Just sprinkle some powder into the bowl, let it sit for a few minutes, and then scrub and flush.
* Removing stains from laundry. Add a scoop of Oxiclean to your washing machine along with your regular detergent to help boost its stain-fighting power.
* Cleaning patio furniture. Mix Oxiclean with water and use a brush to scrub away dirt and grime from your patio furniture.
* Cleaning tile floors. Mop your tile floors with a solution of Oxiclean and water to remove dirt and stains.
Why This Works: The Science Behind the Magic
So, what makes Oxiclean Toilet Bowl Cleaner so effective at cleaning grout? The secret lies in its active ingredient: sodium percarbonate. When sodium percarbonate comes into contact with water, it breaks down into sodium carbonate (washing soda) and hydrogen peroxide.
* Sodium carbonate is a powerful cleaning agent that helps to loosen dirt and grime.
* Hydrogen peroxide is a bleaching agent that helps to remove stains and brighten surfaces.
Together, these two ingredients work synergistically to lift dirt, grime, and stains from your grout, leaving it looking clean and refreshed. The toilet bowl cleaner formulation often includes surfactants that help the cleaning agents penetrate the grout more effectively.
Troubleshooting Common Issues
Even with the best instructions, you might run into a few snags. Here’s how to troubleshoot some common problems:
* Grout is still stained after cleaning: Repeat the cleaning process, use a stronger paste, or try a commercial grout cleaner.
* Cleaner is drying too quickly: Work in smaller sections or add a little more water to your cleaning solution.
* Grout is discolored after cleaning: This is rare, but if it happens, try rinsing the area thoroughly with clean water. If the discoloration persists, you may need to consult a professional.
* Cleaner is not removing mildew: For mildew, you might need a cleaner specifically designed to kill mold and mildew. Bleach-based cleaners are often effective, but be sure to use them safely and in a well-ventilated area.
I hope this guide has been helpful! With a little elbow grease
Conclusion
So, there you have it! This simple yet incredibly effective DIY grout cleaner using Oxiclean and toilet bowl cleaner is a game-changer for anyone battling stubborn stains and discoloration in their tiled spaces. We’ve walked you through the process, highlighting its ease, affordability, and remarkable cleaning power. But why is this particular combination a must-try?
Firstly, the synergy between Oxiclean and toilet bowl cleaner is truly remarkable. Oxiclean, with its oxygen-based bleaching action, tackles organic stains like mildew, mold, and everyday grime. It penetrates deep into the porous grout lines, lifting away years of accumulated dirt. The toilet bowl cleaner, on the other hand, provides a powerful cleaning boost, helping to dissolve mineral deposits and further sanitize the grout. Together, they create a potent cleaning solution that rivals expensive commercial products, often at a fraction of the cost.
Secondly, this DIY grout cleaner is incredibly versatile. While we’ve focused on bathroom grout, don’t limit yourself! This solution can be used on tiled floors, kitchen backsplashes, and even outdoor patios. Just be sure to test it in an inconspicuous area first to ensure it doesn’t affect the color or finish of your tiles.
Looking for variations? Consider adding a few drops of your favorite essential oil, like tea tree or eucalyptus, for an extra boost of antibacterial power and a refreshing scent. For particularly stubborn stains, you can create a paste by mixing the Oxiclean with a small amount of water before adding the toilet bowl cleaner. This thicker consistency allows the solution to cling to the grout longer, providing more contact time for stain removal.
Safety is paramount. Always wear gloves and eye protection when working with cleaning chemicals. Ensure proper ventilation in the area you’re cleaning, and never mix this solution with other cleaning products, especially bleach, as this can create dangerous fumes.
But the real magic happens when you put this DIY grout cleaner to the test yourself. We are confident that you’ll be amazed by the results. Imagine transforming your dingy, stained grout into sparkling, like-new condition with minimal effort and expense. The satisfaction of achieving professional-level cleaning results with a simple homemade solution is truly rewarding.
So, what are you waiting for? Gather your supplies, follow the steps outlined in this article, and prepare to be amazed. We encourage you to try this DIY grout cleaner and share your experience with us! Let us know in the comments section below how it worked for you, any variations you tried, and any tips you have to share with other readers. Your feedback is invaluable and helps us continue to provide helpful and effective cleaning solutions. We can’t wait to hear about your sparkling clean grout!
Frequently Asked Questions (FAQ)
1. Is this DIY grout cleaner safe for all types of grout?
While this DIY grout cleaner is generally safe and effective, it’s always best to test it in an inconspicuous area first, especially if you have colored grout or grout made from delicate materials like epoxy. Apply a small amount of the solution to a hidden area, let it sit for a few minutes, and then wipe it away. Check for any discoloration or damage before proceeding to clean the entire area. If you notice any adverse effects, discontinue use immediately. For epoxy grout, it’s generally recommended to use pH-neutral cleaners to avoid damaging the sealant.
2. Can I use this DIY grout cleaner on natural stone tiles?
No, this DIY grout cleaner is not recommended for use on natural stone tiles such as marble, granite, or limestone. The acidic nature of the toilet bowl cleaner can etch and damage the surface of these delicate materials. For natural stone tiles, it’s best to use pH-neutral cleaners specifically designed for stone care. These cleaners will gently remove dirt and grime without harming the stone’s surface.
3. How often should I clean my grout with this DIY solution?
The frequency of cleaning depends on the amount of traffic and exposure to dirt and grime in the area. In high-traffic areas like bathrooms and kitchens, you may need to clean your grout every few weeks. In less frequently used areas, you can clean your grout every few months. Regular cleaning will help prevent the buildup of stubborn stains and keep your grout looking its best.
4. What type of toilet bowl cleaner should I use?
It is recommended to use a standard toilet bowl cleaner that contains hydrochloric acid. Avoid using toilet bowl cleaners that contain bleach, as mixing bleach with Oxiclean can create dangerous fumes. Always read the label of the toilet bowl cleaner carefully before using it to ensure it is compatible with this DIY grout cleaner.
5. Can I use a different type of oxygen cleaner instead of Oxiclean?
While Oxiclean is a popular and effective oxygen cleaner, you can use other brands of oxygen cleaner as a substitute. Just make sure the oxygen cleaner contains sodium percarbonate as the active ingredient. This ingredient is responsible for the oxygen-based bleaching action that helps to remove stains and brighten grout.
6. How long should I let the DIY grout cleaner sit on the grout before scrubbing?
The amount of time you let the DIY grout cleaner sit on the grout depends on the severity of the stains. For light stains, you can let it sit for 5-10 minutes. For more stubborn stains, you can let it sit for up to 30 minutes. However, it’s important to monitor the grout closely and not let the solution dry completely, as this can make it more difficult to remove.
7. What type of brush should I use to scrub the grout?
A stiff-bristled brush is ideal for scrubbing grout. You can use a grout brush specifically designed for cleaning grout lines, or you can use a toothbrush for smaller areas. Avoid using abrasive brushes or scouring pads, as these can scratch the surface of the tiles.
8. How do I prevent grout from getting stained in the future?
There are several things you can do to prevent grout from getting stained in the future. First, seal your grout with a grout sealer. This will create a protective barrier that prevents dirt and grime from penetrating the grout lines. Second, wipe up spills immediately to prevent them from setting into the grout. Third, ventilate your bathroom after showering to prevent the growth of mold and mildew. Finally, clean your grout regularly with a mild cleaner to remove any dirt and grime before it has a chance to stain.
9. What if the DIY grout cleaner doesn’t remove all of the stains?
If the DIY grout cleaner doesn’t remove all of the stains, you can try repeating the process. You can also try creating a paste by mixing the Oxiclean with a small amount of water before adding the toilet bowl cleaner. This thicker consistency allows the solution to cling to the grout longer, providing more contact time for stain removal. For extremely stubborn stains, you may need to use a commercial grout cleaner or consider re-grouting the area.
10. Is there a natural alternative to this DIY grout cleaner?
Yes, a natural alternative to this DIY grout cleaner is a paste made from baking soda and vinegar. Mix baking soda and vinegar to form a paste, apply it to the grout, let it sit for 10-15 minutes, and then scrub with a brush. This solution is less harsh than the Oxiclean and toilet bowl cleaner mixture, but it may not be as effective on stubborn stains.
Leave a Comment