
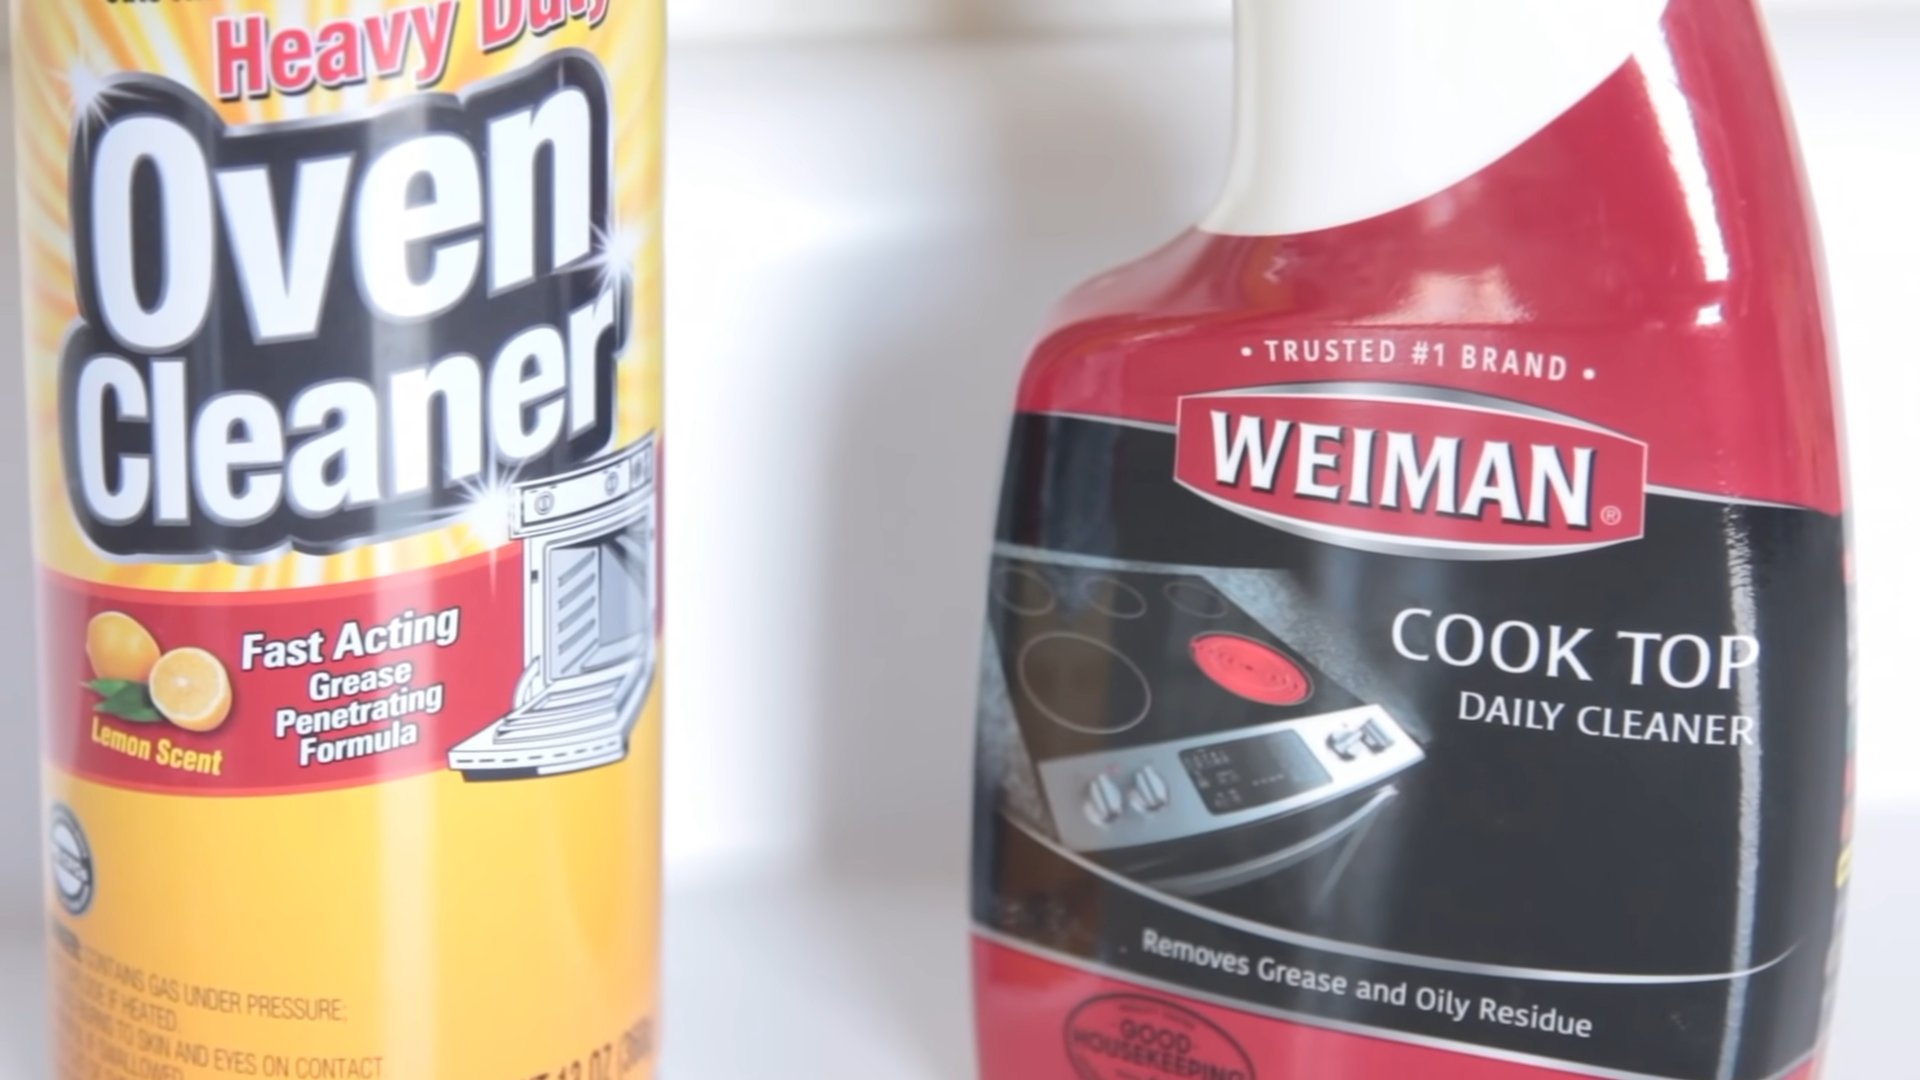
Effective oven cleaner brands – finding the right one can feel like searching for a unicorn in your kitchen! Let’s face it, nobody enjoys scrubbing a burnt, greasy oven. It’s a chore we all dread, and the thought of spending hours battling stubborn stains is enough to make anyone order takeout. But what if I told you that conquering that oven grime could be easier than you think?
For generations, keeping a clean oven was a symbol of a well-maintained home. In some cultures, it even represented prosperity and good fortune! While we might not subscribe to those exact beliefs today, a sparkling clean oven definitely contributes to a more pleasant cooking experience and, let’s be honest, makes us feel a little bit more accomplished.
That’s why I’ve compiled this guide to help you discover the most effective oven cleaner brands and some DIY tricks that will have your oven looking brand new in no time. Whether you’re dealing with years of baked-on residue or just need a quick refresh, these tips and tricks will save you time, effort, and maybe even a little bit of sanity. So, ditch the elbow grease and get ready to transform your oven from a greasy mess to a sparkling clean masterpiece!
DIY Oven Cleaning Power: Banish Baked-On Grime with Natural Ingredients!
Okay, let’s face it: cleaning the oven is nobody’s favorite chore. But a sparkling clean oven not only looks better, it also helps your food cook more evenly and eliminates those nasty burnt smells. Forget those harsh chemical cleaners! I’m going to show you how to achieve a gleaming oven using simple, natural ingredients you probably already have in your pantry. This method is effective, eco-friendly, and much gentler on your lungs.
What You’ll Need: The Arsenal of Clean
Before we dive in, let’s gather our supplies. This is a pretty straightforward process, so the list is short and sweet:
* Baking Soda: Our main cleaning agent! Baking soda is a mild alkali that helps to dissolve grease and grime.
* White Vinegar: The magic ingredient that reacts with baking soda to create a powerful cleaning fizz.
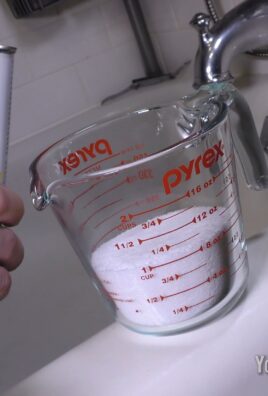
* Water: For creating a paste and rinsing.
* Spray Bottle: To apply the vinegar.
* Spatula or Scraper: For loosening stubborn baked-on messes. A plastic one is ideal to avoid scratching.
* Rubber Gloves: To protect your hands.
* Old Rags or Sponges: For wiping and scrubbing.
* Old Towels or Newspaper: To protect your floor.
* Small Bowl: For mixing the baking soda paste.
Step-by-Step: Conquering the Oven Clean
Alright, let’s get down to business! Here’s the step-by-step guide to a sparkling clean oven:
1. Prep the Oven: Safety First! Before you even think about cleaning, make sure your oven is completely cool. Unplug it or turn off the breaker for extra safety. Remove the oven racks, pizza stone, thermometer, and anything else inside. We’ll clean the racks separately. Lay down old towels or newspaper around the base of the oven to catch any drips or spills.
2. Rack Attack: Cleaning the Oven Racks This part can be a bit messy, but it’s totally worth it.
* Soaking Method: The easiest way to clean oven racks is to soak them overnight. Find a large tub, utility sink, or even your bathtub (make sure it’s clean!). Line the bottom with old towels to prevent scratching. Fill the tub with hot water and add about 1/2 cup of dish soap and 1 cup of baking soda. Submerge the racks completely and let them soak overnight. The next day, scrub them with a sponge or brush and rinse thoroughly.
* Trash Bag Method: If you don’t have a tub big enough, you can use a large trash bag. Place the racks inside the bag, pour in 1/2 cup of ammonia (be careful and wear gloves!), seal the bag tightly, and let it sit overnight outside or in a well-ventilated area. The fumes from the ammonia will help loosen the grime. The next day, carefully open the bag (again, in a well-ventilated area), remove the racks, and scrub and rinse them thoroughly. Important: Never mix ammonia with bleach! This creates toxic fumes.
* Scrubbing Method: If you’re short on time, you can scrub the racks directly. Lay them on a protected surface (like a tarp or old towels) and scrub them with a paste of baking soda and water. This will take some elbow grease, but it’s effective for lighter grime.
3. Baking Soda Paste: The Grime Fighter Now, let’s create our cleaning paste. In your small bowl, mix together:
* 1/2 cup baking soda
* A few tablespoons of water
Add water gradually until you have a spreadable paste. It should be thick enough to stick to the oven walls but not too dry.
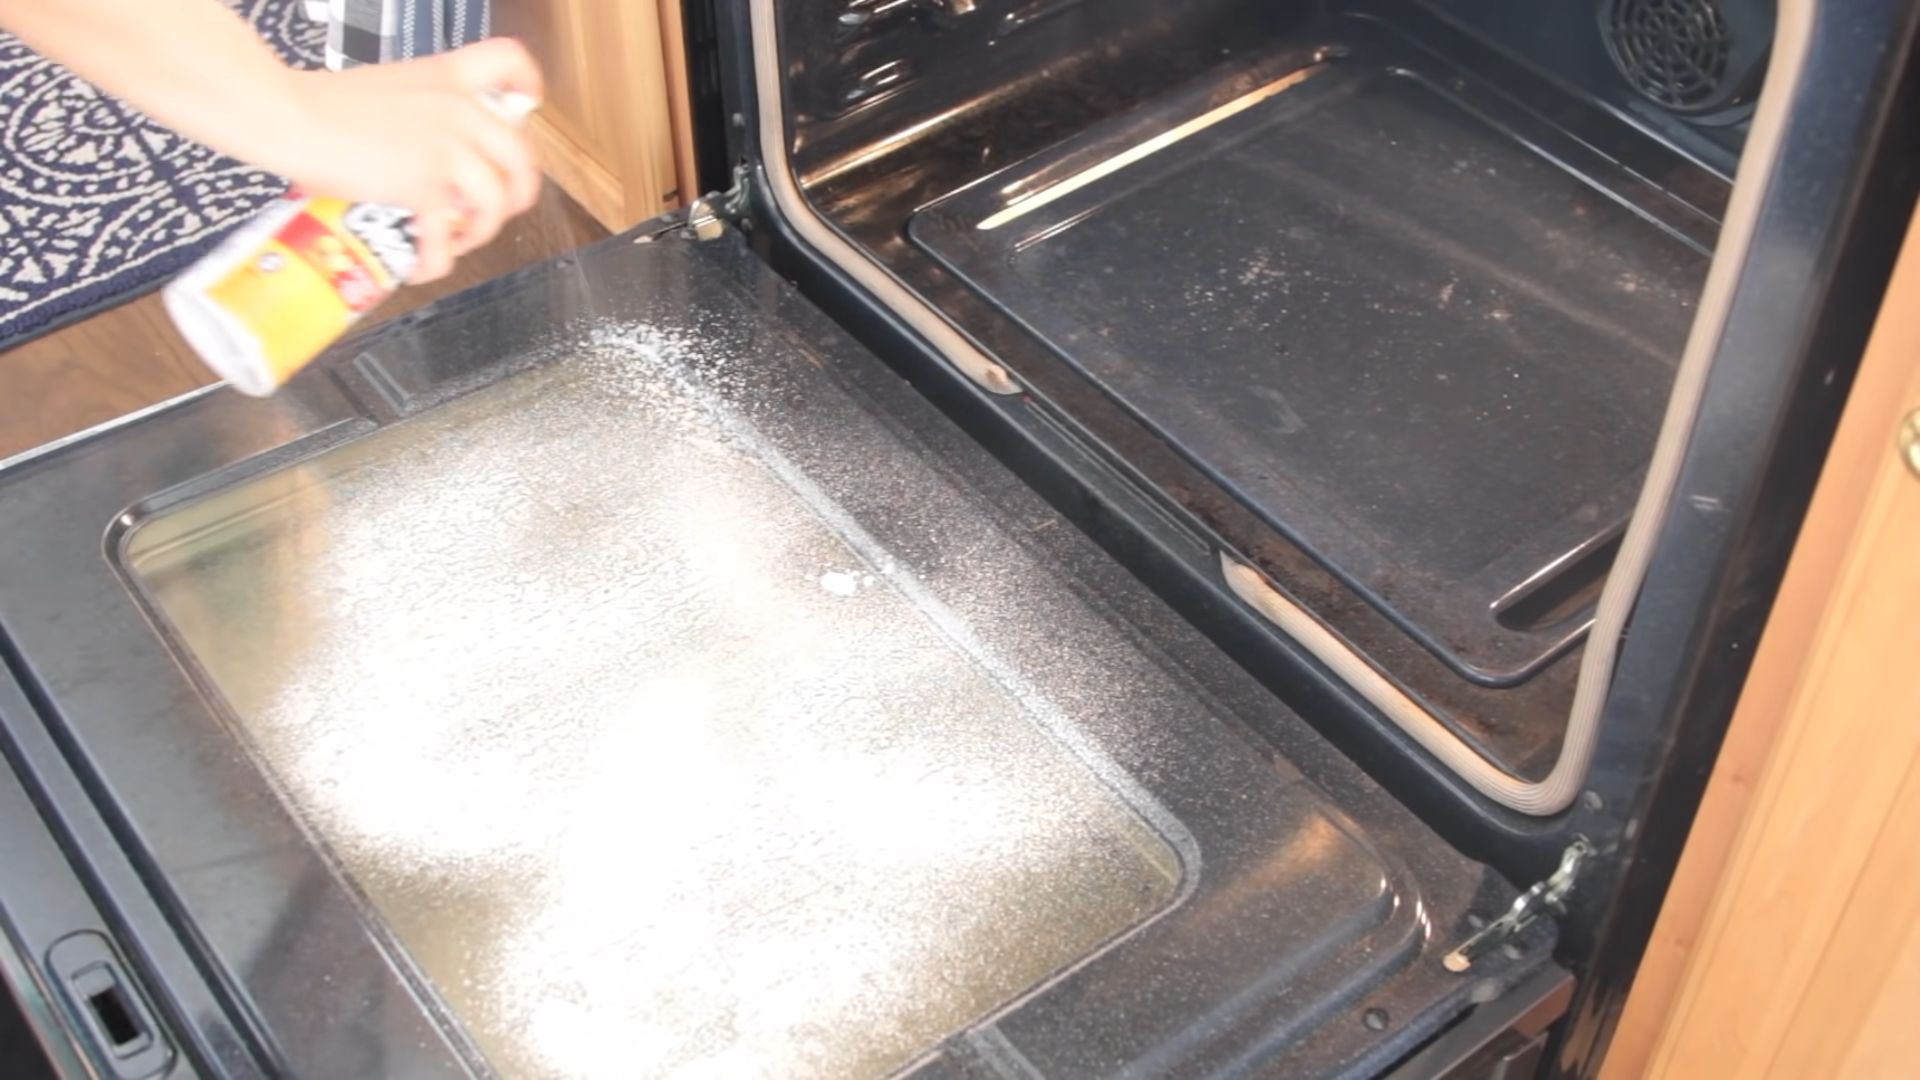
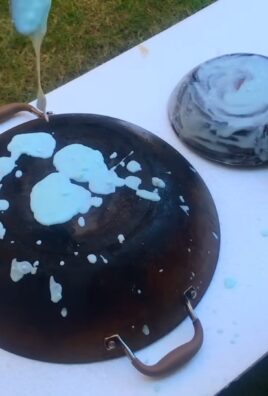
4. Apply the Paste: Coat the Oven Interior Using your hands (with gloves on, of course!), spread the baking soda paste all over the inside of your oven. This includes the walls, floor, door (inside), and even the heating elements (if they’re not self-cleaning). Avoid the heating elements if your oven has a self-cleaning function. Be generous with the paste, especially on areas with heavy baked-on grime.
5. The Waiting Game: Let the Paste Work Its Magic This is the hardest part – waiting! Let the baking soda paste sit in your oven for at least 12 hours, or even overnight. The longer it sits, the more effectively it will loosen the grime. I usually apply the paste before I go to bed and clean it up the next morning.
6. Vinegar Power: The Fizzing Finale After the waiting period, grab your spray bottle and fill it with white vinegar. Spray the vinegar all over the baking soda paste. You’ll see it start to fizz and bubble – this is the chemical reaction that helps to lift the grime.
7. Scrub-a-Dub-Dub: Removing the Grime Now it’s time to get scrubbing! Use your spatula or scraper to loosen any stubborn baked-on messes. Then, use your old rags or sponges to wipe away the baking soda paste and grime. You may need to rinse your rags or sponges frequently as they get dirty.
8. Rinse and Repeat: Achieving a Sparkling Finish Once you’ve removed most of the baking soda paste, rinse the oven thoroughly with clean water. Use a clean, damp rag to wipe down all the surfaces. You may need to repeat this process several times to remove all traces of baking soda.
9. Final Touches: Drying and Reassembly After rinsing, dry the inside of the oven with a clean towel. Replace the oven racks and any other items you removed. Plug the oven back in or turn the breaker back on.
Dealing with Stubborn Spots: Extra Cleaning Power
Sometimes, you might encounter areas with particularly stubborn baked-on grime. Here are a few tips for tackling those tough spots:
* Extra Baking Soda Paste: Apply a thicker layer of baking soda paste to the stubborn area and let it sit for even longer – up to 24 hours.
* Vinegar Soak: Soak a rag in white vinegar and place it directly on the stubborn spot for a few hours. This will help to soften the grime.
* Baking Soda and Salt Scrub: Mix baking soda with a little bit of salt to create a more abrasive scrub. Use this mixture to gently scrub the stubborn area. Be careful not to scratch the oven surface.
* Lemon Power: Cut a lemon in half and rub it directly on the stubborn spot. The citric acid in the lemon will help to break down the grime. You can also place a bowl of water with lemon juice in the oven and bake it at 350°F for 30 minutes. The steam will help to loosen the grime.
Maintaining Your Clean Oven: Prevention is Key
Now that you’ve got a sparkling clean oven, let’s talk about how to keep it that way! Here are a few tips for preventing future messes:
* Oven Liners: Use oven liners to catch drips and spills. You can find disposable or reusable oven liners at most grocery stores.
* Baking Sheets: Always use baking sheets to catch drips and spills when baking.
* Clean Up Spills Immediately: Don’t let spills bake onto the oven floor. Clean them up as soon as possible while the oven is still warm (but not hot!).
* Regular Cleaning: Give your oven a quick wipe-down after each use to prevent grime from building up.
* Self-Cleaning Function: If your oven has a self-cleaning function, use it regularly according to the manufacturer’s instructions. However, be aware that the self-cleaning function can produce strong odors and high temperatures.
Safety First: Important Precautions
While this DIY oven cleaning method is much safer than using harsh chemicals, it’s still important to take some precautions:
* Wear Gloves: Protect your hands from the baking soda and vinegar.
* Ventilation: Make sure your kitchen is well-ventilated while you’re cleaning. Open windows and turn on the exhaust fan.
* Avoid Mixing Chemicals: Never mix ammonia with bleach or any other cleaning products. This can create toxic fumes.
* Keep Out of Reach of Children and Pets: Store baking soda, vinegar, and other cleaning supplies out of reach of children and pets.
* Test in an Inconspicuous Area: Before applying the baking soda paste to the entire oven, test it in a small, inconspicuous area to make sure it doesn’t damage the surface.
Troubleshooting: Common Issues and Solutions
* Baking Soda Paste is Too Dry: Add a little more water until you have a spreadable paste.
* Baking Soda Paste is Too Runny: Add a little more baking soda until you have a thicker paste.
* Vinegar Doesn’t Fizz: Make sure you’re using white vinegar and that the baking
Conclusion
So, there you have it! Ditching those harsh chemicals and embracing this simple, effective DIY oven cleaner is more than just a trend; it’s a game-changer for your kitchen and your well-being. We’ve explored how readily available ingredients can create a powerful cleaning solution that rivals, and in many ways surpasses, commercial oven cleaners. Think about it: no more lingering fumes, no more worrying about accidental skin contact, and no more contributing to the build-up of harmful chemicals in your home.
This isn’t just about cleaning; it’s about making a conscious choice for a healthier and more sustainable lifestyle. The satisfaction of knowing exactly what you’re using to clean your oven, and the peace of mind that comes with it, is truly invaluable. Plus, let’s be honest, the cost savings are a definite bonus!
But the real magic lies in the effectiveness of this DIY approach. The combination of baking soda and vinegar creates a powerful fizzing action that loosens stubborn grease and grime, making it easier to wipe away. The addition of essential oils not only adds a pleasant scent but can also boost the cleaning power with their antibacterial and antifungal properties.
Don’t be afraid to experiment and personalize your DIY oven cleaner. For extra tough stains, try adding a tablespoon of borax to the baking soda paste. If you prefer a citrus scent, lemon or orange essential oils work wonders. You can even add a few drops of tea tree oil for its potent antibacterial properties. The possibilities are endless!
This DIY oven cleaner is a must-try because it’s effective, affordable, eco-friendly, and customizable. It’s a win-win-win situation!
We wholeheartedly encourage you to give this DIY oven cleaner a try. You’ll be amazed at how easy it is to make and how well it works. Once you’ve experienced the difference, you’ll never go back to those harsh chemical cleaners again.
And most importantly, we want to hear about your experience! Share your results, your variations, and any tips you discover along the way in the comments below. Let’s build a community of DIY cleaning enthusiasts who are committed to creating healthier and happier homes. Let us know if you found an effective oven cleaner recipe that worked for you!
Frequently Asked Questions (FAQ)
Q: Is this DIY oven cleaner safe for all types of ovens?
A: Generally, yes, this DIY oven cleaner is safe for most types of ovens, including self-cleaning ovens (when used as directed, *not* during the self-cleaning cycle). However, it’s always a good idea to do a spot test in an inconspicuous area first, especially if you have a newer or more delicate oven. Avoid using it on heating elements or any exposed electrical components. If you have a gas oven, ensure the pilot light is off before cleaning.
Q: How long should I leave the baking soda paste on the oven?
A: For best results, leave the baking soda paste on the oven overnight, or for at least 12 hours. This allows the baking soda to penetrate and loosen the baked-on grease and grime. If you’re short on time, you can leave it on for a minimum of 3-4 hours, but the longer the better.
Q: What if the vinegar doesn’t fizz when I spray it on the baking soda?
A: The fizzing action is what helps to lift the grime, so if it’s not happening, there are a few things you can try. First, make sure you’re using distilled white vinegar, as other types of vinegar may not react as strongly. Second, ensure the baking soda paste is still damp. If it has dried out, lightly dampen it with a spray bottle of water before applying the vinegar. Finally, try spraying the vinegar more generously.
Q: My oven is really dirty. Will this DIY cleaner be effective?
A: Yes, even for heavily soiled ovens, this DIY cleaner can be effective. However, you may need to repeat the process a few times. For extremely stubborn stains, consider adding a tablespoon of borax to the baking soda paste for extra cleaning power. You can also use a plastic scraper to help remove large chunks of baked-on food before applying the paste.
Q: Can I use this DIY cleaner on my oven door glass?
A: Yes, this DIY cleaner is safe and effective for cleaning oven door glass. Apply the baking soda paste to the glass, let it sit for a few hours, and then wipe it clean with a damp cloth. For extra stubborn stains, you can use a non-abrasive scrubbing pad.
Q: What essential oils are best to use in this DIY oven cleaner?
A: The best essential oils to use are those with antibacterial, antifungal, and degreasing properties. Lemon, orange, tea tree, and eucalyptus are all excellent choices. Lavender can also be used for its pleasant scent. Use a few drops of your preferred essential oil to add a fresh and clean aroma to your oven.
Q: How often should I clean my oven with this DIY method?
A: The frequency of cleaning depends on how often you use your oven and how much it gets soiled. As a general guideline, cleaning your oven every 1-3 months is a good practice. However, if you notice spills or splatters, it’s best to clean them up immediately to prevent them from baking on and becoming more difficult to remove.
Q: Can I use this DIY cleaner on my microwave?
A: While this particular recipe is designed for ovens, a similar principle can be applied to cleaning your microwave. Instead of a paste, you can microwave a bowl of water with a few tablespoons of vinegar for several minutes. The steam will loosen the grime, making it easier to wipe away.
Q: What if I don’t have baking soda? Can I use something else?
A: Baking soda is the key ingredient in this DIY cleaner, as it’s a mild abrasive and helps to neutralize odors. While there isn’t a direct substitute that will work as effectively, you could try using cream of tartar mixed with water to form a paste. However, baking soda is generally the most readily available and effective option.
Q: How do I prevent my oven from getting so dirty in the first place?
A: Prevention is key! Using oven liners or baking sheets to catch spills can significantly reduce the amount of grime that accumulates in your oven. Also, try to clean up spills as soon as they happen, before they have a chance to bake on. Regularly wiping down the interior of your oven with a damp cloth can also help to keep it clean.
Q: Is this DIY oven cleaner safe for septic systems?
A: Yes, this DIY oven cleaner is generally safe for septic systems. The ingredients, baking soda and vinegar, are both natural and biodegradable, and they won’t harm the beneficial bacteria in your septic tank.
Q: What kind of cloth or sponge should I use to wipe the oven clean?
A: A microfiber cloth or a non-abrasive sponge works best for wiping the oven clean. Avoid using abrasive scrubbing pads, as they can scratch the oven’s surface. For stubborn stains, you can use a plastic scraper to gently loosen the grime before wiping it away.
Q: Can I use this DIY cleaner on a convection oven?
A: Yes, this DIY cleaner is safe to use on a convection oven. Just be sure to avoid getting any of the paste on the fan or heating elements. As with any oven, it’s always a good idea to do a spot test in an inconspicuous area first.
Q: What do I do if I accidentally get some of the DIY cleaner in my eye?
A: If you accidentally get some of the DIY cleaner in your eye, immediately rinse it thoroughly with cool water for at least 15 minutes. If irritation persists, seek medical attention. While the ingredients are natural, they can still cause irritation.

Leave a Comment