
Bean Sprouts Growing Tips: Ever dreamt of having a fresh, crunchy addition to your salads and stir-fries, grown right in your own kitchen? Forget those pricey supermarket trips! I’m here to tell you that cultivating your own bean sprouts is surprisingly easy and incredibly rewarding. For centuries, bean sprouts have been a staple in Asian cuisine, symbolizing prosperity and good health. From ancient medicinal practices to modern culinary delights, these little sprouts pack a nutritional punch and a delightful crunch.
But let’s be honest, the store-bought variety can sometimes be a bit… lackluster. Limp, flavorless, and often suspiciously damp. That’s where this DIY guide comes in! I’m going to share my tried-and-true bean sprouts growing tips, so you can enjoy vibrant, flavorful sprouts whenever you want. Imagine the satisfaction of snipping off a handful of freshly grown sprouts, knowing exactly where they came from and how they were nurtured. Not only will you save money, but you’ll also reduce your environmental footprint by avoiding plastic packaging and long-distance transportation. Plus, it’s a fun and educational project for the whole family! So, are you ready to ditch the store-bought sprouts and embark on this exciting home gardening adventure with me?
Grow Your Own Bean Sprouts: A Beginner’s Guide
Hey there, fellow DIY enthusiasts! Ever thought about growing your own bean sprouts? It’s surprisingly easy, incredibly rewarding, and a fantastic way to add fresh, crunchy goodness to your salads, stir-fries, and sandwiches. Plus, it’s a super budget-friendly way to get your greens! I’m going to walk you through the whole process, step-by-step, so you can enjoy delicious, homegrown bean sprouts in just a few days.
What You’ll Need
Before we dive in, let’s gather our supplies. The beauty of this project is that you probably already have most of what you need!
* Bean Seeds: Mung beans are the most common and easiest to sprout, but you can also use adzuki beans, lentils, or even chickpeas. Make sure they’re specifically labeled for sprouting or food use, not for planting in the garden. You can find these at most health food stores, Asian markets, or online.
* A Wide-Mouth Jar: A quart-sized mason jar works perfectly.
* Sprouting Lid or Cheesecloth: You’ll need something to cover the jar and allow for drainage. A sprouting lid is ideal, but a piece of cheesecloth secured with a rubber band will also do the trick.
* Water: Clean, filtered water is best.
* A Bowl: For soaking the beans.
* A Dark Place: A cupboard, pantry, or even a covered box will work. Darkness is key for preventing the sprouts from turning bitter.
Getting Started: Soaking the Beans
The first step is to wake up those little beans! Soaking them hydrates them and gets the sprouting process going.
1. Rinse the Beans: Place about 1/4 cup of mung beans (or your chosen bean) in the bowl. Rinse them thoroughly under cool water, removing any debris or damaged beans. This helps prevent mold and ensures a healthy sprout.
2. Soak the Beans: Cover the rinsed beans with plenty of cool, filtered water. They’ll expand quite a bit, so make sure they have enough room. I usually use about 2-3 times the volume of beans in water.
3. Soak Time: Let the beans soak for 8-12 hours, or even overnight. This is crucial for softening the seed coat and initiating germination. I usually soak them before I go to bed, so they’re ready to go in the morning.
The Sprouting Process: Daily Care
Now for the fun part – watching your little sprouts grow! This requires a bit of daily attention, but it’s super simple.
1. Drain and Rinse: After the soaking period, drain the beans thoroughly using your sprouting lid or cheesecloth. Rinse them again with cool water, making sure to remove any remaining debris.
2. Transfer to Jar: Place the drained beans into your wide-mouth jar.
3. Secure the Lid: Cover the jar with your sprouting lid or cheesecloth and rubber band.
4. Invert and Drain: Invert the jar and let it drain completely. This is important to prevent the beans from sitting in water, which can lead to mold. I usually prop the jar at an angle in a bowl or on a dish rack to ensure proper drainage.
5. Darkness is Your Friend: Place the jar in a dark, well-ventilated place. A cupboard or pantry works great. You can also cover the jar with a towel or place it in a box.
6. Rinse and Drain (Repeat!): This is the most important part! Rinse and drain the beans 2-3 times a day. This keeps them moist, prevents mold, and provides them with the water they need to grow. I usually do it in the morning, afternoon, and before bed.
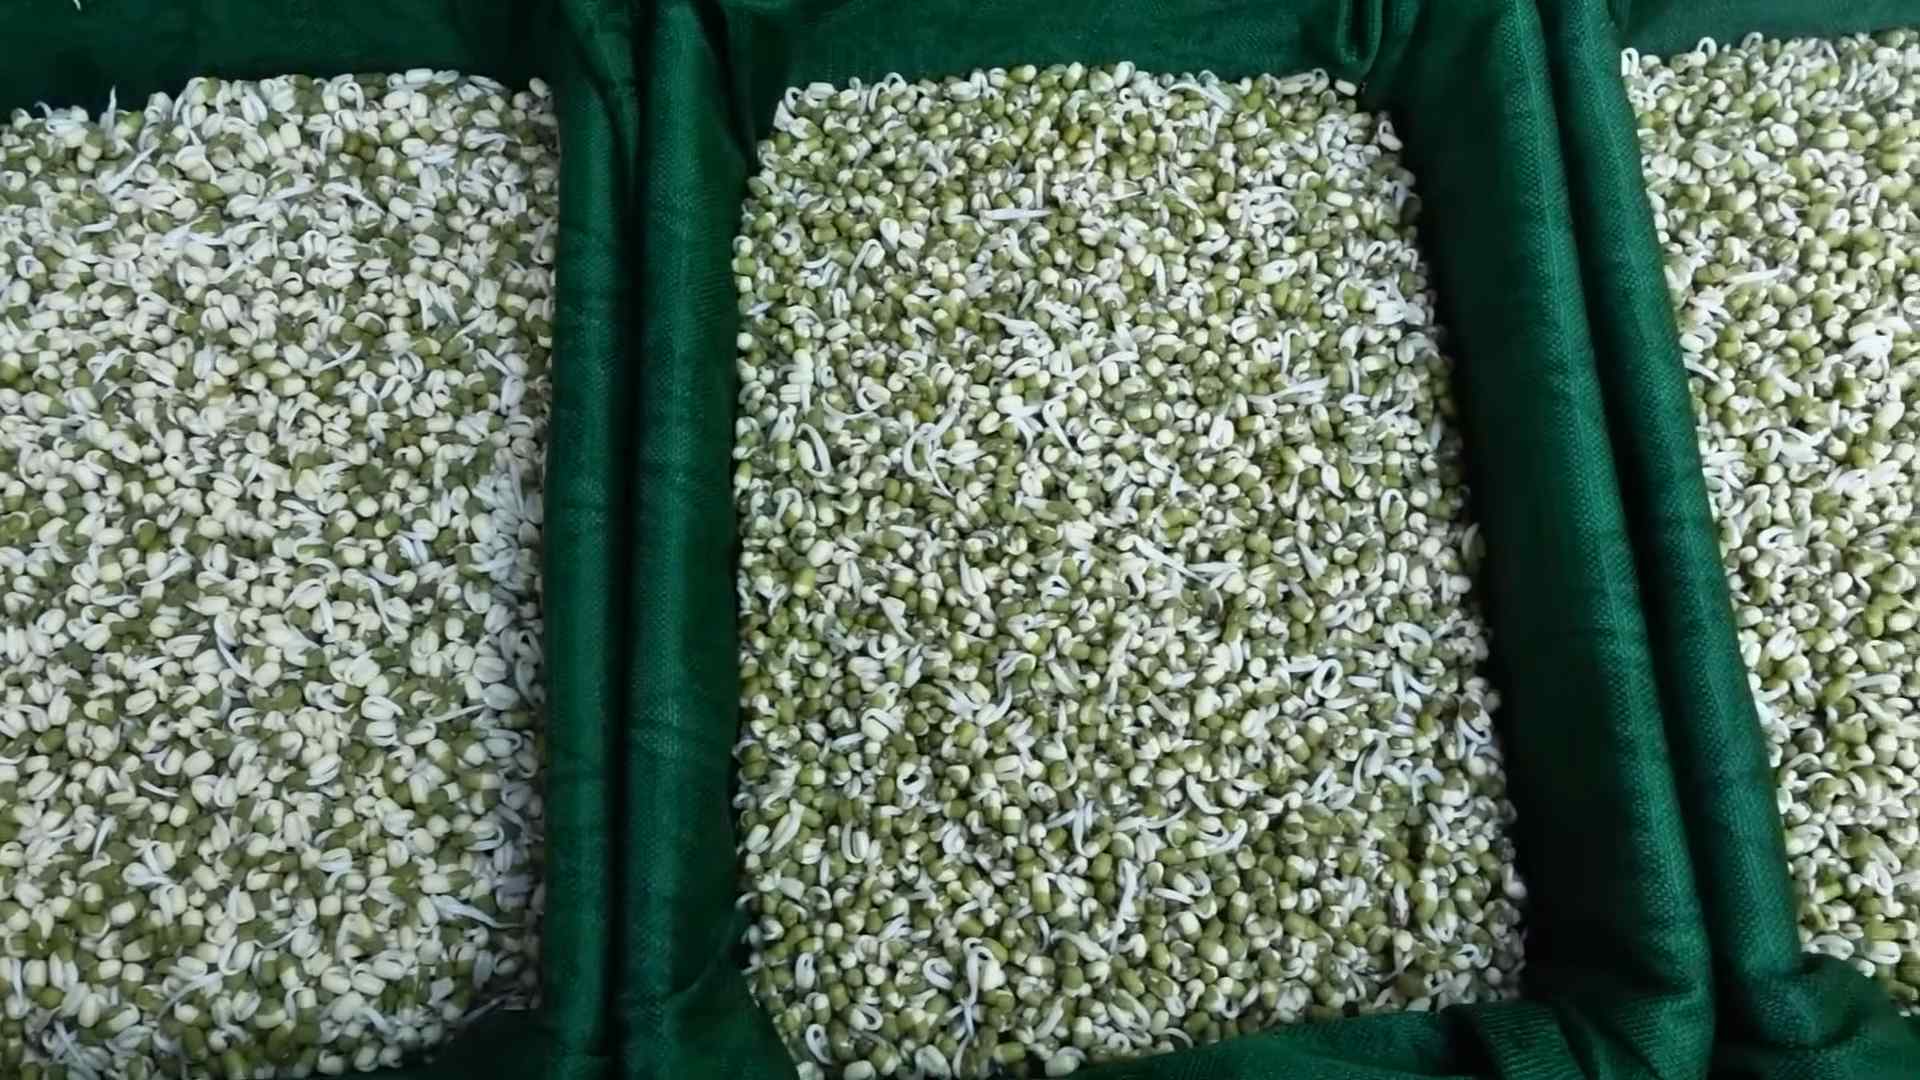
7. Observe and Enjoy: Watch your sprouts grow! You’ll start to see tiny tails emerging within a day or two. Continue rinsing and draining regularly.
Harvesting and Storing Your Bean Sprouts
After about 3-5 days, your bean sprouts should be ready to harvest! They’ll be about 1-2 inches long and nice and crunchy.
1. Harvest Time: Once your sprouts have reached your desired length, give them one final rinse.
2. Remove Hulls (Optional): Some people prefer to remove the hulls (the outer seed coats) from the sprouts. This is purely aesthetic and doesn’t affect the taste or nutritional value. You can do this by placing the sprouts in a bowl of water and gently agitating them. The hulls will float to the top and can be skimmed off.
3. Dry Thoroughly: This is key to preventing spoilage. Spread the sprouts out on a clean kitchen towel or paper towels and gently pat them dry. You can also use a salad spinner to remove excess water.
4. Store Properly: Store your bean sprouts in an airtight container in the refrigerator. They should last for about 5-7 days. I usually line the container with a paper towel to absorb any excess moisture.
Troubleshooting: Common Issues and Solutions
Even with the best intentions, sometimes things can go wrong. Here are a few common issues and how to fix them:
* Mold: If you see any fuzzy, white, or colored growth on your sprouts, it’s likely mold. Unfortunately, you’ll need to discard the entire batch. To prevent mold, make sure you’re rinsing and draining the sprouts thoroughly 2-3 times a day. Good ventilation is also important.
* Rotting Smell: A foul odor indicates that the sprouts are rotting. This is usually caused by insufficient drainage or too much moisture. Again, discard the batch and make sure you’re draining the sprouts properly in future batches.
* Slow Growth: If your sprouts aren’t growing as quickly as you’d like, it could be due to temperature or lack of moisture. Make sure they’re in a warm (but not hot) environment and that you’re rinsing them regularly.
* Bitter Taste: Exposure to light can cause bean sprouts to develop a bitter taste. Make sure they’re kept in a dark place throughout the sprouting process.
Tips and Tricks for Sprout-tastic Success
Here are a few extra tips to help you grow the best bean sprouts ever:
* Use High-Quality Seeds: Starting with good quality seeds is essential. Look for seeds specifically labeled for sprouting or food use.
* Maintain Hygiene: Cleanliness is key to preventing mold and bacteria growth. Wash your jar, sprouting lid, and hands thoroughly before starting.
* Don’t Overcrowd: Don’t use too many beans in your jar. They’ll expand as they sprout, and overcrowding can lead to poor ventilation and mold growth.
* Experiment with Different Beans: Once you’ve mastered mung bean sprouts, try experimenting with other types of beans, such as adzuki beans, lentils, or chickpeas. Each type has a slightly different flavor and texture.
* Enjoy Your Harvest: Bean sprouts are incredibly versatile. Add them to salads, stir-fries, sandwiches, soups, or even eat them raw as a snack.
Section: Advanced Sprouting Techniques
Once you’ve mastered the basics, you might want to explore some more advanced techniques.
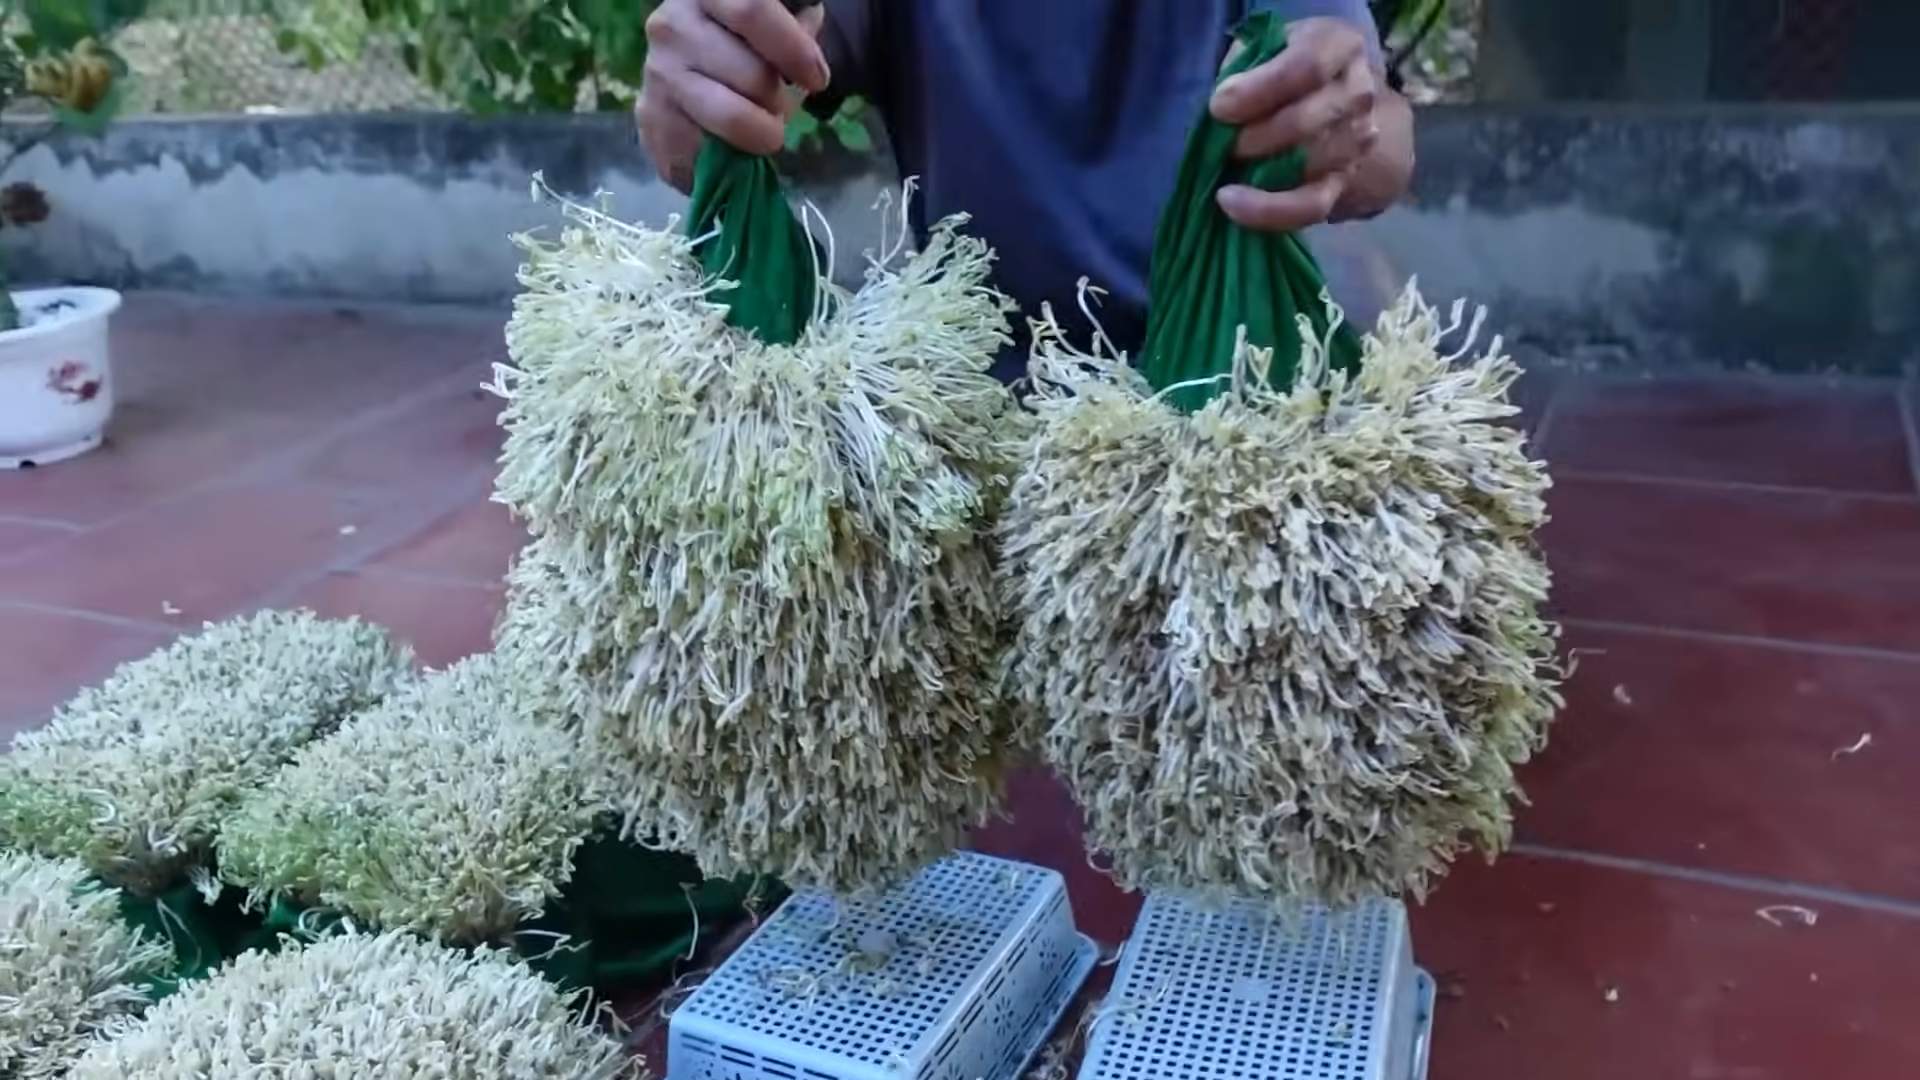
Sprouting in a Tray
While jar sprouting is great for small batches, tray sprouting is ideal for larger quantities. You’ll need a sprouting tray with drainage holes and a lid.
1. Soak the Beans: Follow the same soaking instructions as for jar sprouting.
2. Prepare the Tray: Line the sprouting tray with a layer of paper towels or a sprouting mat.
3. Spread the Beans: Spread the soaked beans evenly over the paper towels or sprouting mat.
4. Water Regularly: Water the beans 2-3 times a day, making sure to keep the paper towels or sprouting mat moist but not soggy.
5. Cover and Darken: Cover the tray with the lid and place it in a dark place.
6. Harvest: Harvest the sprouts when they reach your desired length.
Using a Sprouting Machine
For the ultimate convenience, consider investing in a sprouting machine. These machines automate the rinsing and draining process, making sprouting even easier.
1. Follow Machine Instructions: Each sprouting machine is different, so be sure to read the manufacturer’s instructions carefully.
2. Add Beans and Water: Add the soaked beans and water to the machine according to the instructions.
3. Set the Timer: Set the timer for the desired sprouting time.
4. Let the Machine Do Its Thing: The machine will automatically rinse and drain the beans at regular intervals.
5. Harvest: Harvest the sprouts when they’re ready.
Nutritional Benefits of Bean Sprouts
Beyond their delicious taste and crunchy texture, bean sprouts are also packed with nutrients. They’re a good source of:
*
Conclusion
So, there you have it! Growing your own bean sprouts at home is not only incredibly easy and cost-effective, but it also provides you with a constant supply of fresh, nutritious ingredients right at your fingertips. Forget those limp, sad-looking sprouts from the grocery store – with this simple DIY trick, you can enjoy crisp, flavorful bean sprouts whenever you want.
Why is this a must-try? Because it empowers you to take control of your food source, reduces food waste, and adds a burst of freshness to your meals. Think about the possibilities! You can toss them into stir-fries for added crunch, layer them into sandwiches for a healthy boost, or even use them as a vibrant garnish for soups and salads. The subtle, nutty flavor of homegrown bean sprouts is simply unmatched.
Beyond the basic method, feel free to experiment with different types of beans. Mung beans are the most common choice, but you can also try adzuki beans, lentils, or even chickpeas for a unique flavor profile. Just be sure to research the specific sprouting times for each type of bean, as they may vary slightly.
Another variation to consider is the sprouting container. While a mason jar works perfectly well, you can also use a sprouting tray or even a specialized sprouting machine for larger batches. The key is to ensure proper drainage and ventilation to prevent mold growth.
Don’t be intimidated by the process. It’s far simpler than you might think, and the rewards are well worth the minimal effort. Plus, it’s a fantastic way to get kids involved in the kitchen and teach them about where their food comes from.
We wholeheartedly encourage you to give this DIY bean sprouts growing trick a try. It’s a game-changer for anyone who values fresh, healthy, and affordable food. Once you experience the satisfaction of harvesting your own sprouts, you’ll never go back to store-bought again.
And most importantly, we want to hear about your experience! Share your photos, tips, and variations in the comments below. Let’s build a community of home sprouters and inspire others to embrace this simple yet rewarding practice. What beans did you use? What dishes did you add them to? What challenges did you face, and how did you overcome them? Your insights will be invaluable to other readers who are just starting out. So, get sprouting and let us know how it goes!
Frequently Asked Questions (FAQ)
What types of beans can I use for sprouting?
The most common and readily available bean for sprouting is the mung bean. However, you can also successfully sprout adzuki beans, lentils, chickpeas, and even some types of peas. It’s crucial to research the specific sprouting times and any potential preparation requirements for each type of bean before you begin. Some beans may require a longer soaking period or may be more prone to mold growth, so proper research is key. Avoid sprouting kidney beans or other beans that are toxic when raw.
How long does it take to grow bean sprouts?
Generally, bean sprouts take between 3 to 5 days to grow to a usable size. The exact time will depend on the type of bean, the temperature, and the humidity levels in your environment. Mung beans typically sprout within 3 to 4 days. Keep a close eye on your sprouts and harvest them when they reach your desired length and crispness.
How do I prevent mold growth during sprouting?
Mold growth is a common concern when sprouting beans, but it can be easily prevented with proper hygiene and ventilation. Here are some key tips:
* Use clean equipment: Thoroughly wash your sprouting container, lid, and any other utensils with soap and hot water before each batch.
* Rinse frequently: Rinse the sprouts at least twice a day with fresh, cool water. This helps to remove any bacteria or mold spores that may be present.
* Ensure proper drainage: Make sure your sprouting container has adequate drainage to prevent water from pooling at the bottom.
* Provide ventilation: Allow air to circulate around the sprouts. Avoid placing them in a completely sealed container.
* Use fresh beans: Older beans may be more prone to mold growth. Use fresh, high-quality beans for the best results.
If you notice any signs of mold, such as a fuzzy white or gray growth, discard the entire batch of sprouts immediately.
How do I store bean sprouts?
Once your bean sprouts have reached your desired size, rinse them thoroughly and drain them well. Store them in an airtight container lined with a paper towel in the refrigerator. The paper towel will help to absorb any excess moisture and keep the sprouts crisp. Properly stored bean sprouts can last for up to a week in the refrigerator.
Are bean sprouts safe to eat raw?
While bean sprouts are generally safe to eat raw, there is a small risk of foodborne illness associated with consuming raw sprouts. This is because sprouts are grown in warm, humid conditions, which can be conducive to bacterial growth. To minimize the risk, it’s essential to follow proper hygiene practices during sprouting and storage. If you are concerned about food safety, you can lightly cook the bean sprouts before eating them. Steaming or stir-frying them for a few minutes will kill any harmful bacteria.
Can I grow bean sprouts without a sprouting jar?
Yes, you can grow bean sprouts without a sprouting jar. You can use a colander lined with cheesecloth or a specialized sprouting tray. The key is to provide adequate drainage and ventilation. A simple method is to use a clean plastic container with small holes drilled in the bottom for drainage. Place the soaked beans in the container, cover them with a damp cloth, and rinse them regularly.
What if my bean sprouts don’t sprout?
If your bean sprouts aren’t sprouting, there could be several reasons:
* Old beans: The beans may be too old and have lost their viability. Use fresh beans for the best results.
* Incorrect temperature: The temperature may be too hot or too cold. Bean sprouts thrive in a temperature range of 70-75°F (21-24°C).
* Insufficient moisture: The beans may not be getting enough moisture. Make sure to rinse them regularly and keep them consistently damp.
* Poor drainage: The beans may be sitting in too much water, which can lead to rot. Ensure proper drainage.
Can I grow bean sprouts in sunlight?
While bean sprouts don’t require direct sunlight, a little indirect light can help them develop a slightly greener color. However, avoid exposing them to direct sunlight, as this can overheat them and inhibit growth. Keep them in a cool, dark place for the majority of the sprouting process.

Leave a Comment