
Propagating Mint Indoors: Unlock the secrets to endless fresh mint, right from your kitchen windowsill! Have you ever wished you could just snip off a sprig of fragrant mint whenever you needed it for a refreshing mojito, a flavorful tea, or a zesty salad? Well, you absolutely can! This isn’t just about gardening; it’s about bringing a touch of nature’s vibrant energy into your home, all year round.
Mint, with its rich history dating back to ancient civilizations, has been cherished for its medicinal and culinary properties for centuries. From the Egyptians using it in embalming to the Romans flavoring their sauces and wines, mint has always been a symbol of hospitality and freshness. Now, you can continue this legacy by easily propagating mint indoors.
Let’s face it, buying fresh herbs from the store can be expensive and often leads to waste. Plus, who knows how long they’ve been sitting on the shelf? That’s where this DIY guide comes in. I’m going to show you a simple, step-by-step method to effortlessly propagating mint indoors, saving you money, reducing waste, and ensuring you always have a supply of this versatile herb at your fingertips. Get ready to transform your kitchen into a mini-garden and enjoy the delightful aroma and flavor of homegrown mint whenever you desire!
Propagating Mint Indoors: A Beginner’s Guide
Hey there, fellow plant enthusiasts! Ever wanted an endless supply of fresh mint for your mojitos, teas, or culinary creations? Well, you’re in luck! Propagating mint indoors is surprisingly easy and rewarding. I’m going to walk you through everything you need to know to turn a single mint sprig into a thriving indoor mint garden. Let’s get started!
What You’ll Need
Before we dive in, let’s gather our supplies. This is a pretty low-cost project, which is always a win in my book!
* Healthy Mint Sprigs: Look for stems that are vibrant green and free from any signs of disease or pests. You can get these from a friend’s garden, a grocery store (organic is best!), or even a cutting from your existing mint plant.
* Clean Scissors or Pruning Shears: Sharp and clean tools are essential for making precise cuts and preventing the spread of bacteria.
* Glass or Jar: Any clean glass or jar will do. I prefer clear glass so I can monitor root growth.
* Water: Tap water is fine, but letting it sit out for a day or two to allow chlorine to dissipate is even better.
* Potting Mix: A well-draining potting mix is crucial for healthy growth. I like a mix of peat moss, perlite, and vermiculite.
* Small Pots: Choose pots with drainage holes to prevent waterlogging. Terra cotta pots are a great option because they allow the soil to breathe.
* Optional: Rooting Hormone: While not strictly necessary, rooting hormone can speed up the rooting process.
Choosing the Right Mint Sprigs
Okay, so you’ve got your supplies. Now, let’s talk about selecting the best mint sprigs for propagation. This is a crucial step, as the quality of your cuttings will directly impact your success rate.
* Look for Healthy Stems: As I mentioned earlier, choose stems that are vibrant green and free from any signs of disease or pests. Avoid stems that are yellowing, wilting, or have any spots or blemishes.
* Choose Stems with Nodes: Nodes are the small bumps or joints on the stem where leaves grow. These are where the roots will emerge, so make sure your cuttings have at least a few nodes.
* Select Stems That Are Not Flowering: Flowering stems tend to put their energy into producing flowers and seeds, rather than roots. Choose stems that are actively growing leaves.
* Take Cuttings from the Top of the Plant: The top of the plant usually has the most vigorous growth, so cuttings from this area are more likely to root successfully.
Propagating Mint in Water: Step-by-Step
Alright, let’s get to the fun part! Here’s how to propagate mint in water:
1. Prepare Your Cuttings: Using your clean scissors or pruning shears, cut the mint stems to a length of about 4-6 inches. Make the cut just below a node.
2. Remove the Lower Leaves: Gently remove the leaves from the bottom 1-2 inches of the stem. This will expose the nodes and allow them to root more easily. Submerged leaves will rot and contaminate the water.
3. Place Cuttings in Water: Fill your glass or jar with water and place the mint cuttings inside. Make sure the nodes are submerged, but the leaves are above the water line.
4. Find a Sunny Spot: Place the glass or jar in a bright, indirect light location. Avoid direct sunlight, which can scorch the leaves. A windowsill facing east or west is ideal.
5. Change the Water Regularly: Change the water every 1-2 days to prevent the growth of bacteria and algae. This will also provide fresh oxygen to the developing roots.
6. Wait for Roots to Grow: Be patient! It usually takes about 1-2 weeks for roots to start appearing. You’ll see small, white roots emerging from the nodes.
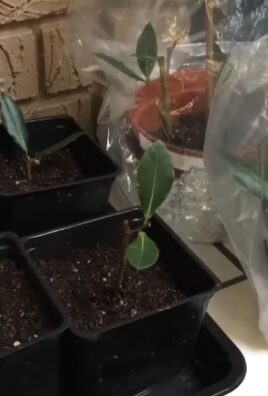
7. Transplant to Soil: Once the roots are about 1-2 inches long, it’s time to transplant your cuttings to soil.
Planting Your Rooted Mint Cuttings
Now that your mint cuttings have developed healthy roots, it’s time to give them a permanent home in soil. Here’s how to do it:
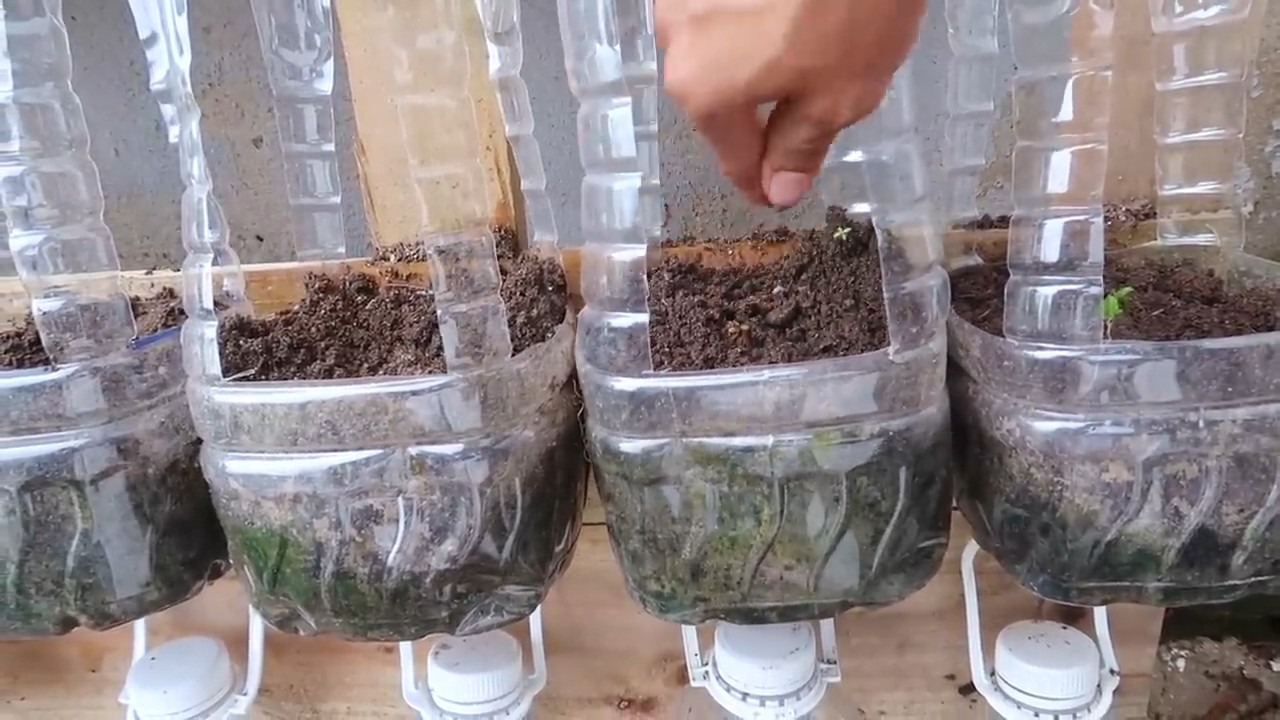
1. Prepare Your Pots: Fill your small pots with well-draining potting mix. Leave about an inch of space at the top of the pot.
2. Make a Hole: Use your finger or a small tool to create a hole in the center of the potting mix. The hole should be deep enough to accommodate the roots of your mint cutting.
3. Gently Remove the Cutting: Carefully remove the rooted mint cutting from the water. Be gentle to avoid damaging the delicate roots.
4. Place the Cutting in the Hole: Place the mint cutting in the hole and gently backfill with potting mix. Make sure the roots are completely covered.
5. Water Thoroughly: Water the potting mix thoroughly until water drains out of the drainage holes. This will help settle the soil and provide moisture to the roots.
6. Place in a Sunny Location: Place the potted mint cutting in a bright, indirect light location. Avoid direct sunlight for the first few days to allow the plant to adjust to its new environment.
Caring for Your New Mint Plant
Congratulations! You’ve successfully propagated mint indoors. Now, let’s talk about how to care for your new mint plant to ensure it thrives.
* Watering: Mint likes to be kept consistently moist, but not waterlogged. Water when the top inch of soil feels dry to the touch.
* Light: Mint needs at least 4-6 hours of sunlight per day. If you don’t have enough natural light, you can supplement with a grow light.
* Fertilizing: Feed your mint plant with a balanced liquid fertilizer every 2-4 weeks during the growing season (spring and summer).
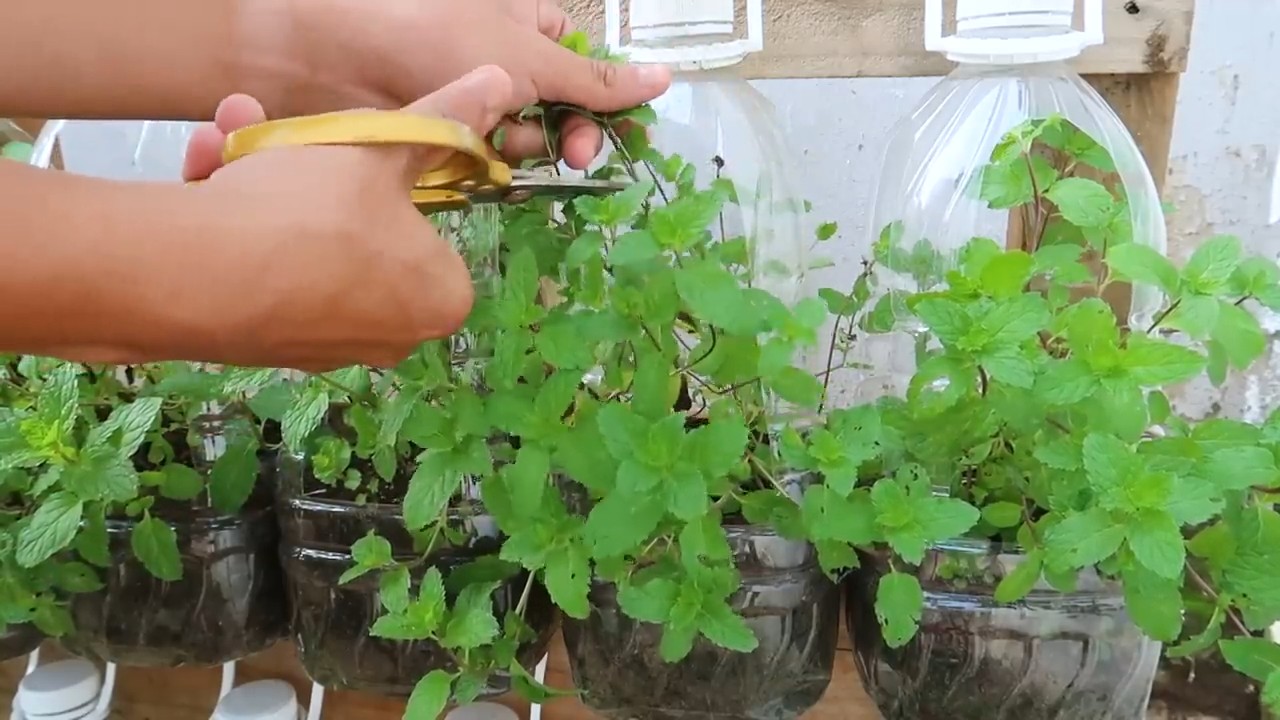
* Pruning: Prune your mint plant regularly to encourage bushier growth and prevent it from becoming leggy. Simply pinch off the tips of the stems.
* Pest Control: Keep an eye out for pests such as aphids, spider mites, and whiteflies. If you notice any pests, treat them with insecticidal soap or neem oil.
* Repotting: Mint is a fast-growing plant, so you’ll need to repot it into a larger pot every year or two.
Troubleshooting Common Issues
Even with the best care, you might encounter some challenges along the way. Here are some common issues and how to address them:
* Yellowing Leaves: Yellowing leaves can be caused by overwatering, underwatering, or nutrient deficiencies. Adjust your watering schedule and fertilize your plant if necessary.
* Leggy Growth: Leggy growth is usually caused by insufficient light. Move your plant to a brighter location or supplement with a grow light.
* Slow Growth: Slow growth can be caused by a variety of factors, including poor soil, insufficient light, or nutrient deficiencies. Make sure your plant is getting the right amount of light, water, and fertilizer.
* Pests: As mentioned earlier, keep an eye out for pests and treat them promptly.
Enjoy Your Fresh Mint!
And there you have it! You’ve successfully propagated mint indoors and are well on your way to enjoying a continuous supply of fresh, fragrant mint. Use it in your favorite recipes, teas, or cocktails. The possibilities are endless! Happy growing!
Conclusion
So, there you have it! Propagating mint indoors is not just a cost-effective way to expand your herb garden; it’s a deeply rewarding experience that connects you to the natural world, even within the confines of your home. Forget those expensive trips to the grocery store for wilted, overpriced mint. With a little patience and this simple DIY trick, you can have a thriving supply of fresh, fragrant mint right at your fingertips.
Why is this a must-try? Because it’s incredibly easy, requires minimal investment, and yields impressive results. Imagine the satisfaction of snipping fresh mint leaves for your morning tea, adding a vibrant touch to your summer cocktails, or garnishing your favorite dishes with homegrown goodness. Plus, propagating mint indoors is a fantastic way to reduce waste and embrace a more sustainable lifestyle.
But the beauty of this method lies in its versatility. Feel free to experiment with different varieties of mint. Peppermint, spearmint, chocolate mint – each offers a unique flavor profile that can elevate your culinary creations. You can also play around with different containers. While a simple glass of water works wonders, you can also use small jars, repurposed bottles, or even a dedicated propagation station for a more aesthetically pleasing setup.
Consider adding a rooting hormone to the water to speed up the process, although it’s not strictly necessary. For a fun twist, try propagating mint in different types of water – filtered, tap, or even rainwater – and observe if there are any noticeable differences in growth.
Don’t be afraid to get creative and adapt this method to your own preferences and resources. The most important thing is to provide your mint cuttings with plenty of light, fresh water, and a little bit of love.
We are confident that you’ll be amazed by how easy and successful propagating mint indoors can be. It’s a simple yet powerful way to bring a touch of nature into your home and enjoy the countless benefits of fresh, homegrown herbs.
So, what are you waiting for? Grab a few mint cuttings, follow these simple steps, and embark on your own indoor mint propagation journey. We encourage you to share your experiences with us! Post photos of your thriving mint plants on social media using #IndoorMintPropagation and let us know what variations you tried and what worked best for you. Your insights could inspire others to discover the joy of growing their own herbs. Let’s create a community of indoor gardeners, one mint plant at a time!
Frequently Asked Questions (FAQ)
1. What kind of mint is best for propagating indoors?
Almost any variety of mint can be successfully propagated indoors. Spearmint and peppermint are two of the most popular and readily available options. However, you can also experiment with chocolate mint, orange mint, or even more exotic varieties. The key is to choose healthy, vigorous stems from a mature plant. Avoid stems that are flowering or showing signs of disease.
2. How long does it take for mint cuttings to root in water?
Generally, you can expect to see roots emerging from your mint cuttings within 7-14 days. However, the exact timeframe can vary depending on factors such as the variety of mint, the temperature of the water, and the amount of light the cuttings receive. Be patient and continue to change the water regularly to prevent bacterial growth. Once the roots are about an inch long, they are ready to be transplanted into soil.
3. What type of soil is best for planting propagated mint?
Mint thrives in well-draining soil that is rich in organic matter. A good potting mix specifically formulated for herbs is an excellent choice. You can also create your own potting mix by combining equal parts of potting soil, perlite, and compost. This will provide your mint plants with the nutrients they need to grow and flourish.
4. How much light does propagated mint need indoors?
Mint requires plenty of bright, indirect light to thrive indoors. A south-facing window is ideal, but an east- or west-facing window can also work well. If you don’t have access to a sunny window, you can supplement with a grow light. Aim for at least 6-8 hours of light per day. Insufficient light can lead to leggy growth and pale leaves.
5. How often should I water my propagated mint plants?
Water your mint plants regularly, keeping the soil consistently moist but not waterlogged. Check the soil moisture by sticking your finger about an inch into the soil. If it feels dry, it’s time to water. Avoid letting the soil dry out completely, as this can stress the plants. However, overwatering can also lead to root rot, so be sure to provide adequate drainage.
6. Can I propagate mint directly in soil instead of water?
Yes, you can propagate mint directly in soil, but the success rate is generally lower than with water propagation. To propagate mint in soil, take a cutting and dip the cut end in rooting hormone. Then, plant the cutting in a small pot filled with well-draining potting mix. Keep the soil moist and cover the pot with a plastic bag or humidity dome to create a humid environment. Place the pot in a bright, indirect light location.
7. My mint cuttings are turning yellow. What am I doing wrong?
Yellowing leaves can indicate a few different problems. Overwatering is a common culprit, as it can lead to root rot. Make sure your pot has drainage holes and that you’re not letting the soil stay soggy. Another possibility is insufficient light. If your mint cuttings are not getting enough light, they may start to turn yellow. Move them to a brighter location or supplement with a grow light. Nutrient deficiencies can also cause yellowing leaves, so consider fertilizing your mint plants with a balanced liquid fertilizer.
8. How do I prevent my mint from taking over my garden if I decide to plant it outdoors?
Mint is known for its aggressive growth habit and can quickly spread throughout your garden if left unchecked. To prevent this, it’s best to plant mint in a container, even if you’re placing it outdoors. This will confine the roots and prevent them from spreading. You can also bury a container in the ground, leaving a few inches of the rim above the soil line. This will create a barrier that will help to contain the mint.
9. Can I use tap water for propagating mint?
Yes, you can use tap water for propagating mint. However, if your tap water is heavily chlorinated, it’s best to let it sit out for 24 hours before using it to allow the chlorine to dissipate. Alternatively, you can use filtered water or rainwater.
10. How often should I change the water when propagating mint in water?
It’s important to change the water every 1-2 days to prevent bacterial growth and keep the water fresh. This will help to ensure that your mint cuttings root successfully. When changing the water, gently rinse the cuttings to remove any debris.

Leave a Comment